Every week, ah, I need to fix thinking about a question, that is, what to demolish next, this week is the same, think about it, and finally chose OnePlus Ace 3. The reason is simple, one is that it has just released not long ago, two is that the previous seam problem, so that the OnePlus has a high degree of attention. Thirdly, it happens to be in the hands of just arrived in OnePlus ACE 3, as the saying goes, it is better to come early than coincidentally, let's take it to start.

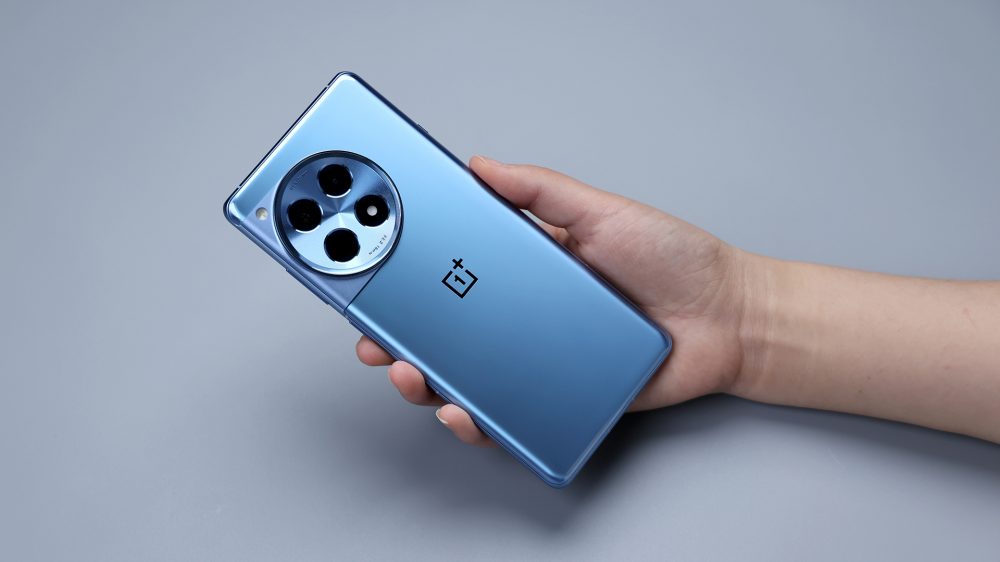
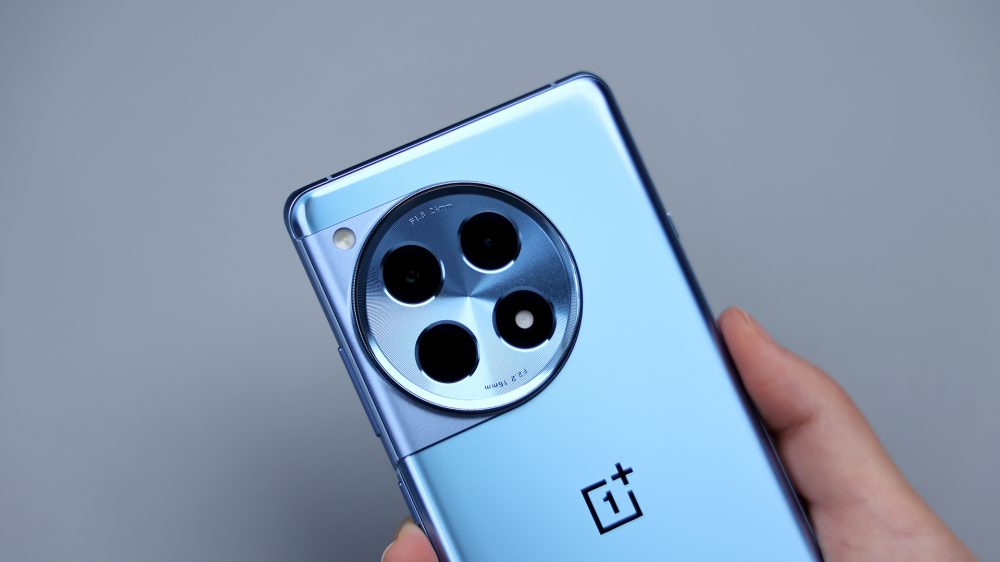
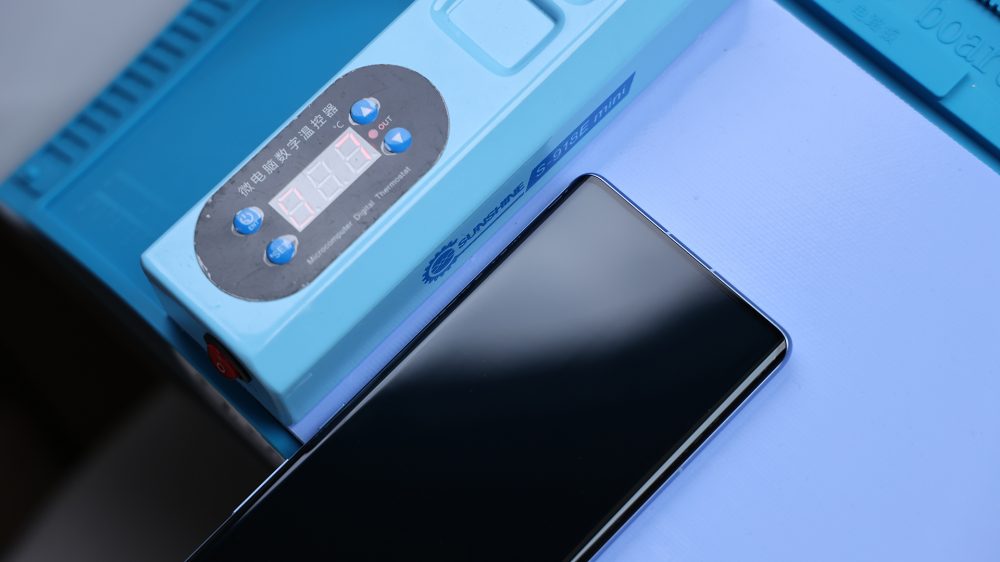
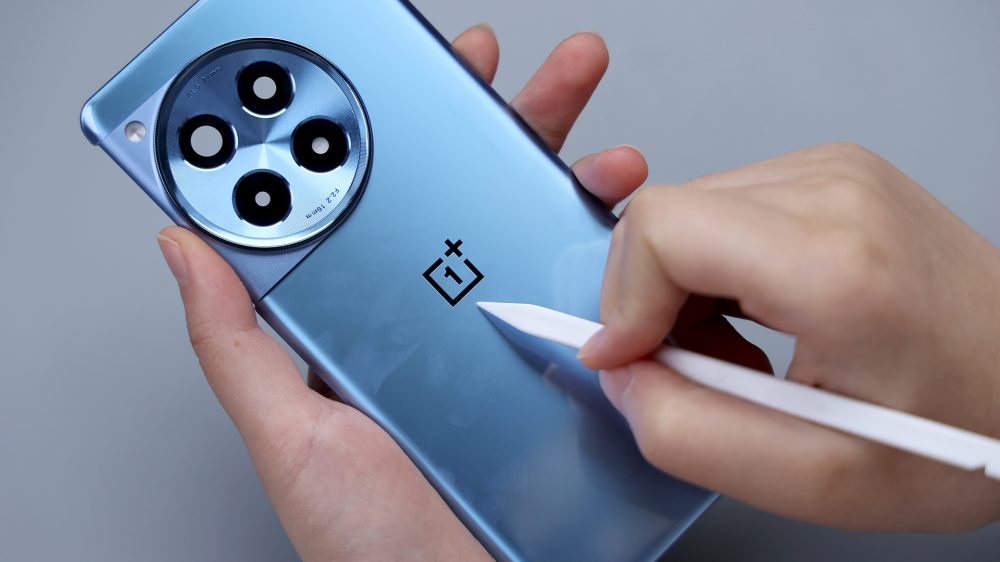
Today's disassembly is a brand new machine, not yet unpacked and activated. The first thing I felt after I got my hands on it was that the OnePlus Ace 3 is much thinner and lighter than the OnePlus 12, and after looking at the DECO area and the edge of the center frame, there are no noticeable gaps on the top and bottom of the machine, and there are no traces of spot gluing.

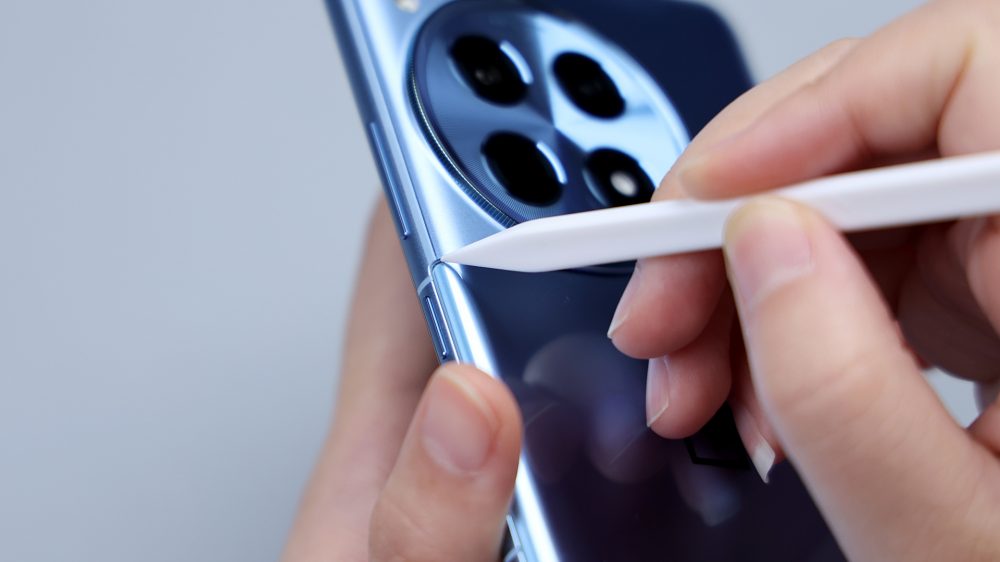
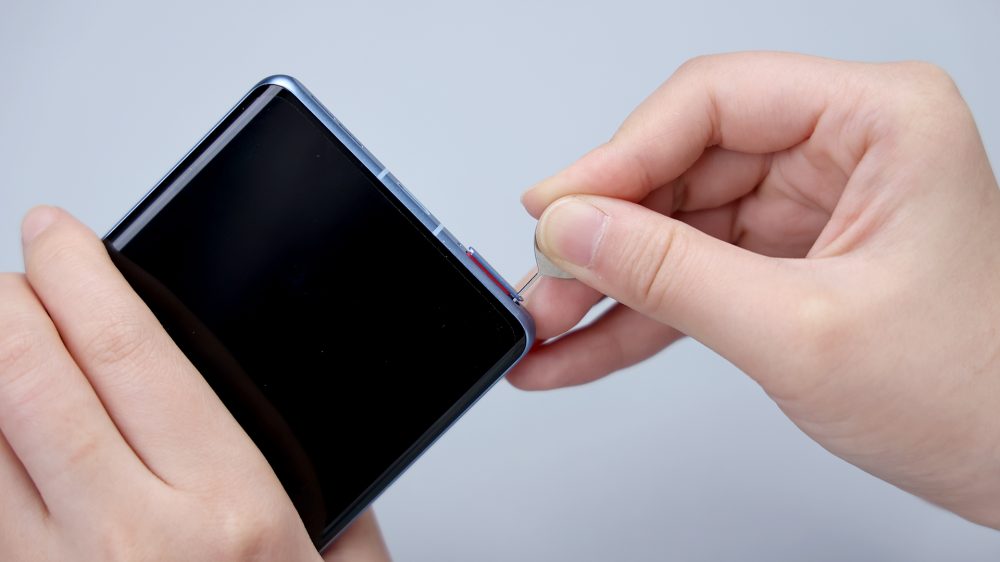
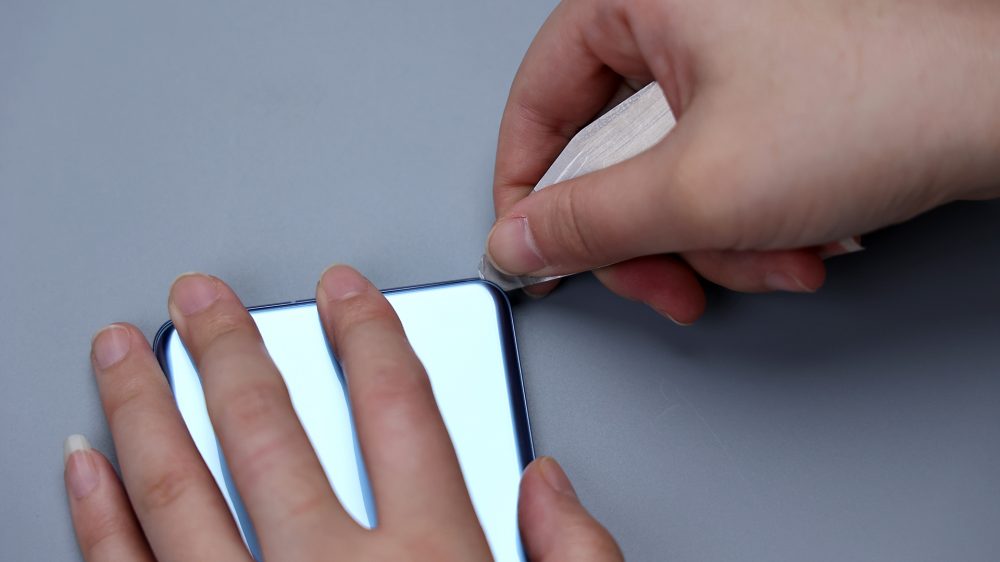
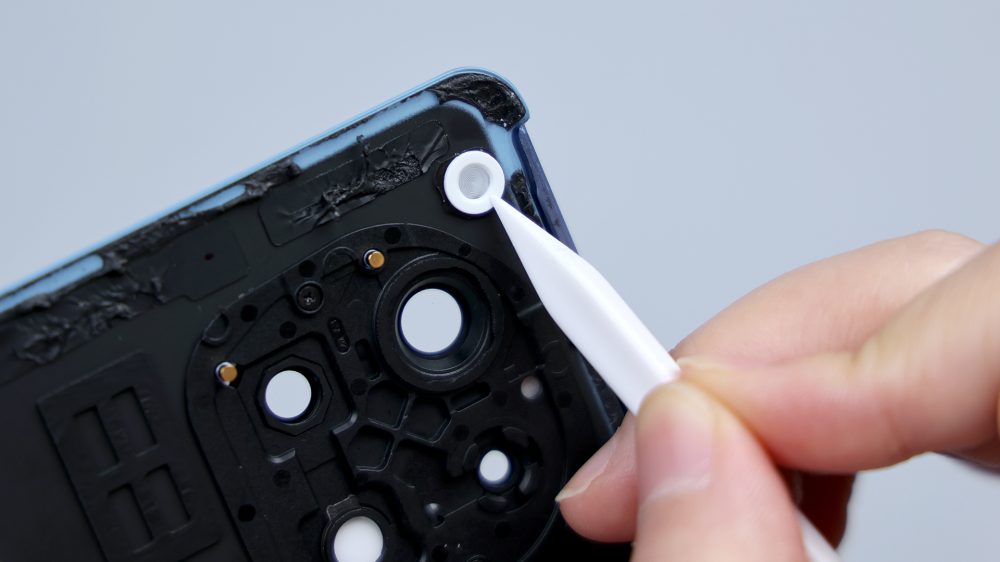
After turning off the machine, remove the SIM card tray at the bottom.
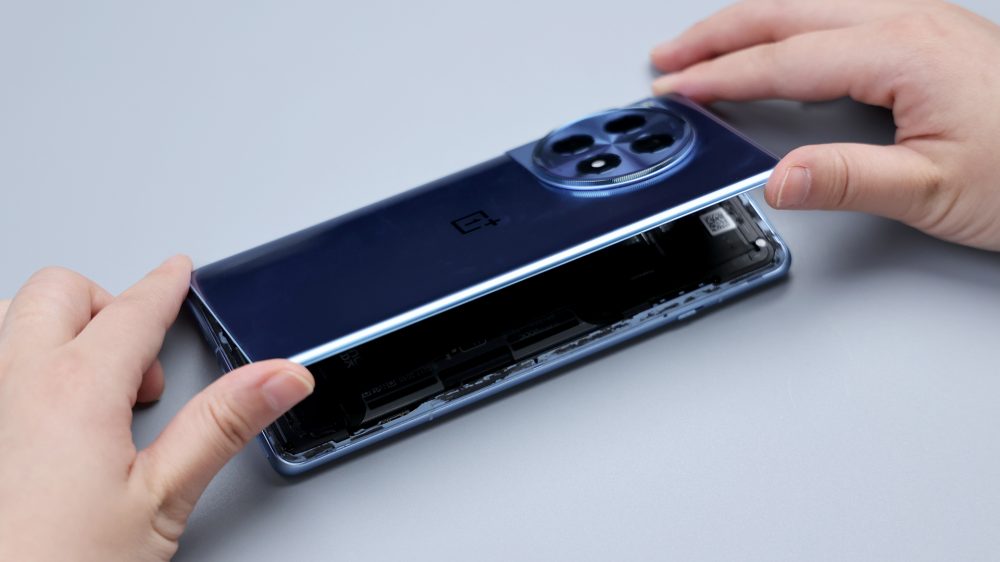
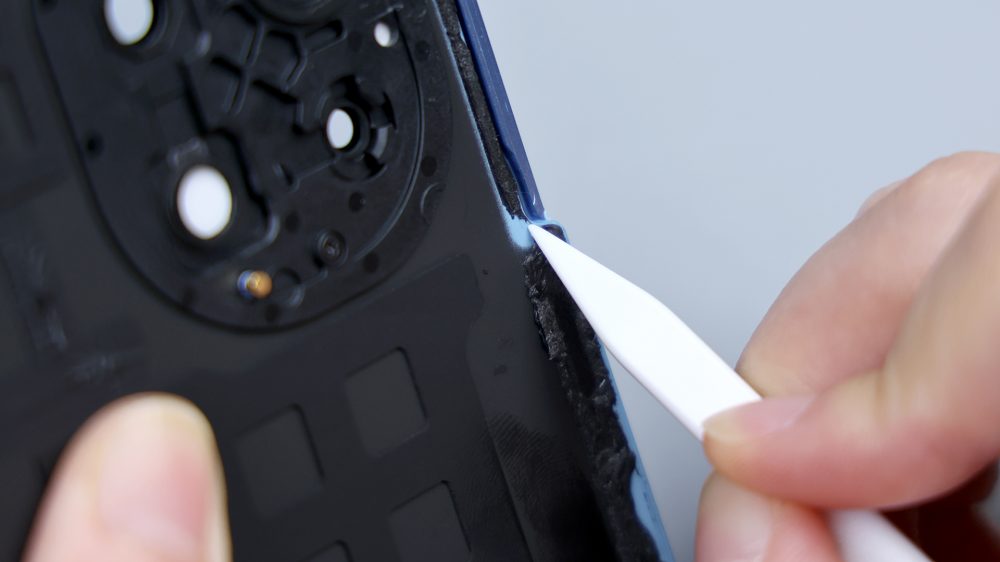
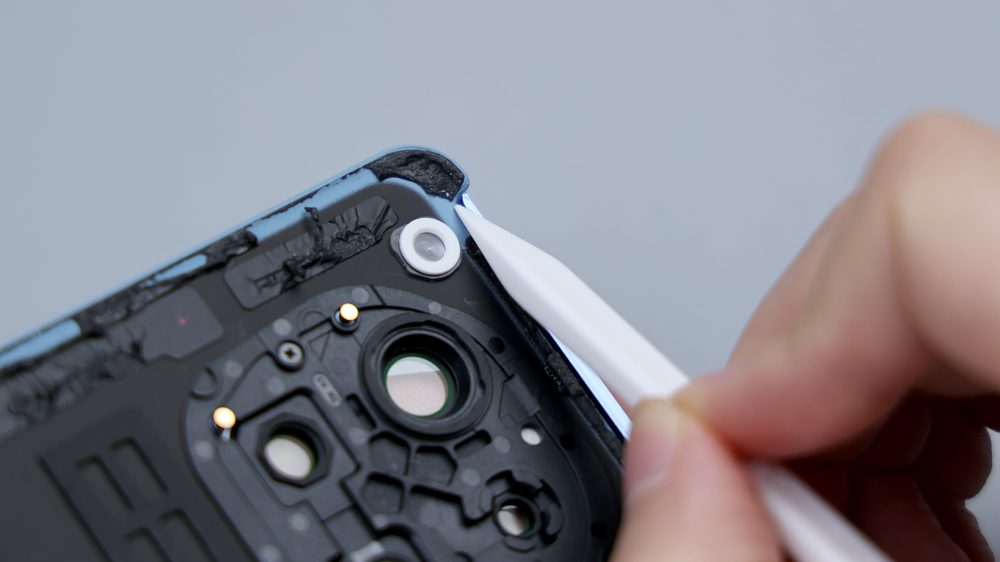
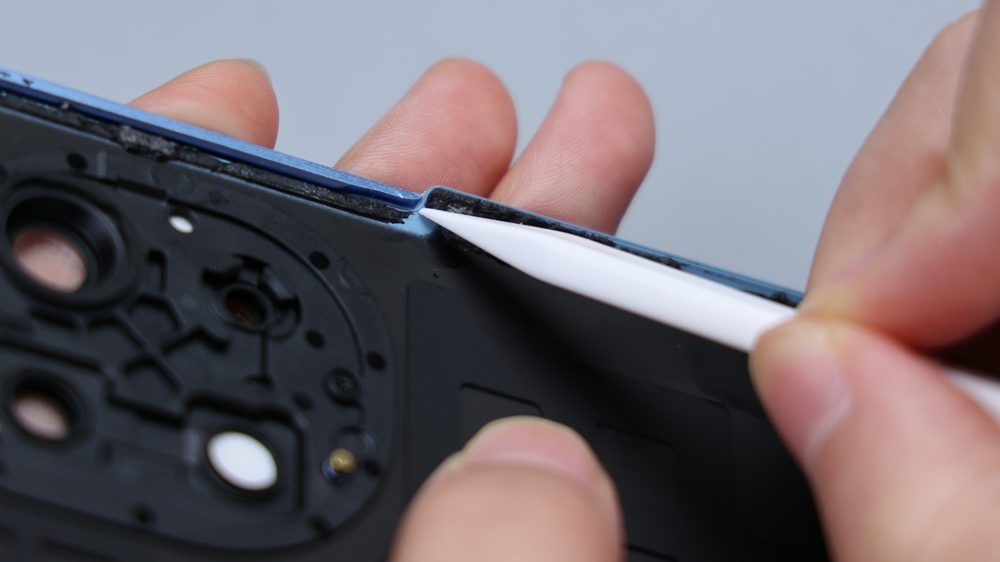
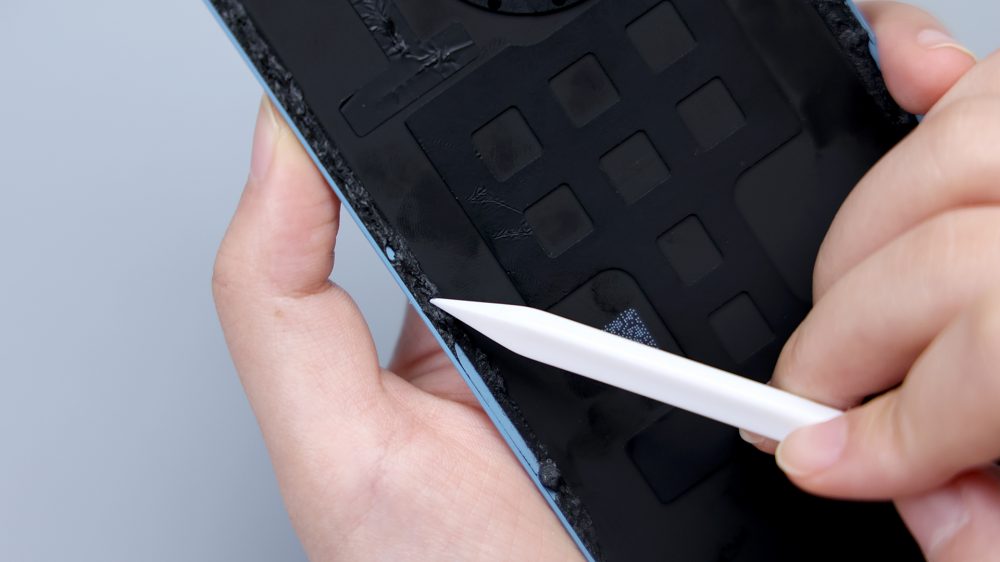
Metal frame + metal bezel, the frame is made of plastic, the red rubber ring is used to enhance the airtightness. The back cover as a whole is made of glass, first heat the middle and lower flat area, this time you can also use the suction cup to assist, after the adhesive softens, you can quickly open the breakthrough from the corners.
The back cover of the OnePlus ACE 3 belongs to the category of relatively good demolition, except that the amount of adhesive glue is relatively large, and the adhesive of the glue is relatively strong, so it requires a little more patience and care. The warping piece can't go too deep, otherwise it's easy to damage the parts inside, for example, accidentally ripping two openings for the heat dissipation film (embarrassing) ......
It is estimated that many partners will be curious, the back cover of the OnePlus Ace 3 is almost exactly the same as the OnePlus 12, but why does it not have a gap? First of all, the metal DECO of the OnePlus Ace 3 is thinner and flatter, and the circular transition position will not form too much spacing.
Secondly, the curvature of the notch edge on the inside of the back cover has been adjusted, and since the lining is made of plastic, the end is made very narrow with a beveled cut effect, which makes it easy for the metal DECO to be close.

Third, although the DECO is also made of metal, the OnePlus Ace 3 has been replaced with an aluminum alloy with relatively low hardness, which is more conducive to shaping to achieve the desired curvature, and the range of positive and negative deviations has been further compressed.

Fourth, the upper and lower metal corners of the DECO near the edge of the middle frame are angled slightly backward, so that the actual effect is more rounded, and the curved corners with the edge of the back cover are more fitting, so that there will not be a small opening similar to that of the OnePlus 12, and these previous four are equivalent to maximizing the control of the possibility of gaps in the back cover itself.
Fifth, the side of the frame is made of nano-injection molding + CNC process, the main body is made of metal, and the side near the back cover is injected with plastic, after the assembly is completed, due to the cover of the back cover, you can't see this layer of injection molding, but when you remove the back cover, you can see from the edges of the middle frame on the obvious delamination, the injection layer accounted for a quarter of the thickness.
This layer of injection molding is equivalent to the metal top extension of the OnePlus 12's middle frame, that is, the part that is in contact with the back cover and the metal DECO, the advantage of injection molding is that it is easier to shape, and it can make the ideal curvature to fit with the middle frame and the DECO, and the characteristics and rigidity of the material make it possible to get closer to the metal DECO and the glass back cover.
Simply put, the difference in materials leads to a change in clearance. the DECO is replaced with a relatively less rigid and easier to mold aluminum alloy, shaping a more desirable curvature, thickness, and shape. After the edge of the middle frame is injection molded, it brings similar benefits, and at the same time, the rigidity of the material of the injection molded part, not as strong as the middle frame of the OnePlus 12, is not afraid of close contact and extrusion, and the metal DECO and the glass back cover, which is able to be more close to the edge of the middle frame, further compressing the gap during assembly. In the end, the DECO, the back cover and the center frame cooperate with each other to achieve a seamless fit.
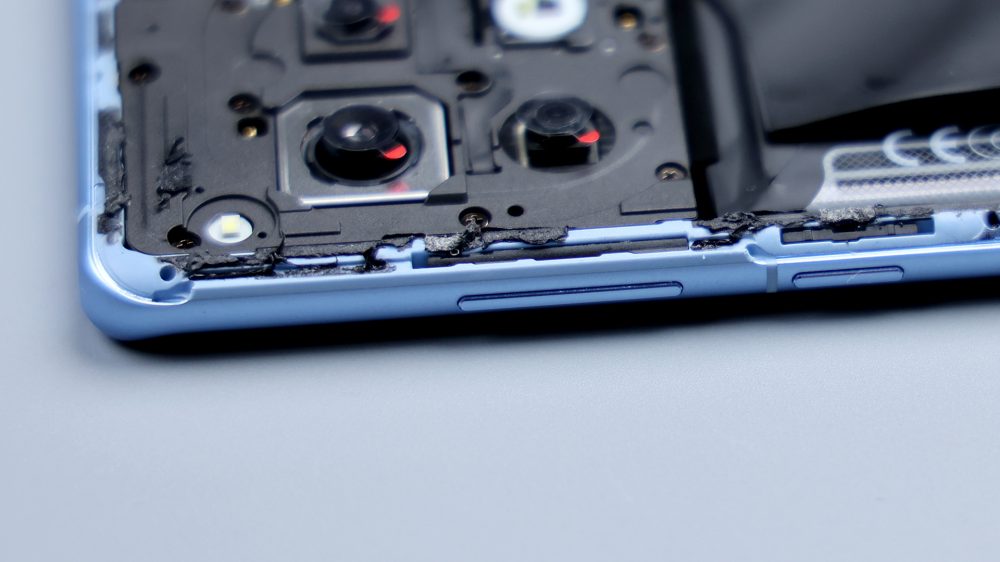
Due to the differences in materials and processes, the DECO gloss of the OnePlus Ace 3 is not as bright as that of the OnePlus 12, and the Hasselblad logo has been removed from the back panel.Visible adhesive residue can be seen around the inside of the back cover, as evidenced by the surface creases and localized clumping.
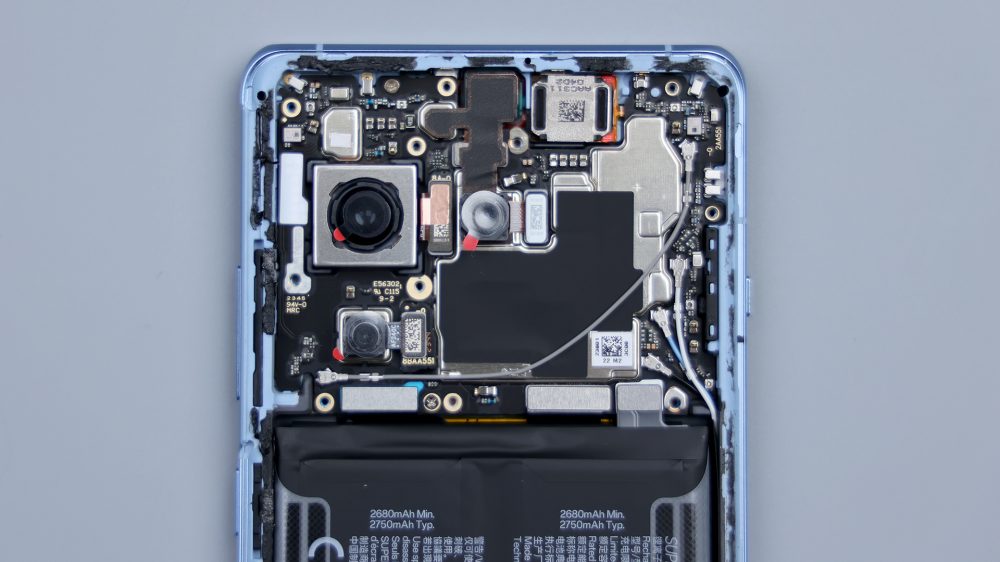
There is a piece of heat dissipation film in the lower right corner, corresponding to the bottom speaker. A large piece of hollowed-out foam in the middle corresponds to the battery and graphite thermal paste, which serves as padding and cushioning protection, and there is also a foam counterpart for the NFC coil, which is located in the upper left corner of the back cover.
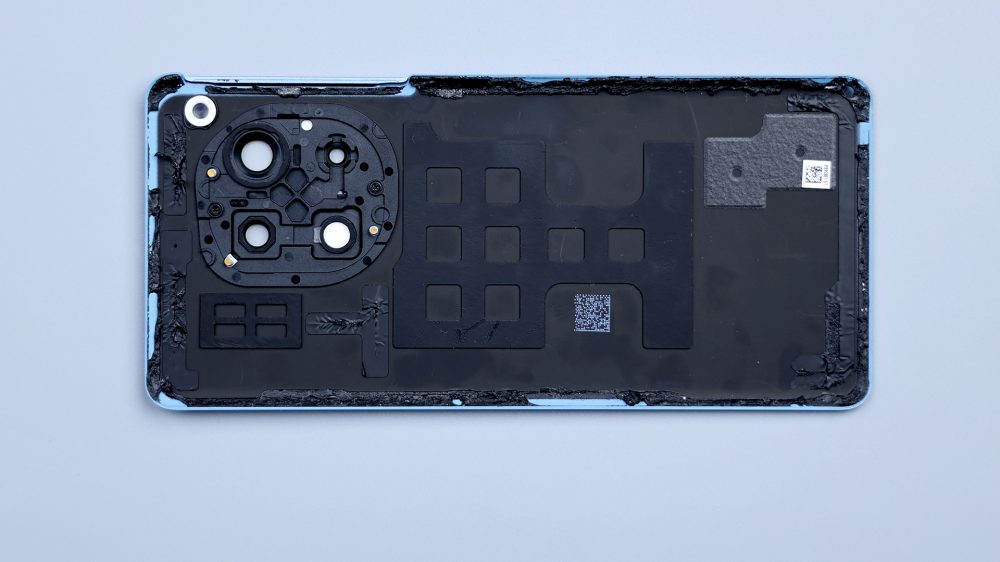
The DECO area has an oval black plastic liner, which is fixed by 2 screws and adhesive, the edge of which is larger than the back cover aperture, and together with the metal DECO, it sandwiches the glass back cover in the center, which serves as a certain limitation and reinforcement.
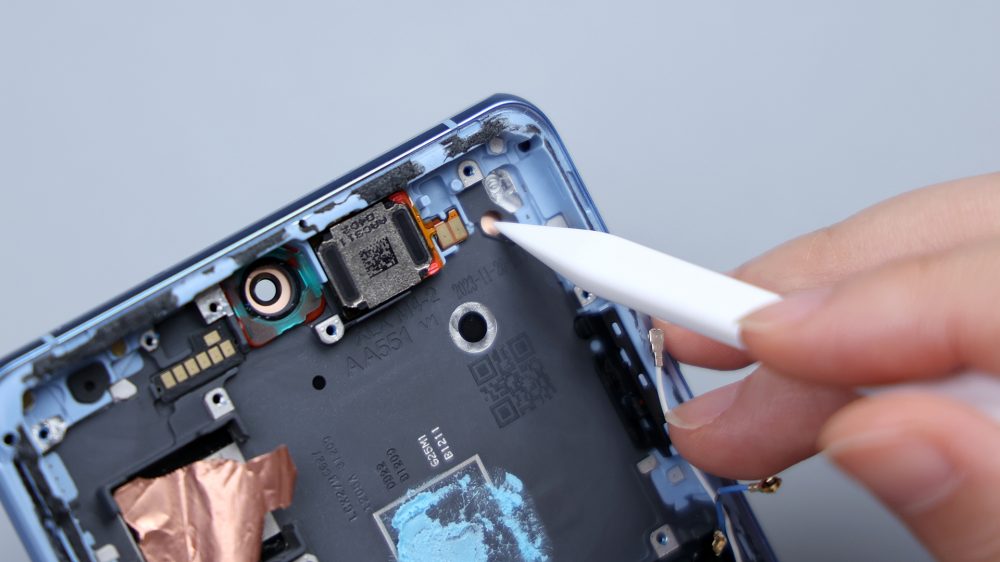
3 metal pillars connect to the main board, responsible for antenna signal overflow, the cover is equipped with holes in the corresponding position, and the exposed metal shrapnel can be seen underneath.
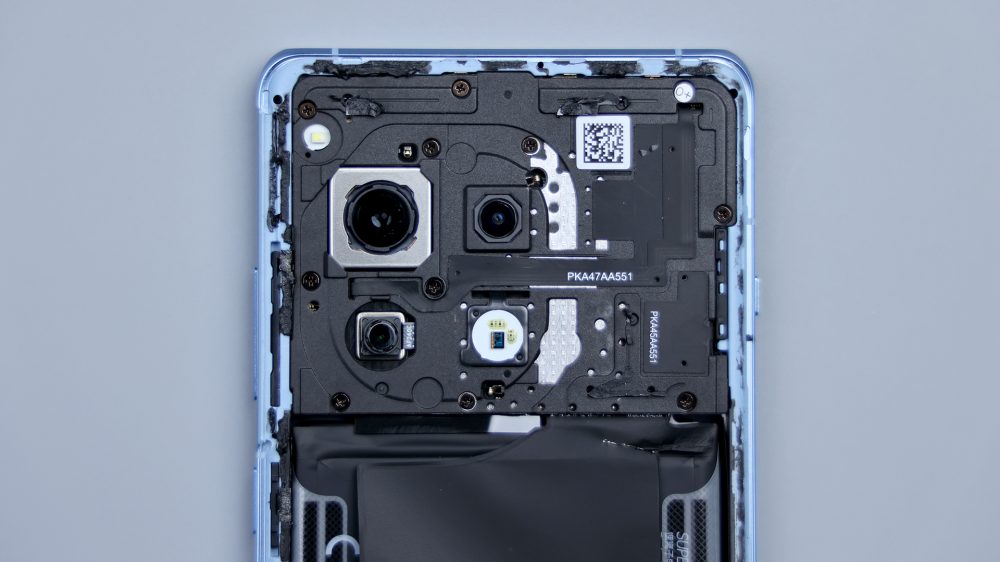
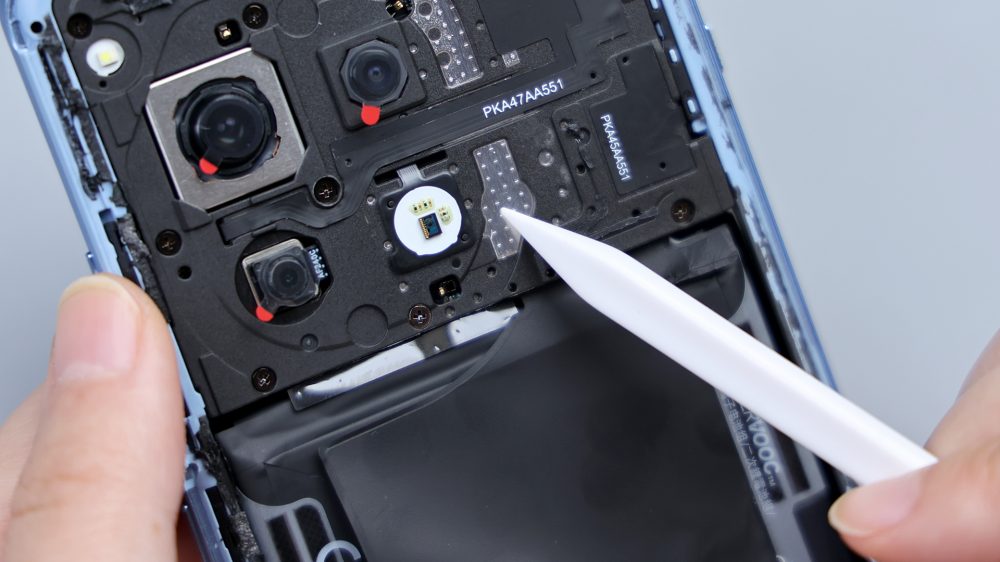
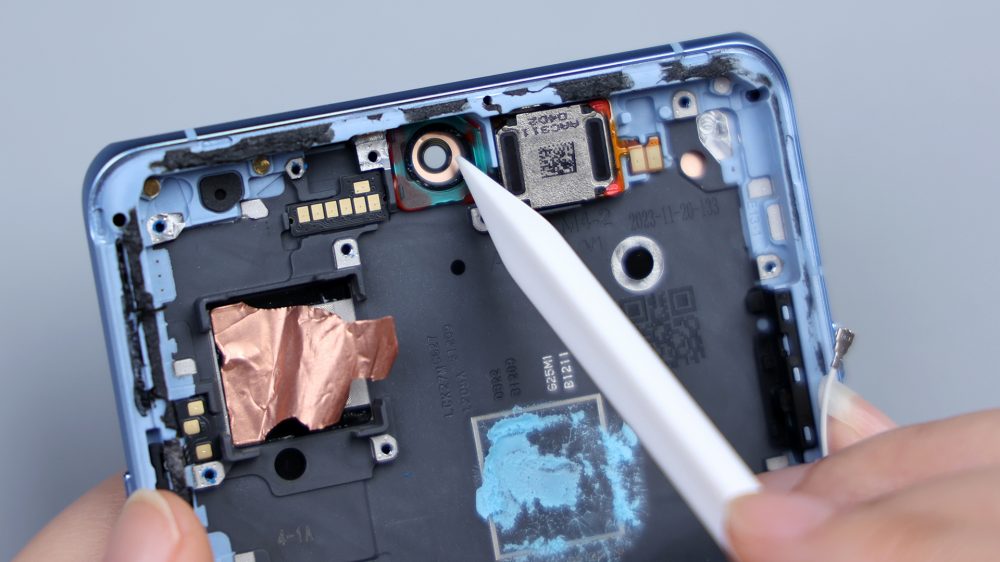
Of the four circular openings, the three transparent ones correspond to the three rear cameras, and the other one corresponds to the ambient light sensor, and they are all equipped with foam rings on the outer edge. The circular opening in the upper right corner corresponds to the flash, and the white rubber ring prevents light leakage.
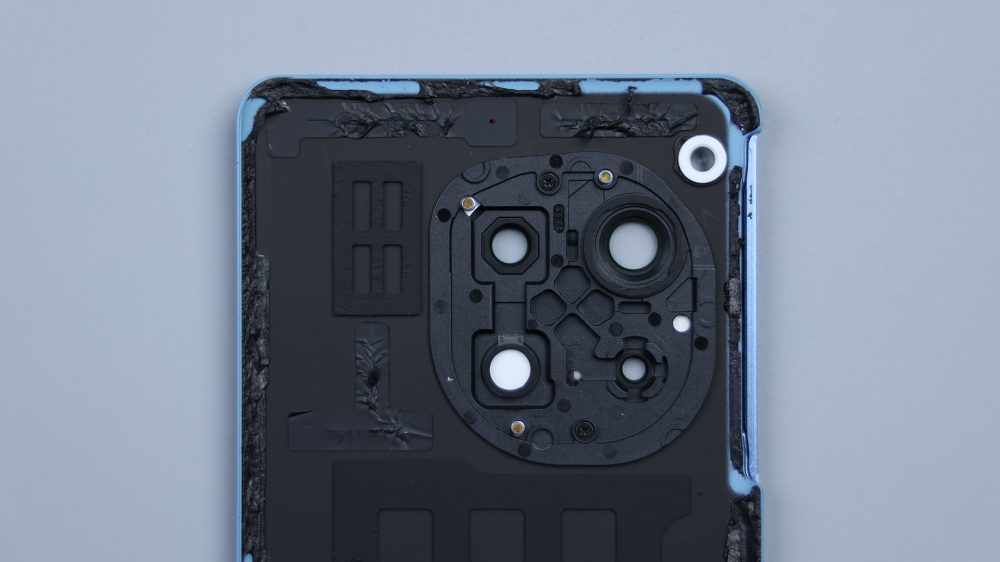
Adhesive residue can be seen on the edge of the phone's center frame, which shows how sticky it is. The flash is located in the upper left corner and features a single LED configuration with a single color temperature. The cover is secured by 11 screws, and the lens module is slightly recessed, visible from the edge profile and the side.

The NFC coil extends from the center left to the top right, running through the entire camera module with an L-shaped line. There is also an antenna FPC on the lower right side that accesses the inside of the cover, and the ambient light sensor is located below the ultra-wide-angle lens.
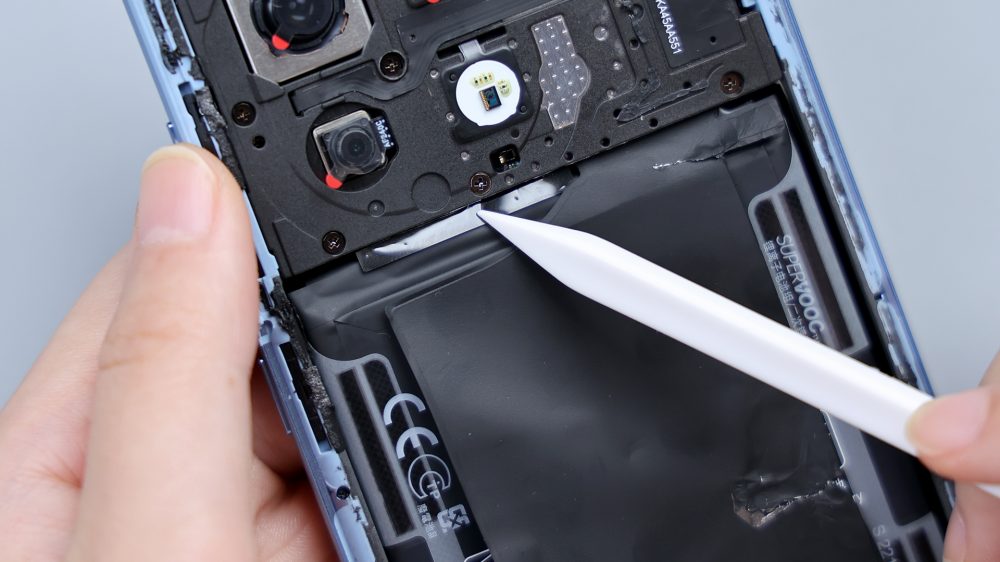
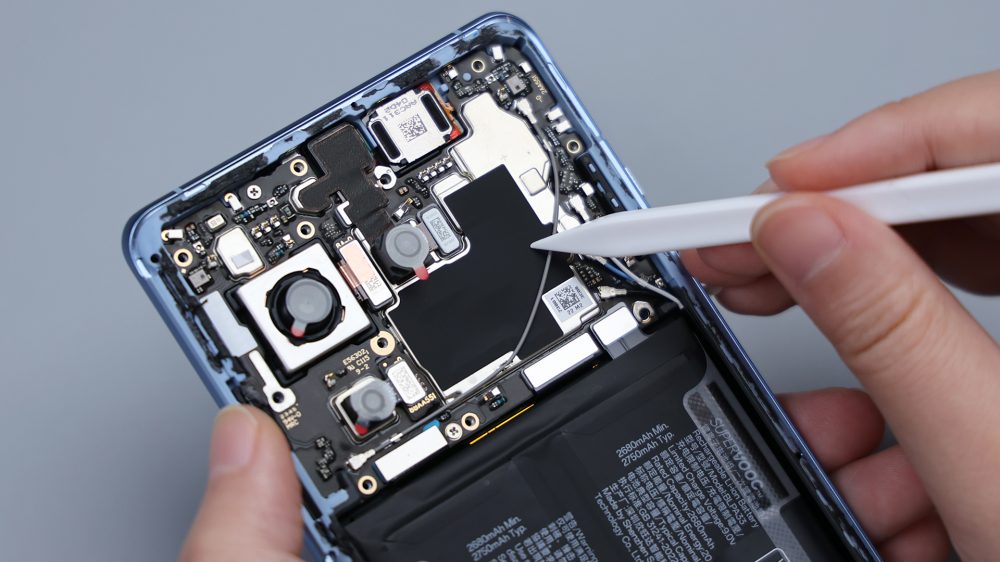
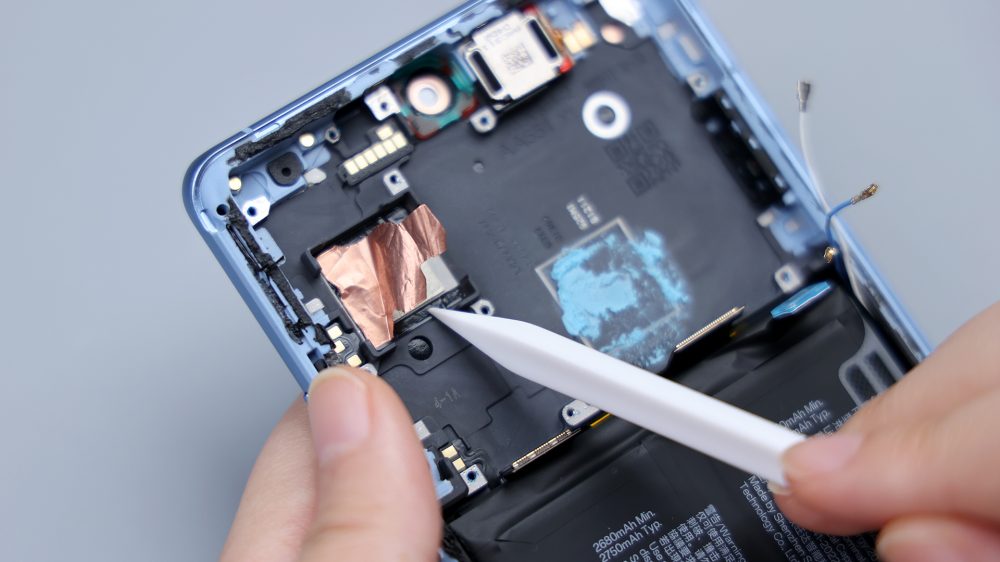
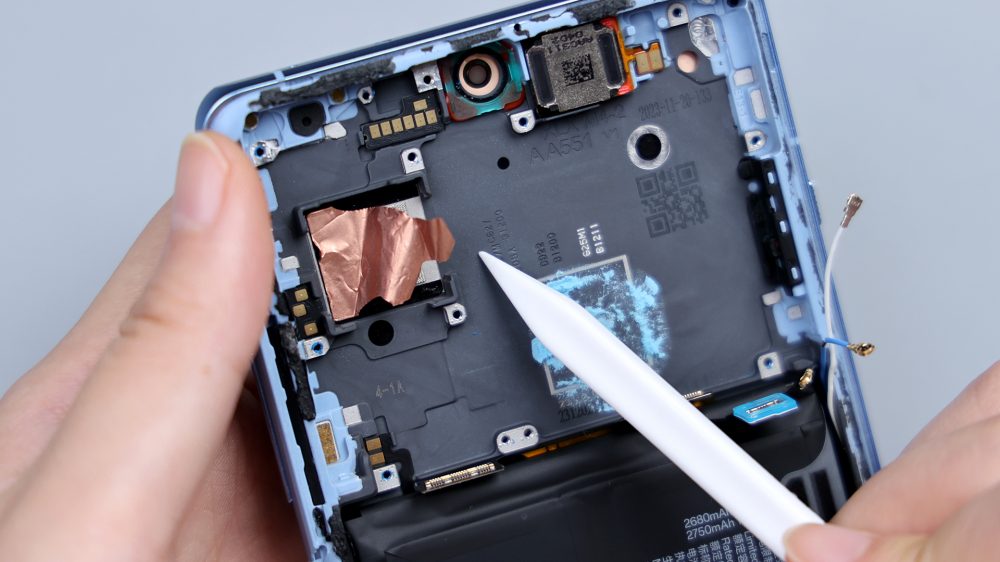
There is a metal sandwich inside the cover plate, and part of the exposed metal plate can be seen on the right side of the camera. A large graphite heat sink patch covers the top of the battery and extends upwards to the inside of the cover, while the bottom is secured to the sound chamber cover by adhesive.
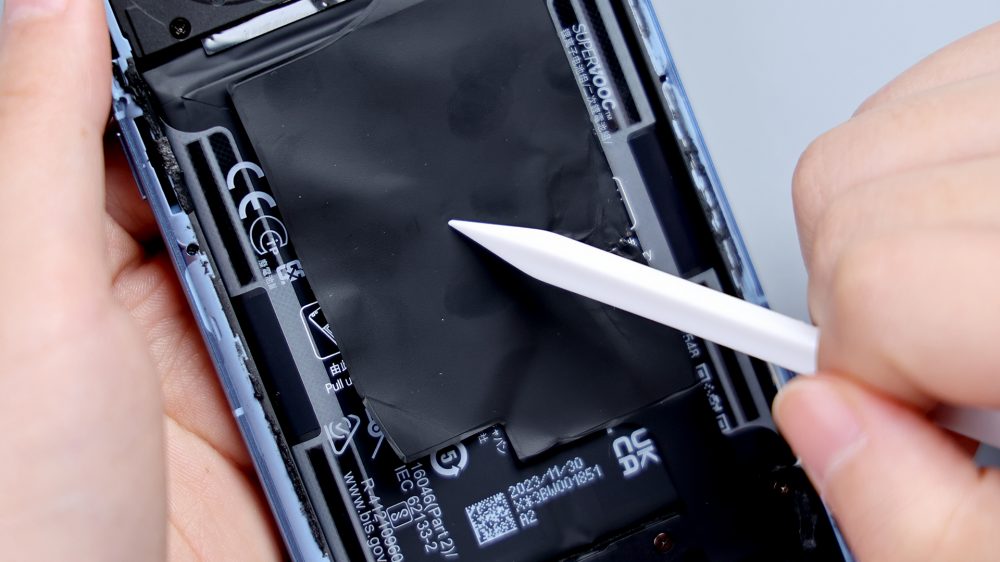
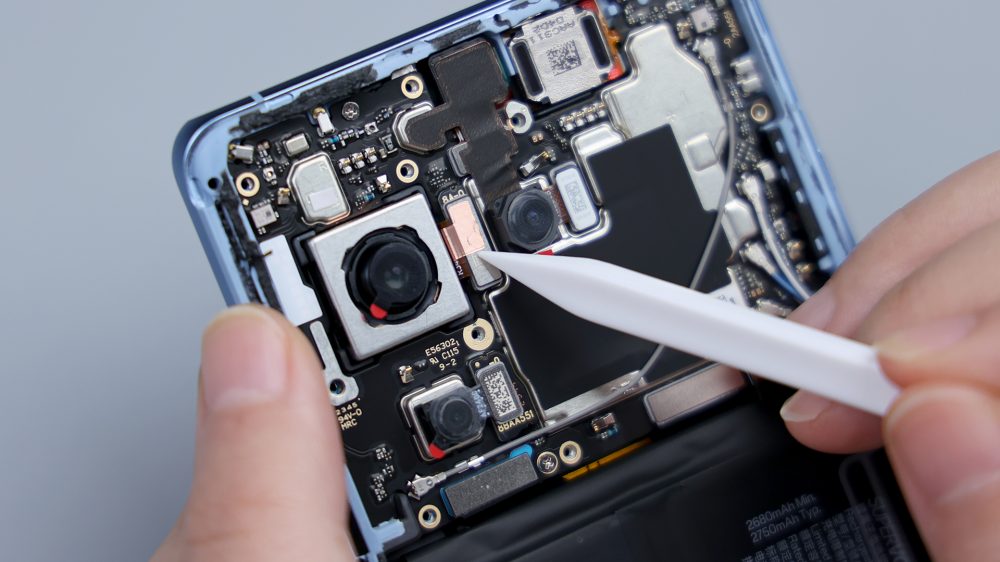
Remove the adhesive from the graphite heat sink, unscrew all the screws holding the cover in place, and pry up the cover to remove it.
As suspected earlier, the graphite thermal paste extends upwards to cover most of the core areas of the motherboard, including the three main components. The contacts in the upper left corner and the middle of the right side correspond to the NFC coils, the three contacts in the upper right corner correspond to the flash, the four contacts in the middle correspond to the ambient light sensor, and the two contacts in the lower left corner correspond to the antenna FPC.The inside of the cover is also well protected, with the two pieces of foam in the upper left corner corresponding to the speakers, and the openwork foam next to them corresponds to the front-facing lens and its BTB, with the ultra-wide-angle lens receiving special care, and not only the BTB but the ultra-wide-angle lens receiving special care, but the BTB is protected by the graphite heat sink. Not only does the BTB have a foam pad, the four corners of the lens have a corresponding buffer foam. The bottom row of BTB naturally will not be left behind, the long black strip of foam covers the whole.
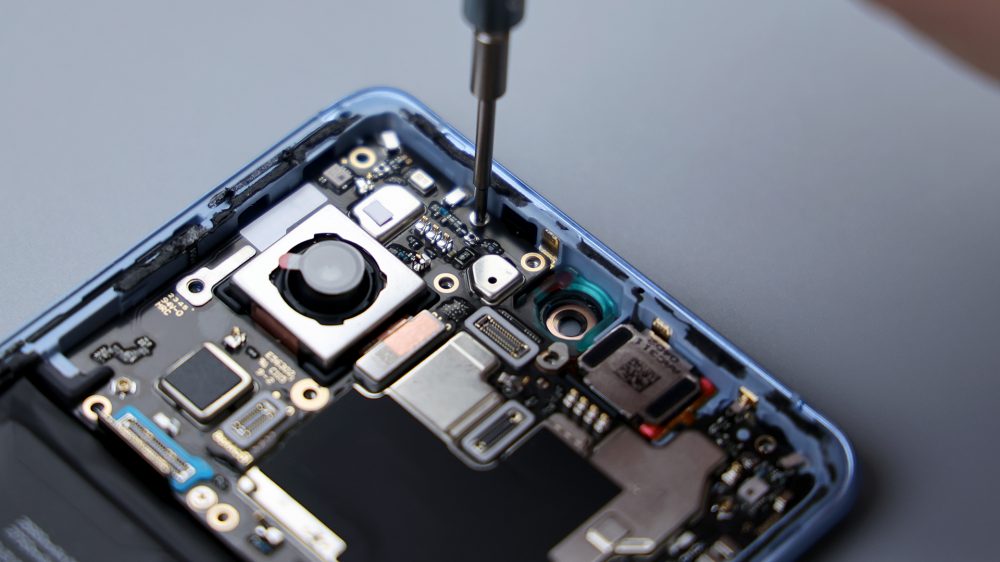
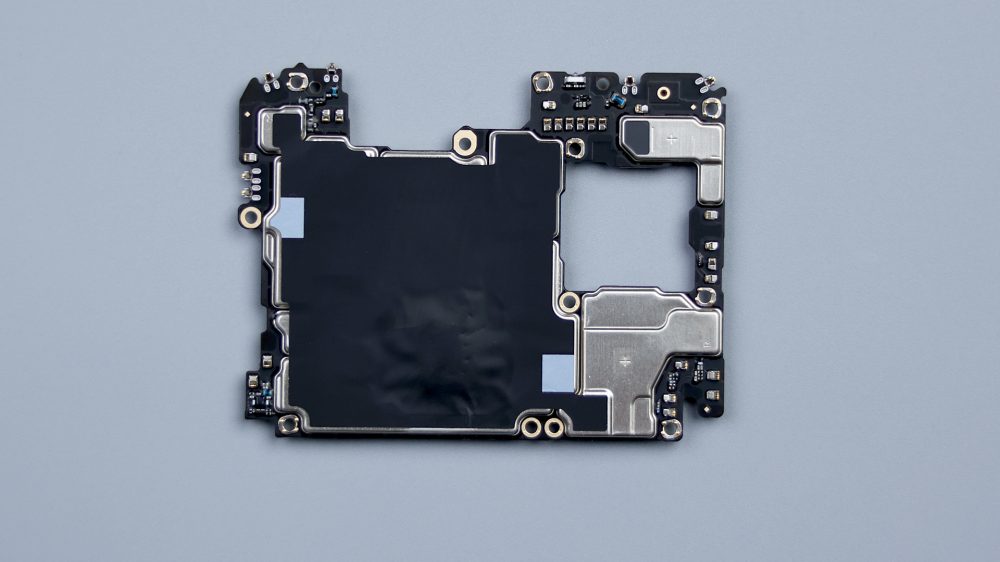
After removing the cover, the A-side of the main board is basically exposed, and it has two separate fixing screws distributed on the top and bottom.
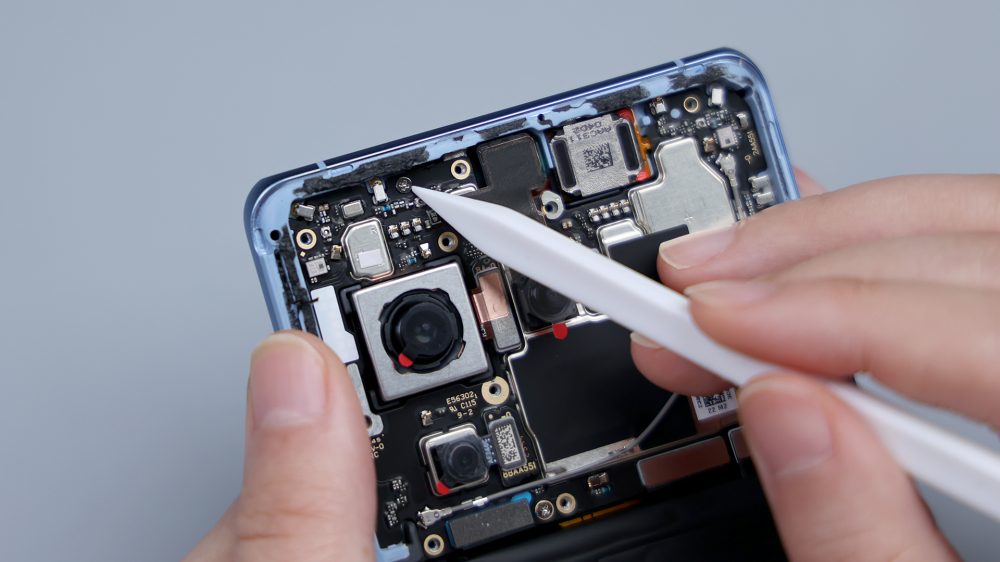
The noise-canceling microphone is located in the upper left corner, the right side is where the IR emitter is located, the back of the front lens is covered with copper foil and heat dissipation film, and on the right side is a speaker that doubles as an earpiece. There's a small piece of copper foil on the main camera BTB, and the PCB next to it is covered with a piece of white tape that vaguely reveals the contacts underneath. A gray coaxial cable runs through the left and right, connecting the lower left and upper right, and there are also black, white, and blue coaxial cables attached to the lower right corner of the motherboard.
The PCB underneath the main camera and macro lens BTBs, both of which are laminated.
The core area with a large black graphite heat sink patch. The A-side of the motherboard is well protected, the battery and a few other BTBs are vaguely rubberized along the outer edges, and all the capacitors and small parts that can be seen, have been spot glued.
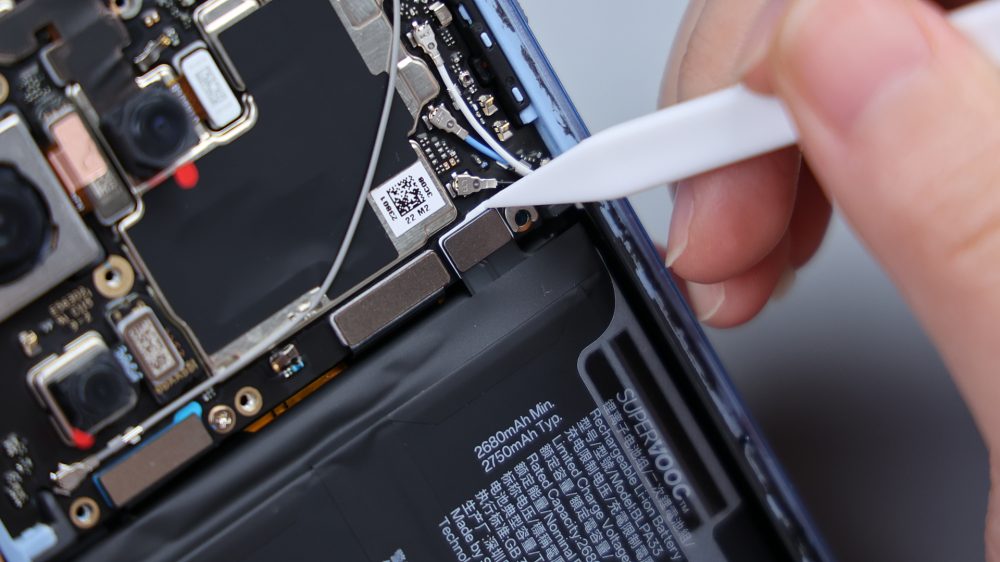
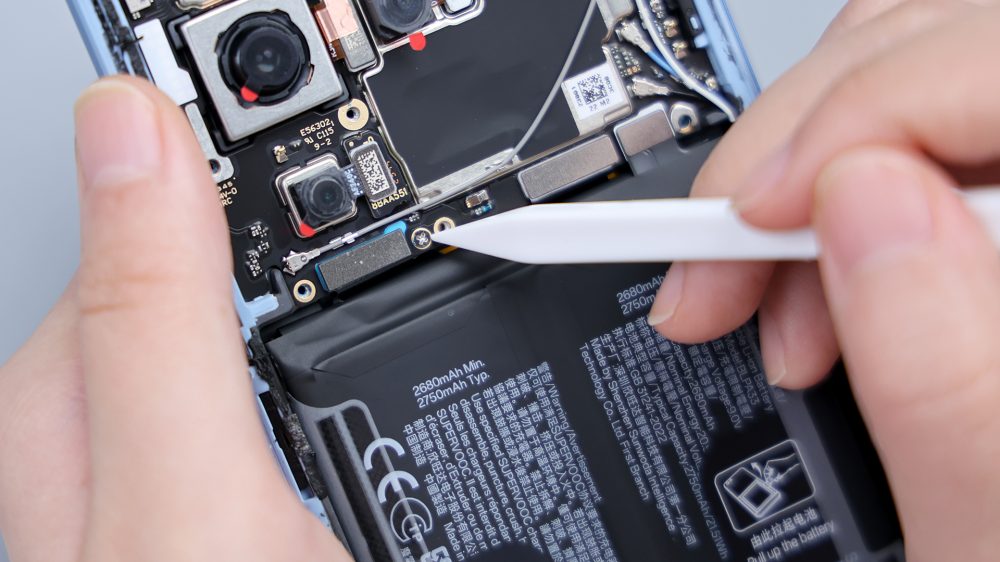
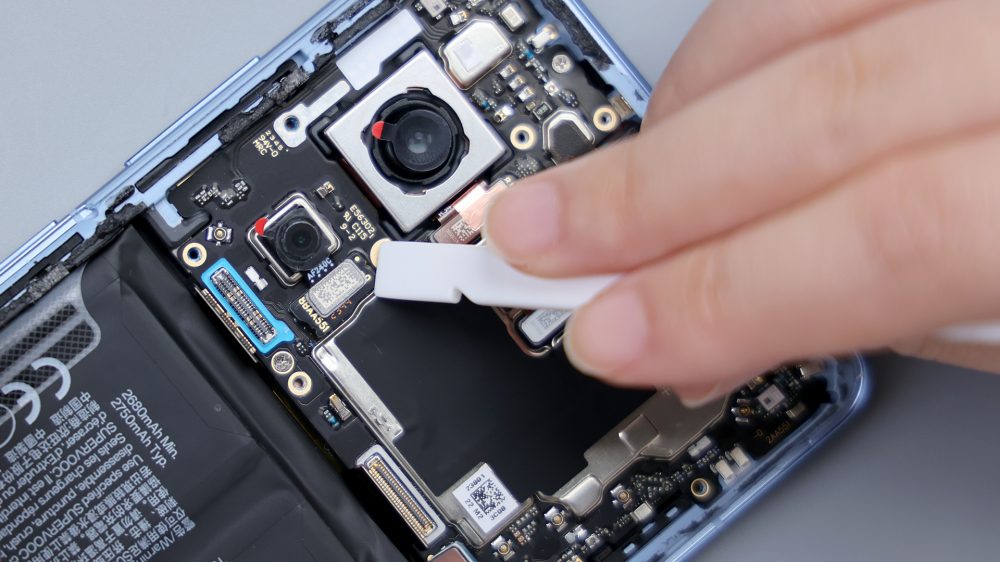
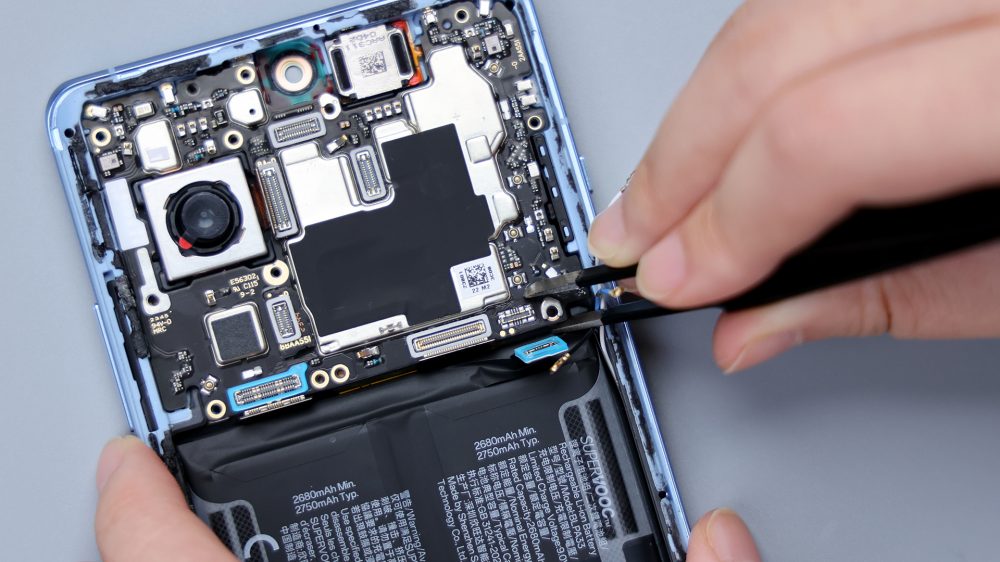
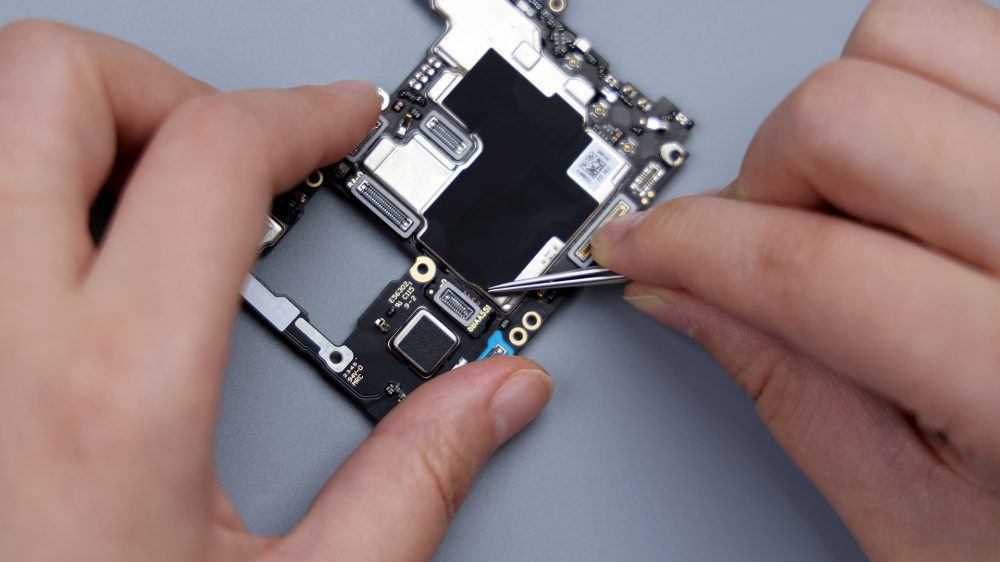
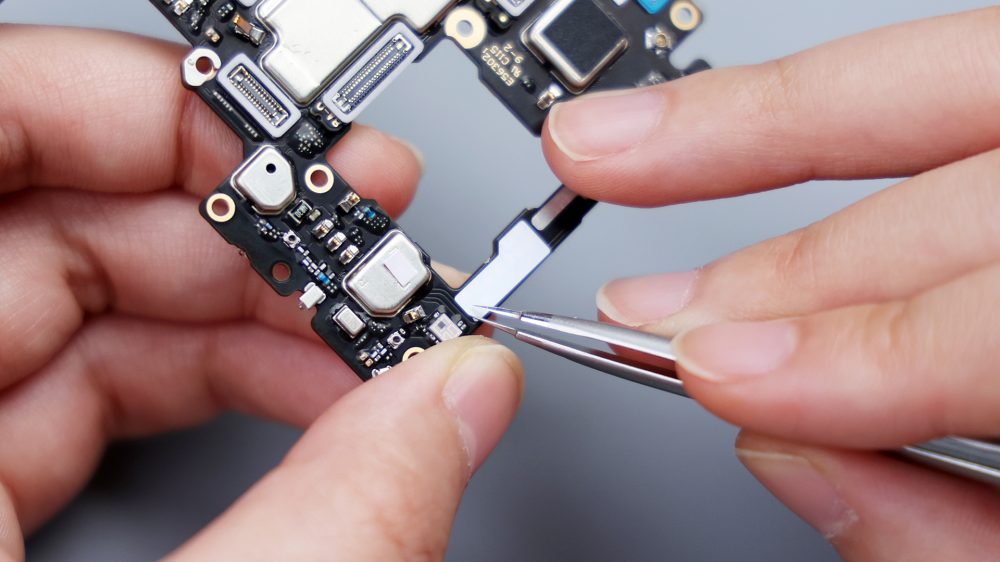
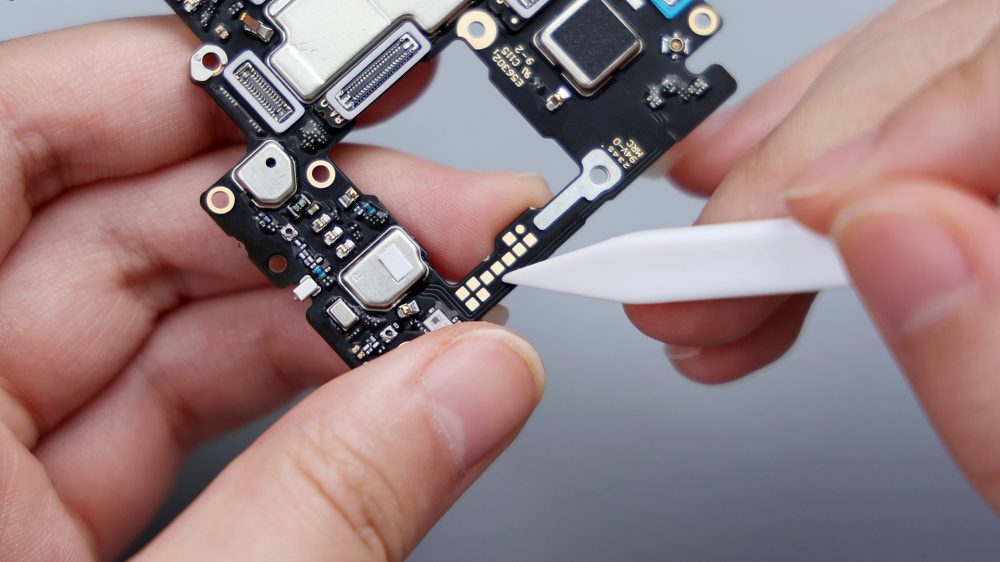
Disconnect the battery, the BTBs of the main and secondary FPCs, and the four coaxial cables, the macro lens and ultra-wide-angle lens can be disassembled directly after disconnecting the BTBs, and the front lens needs to be removed by tearing off the back thermal film first, then disconnecting the BTBs to remove it.
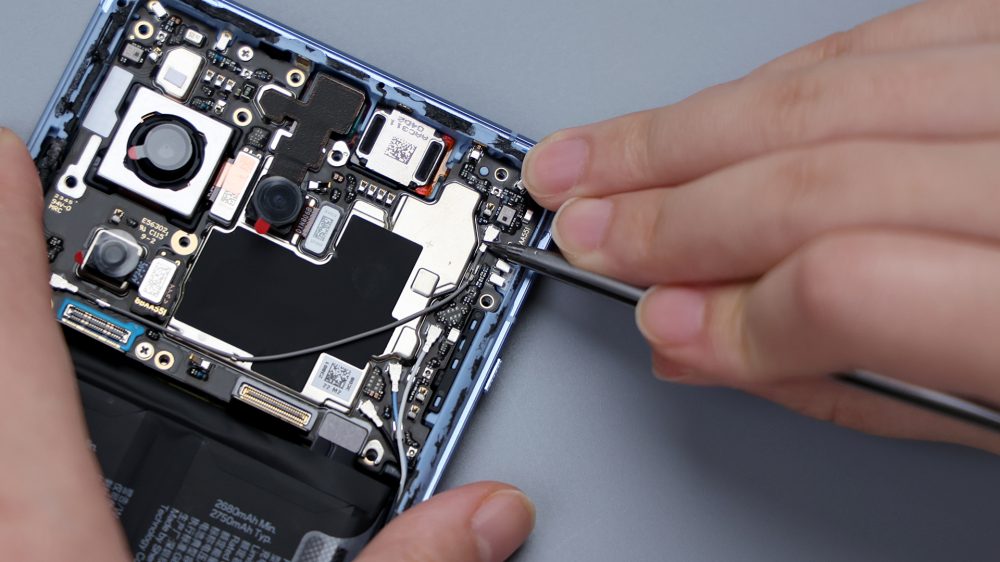
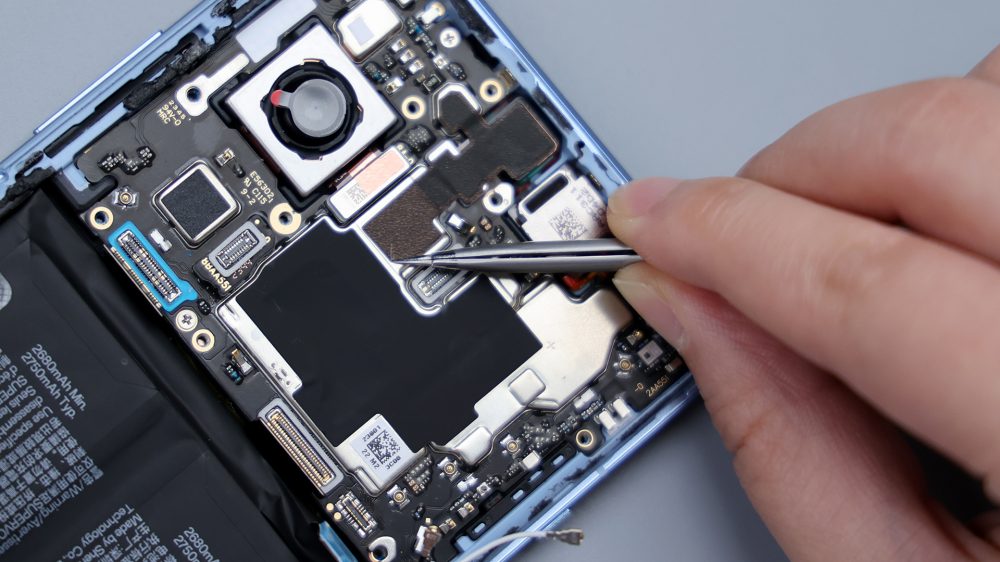
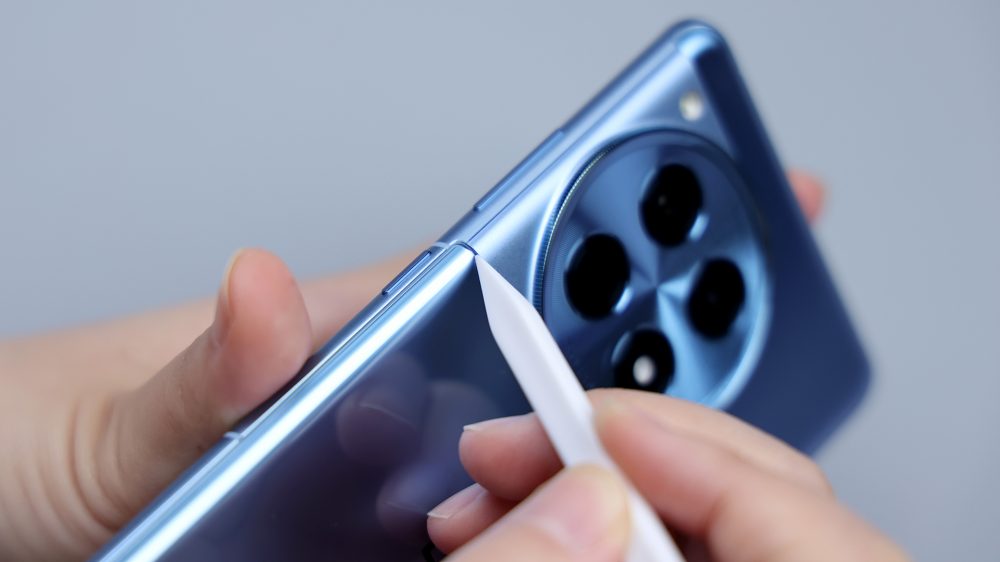
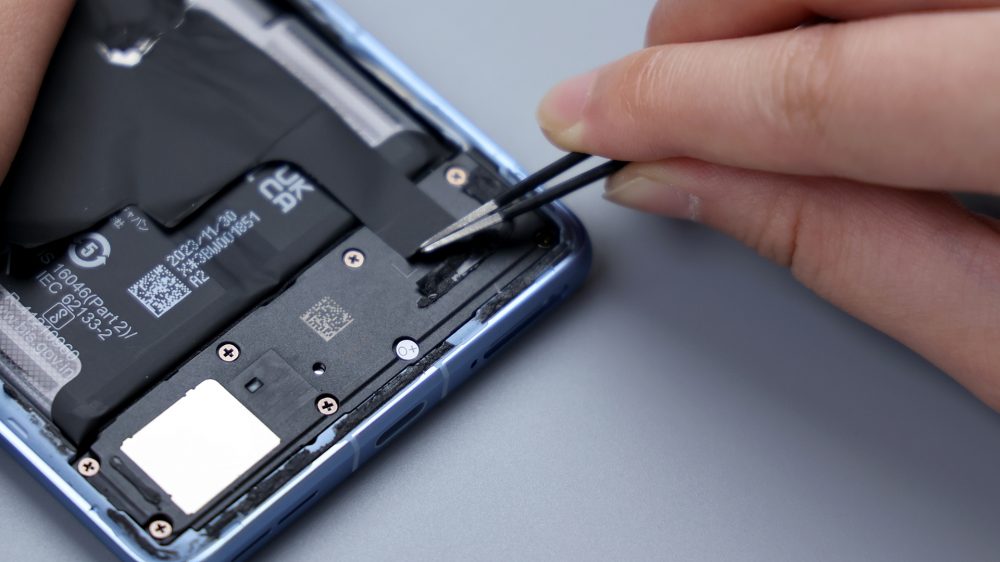
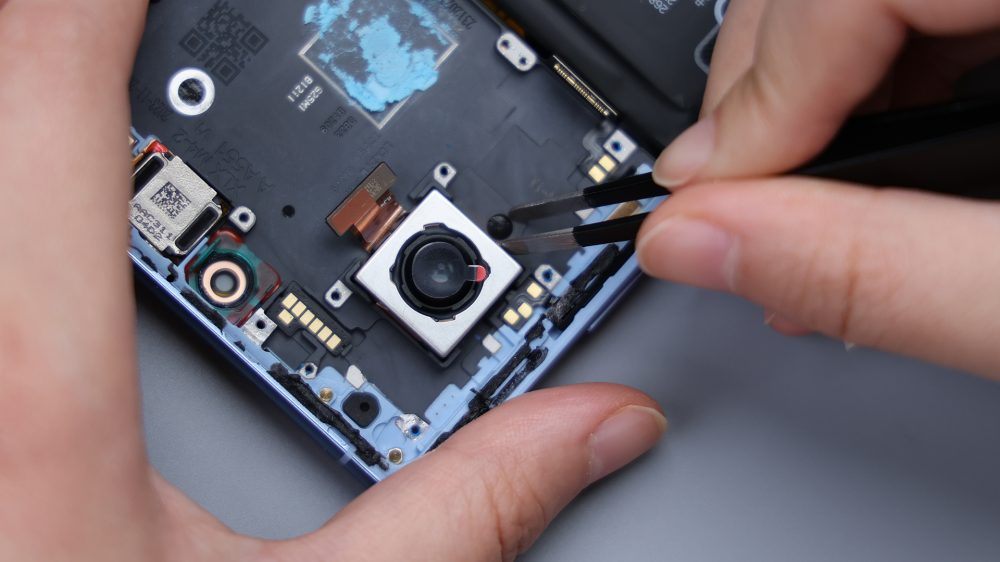
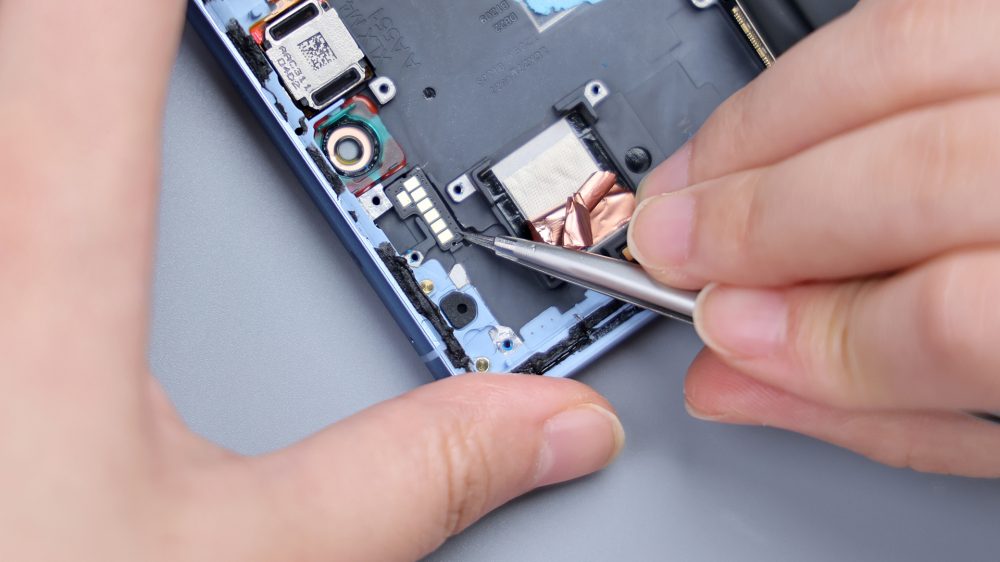
The main camera is a bit special, after disconnecting the BTB, it is a bit difficult to remove, there is a layer of copper foil wrapped underneath, fixed to the frame by adhesive, and then deal with it after removing the motherboard.
Unscrew the 2 motherboard fixing screws, pry up and remove the motherboard, and then deal with the main camera, the copper foil is a bit tightly adhered to the frame, so I can only tear it off.
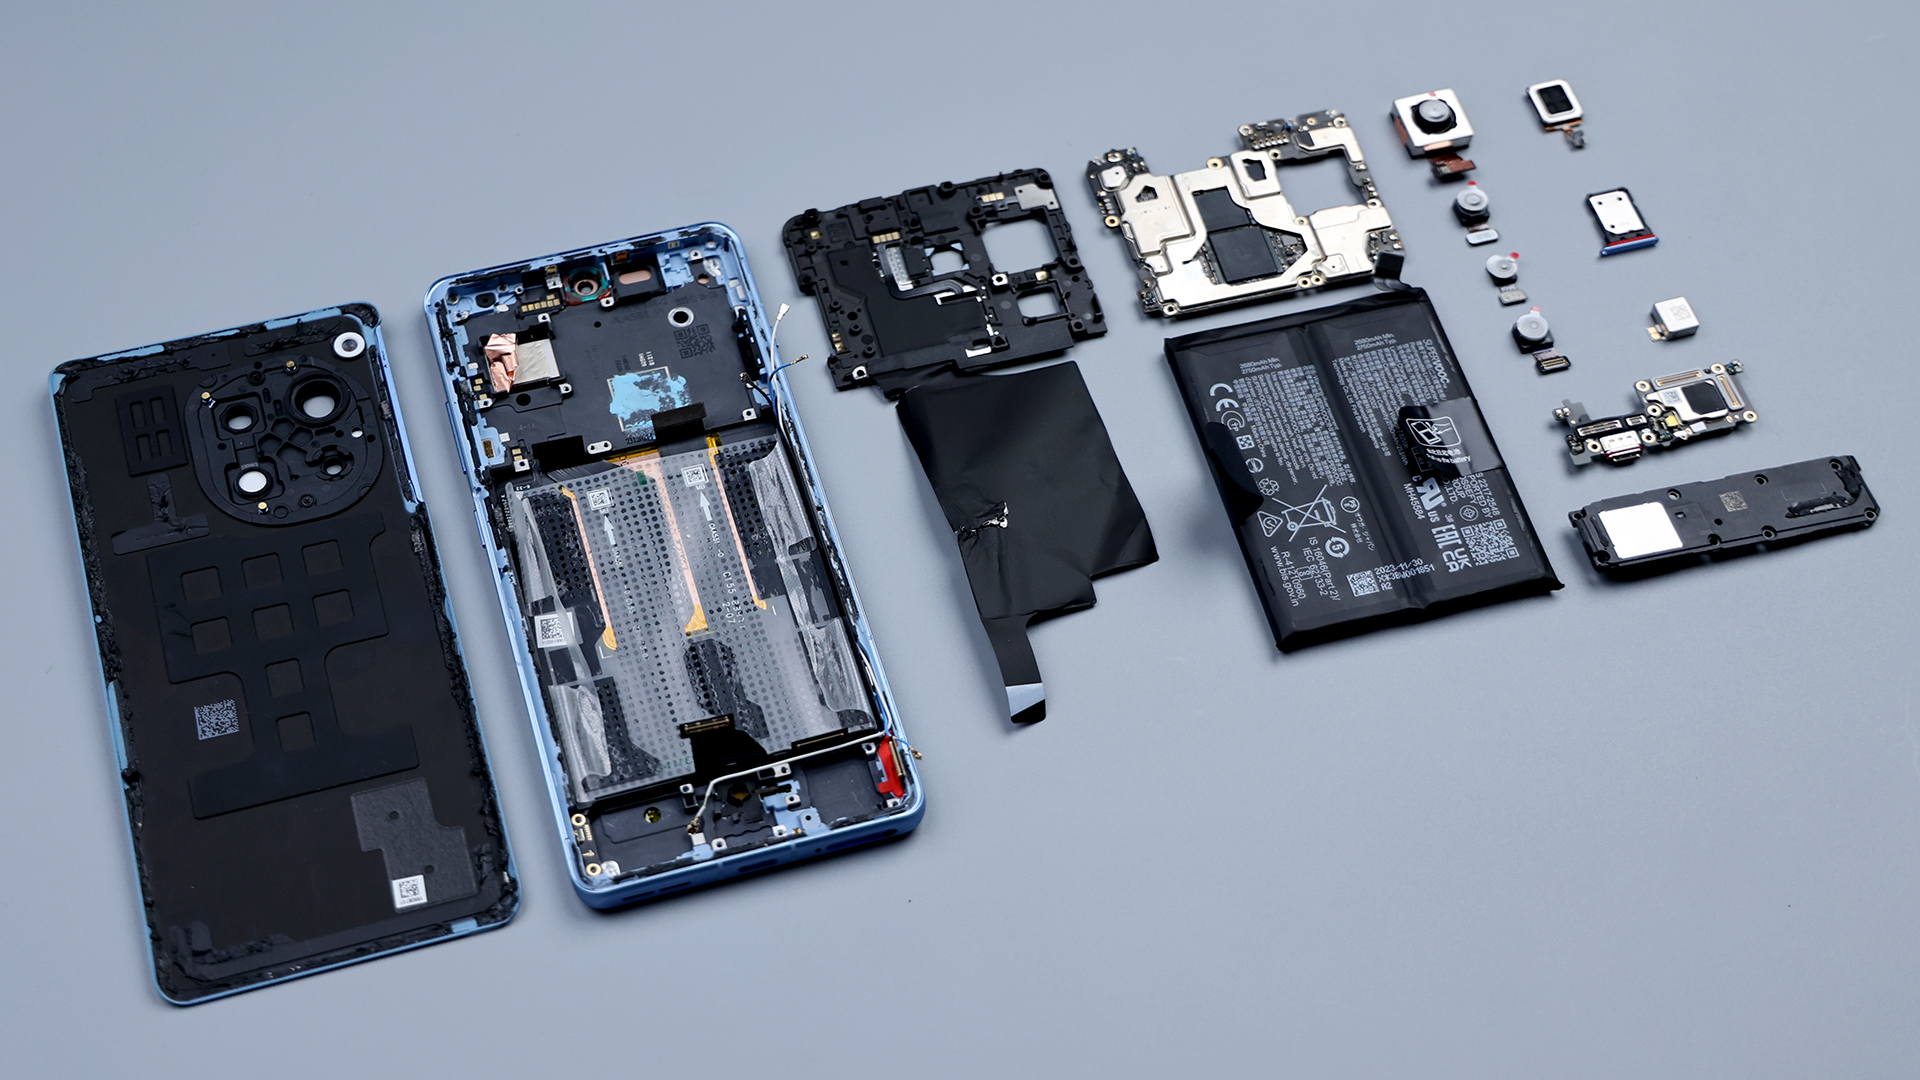
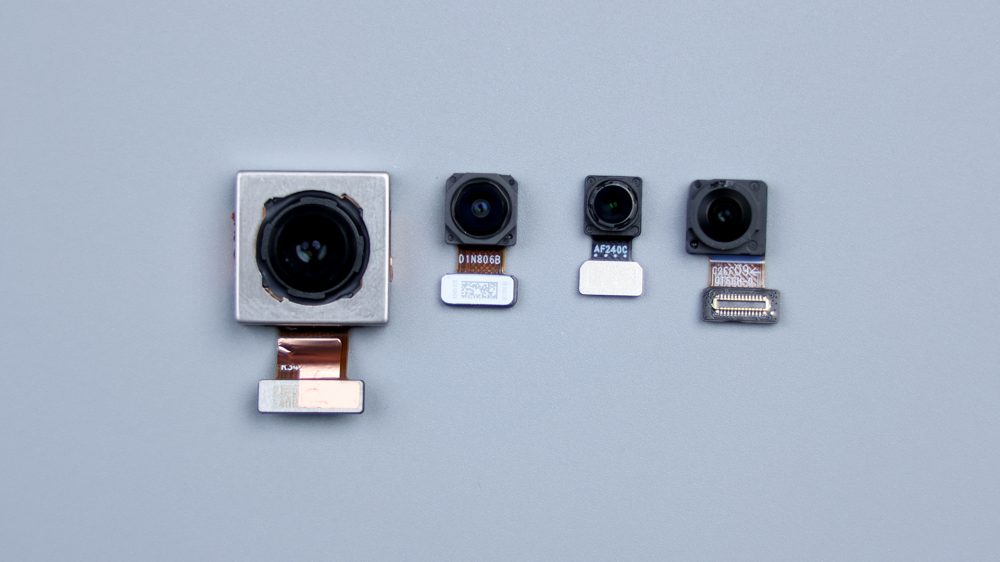
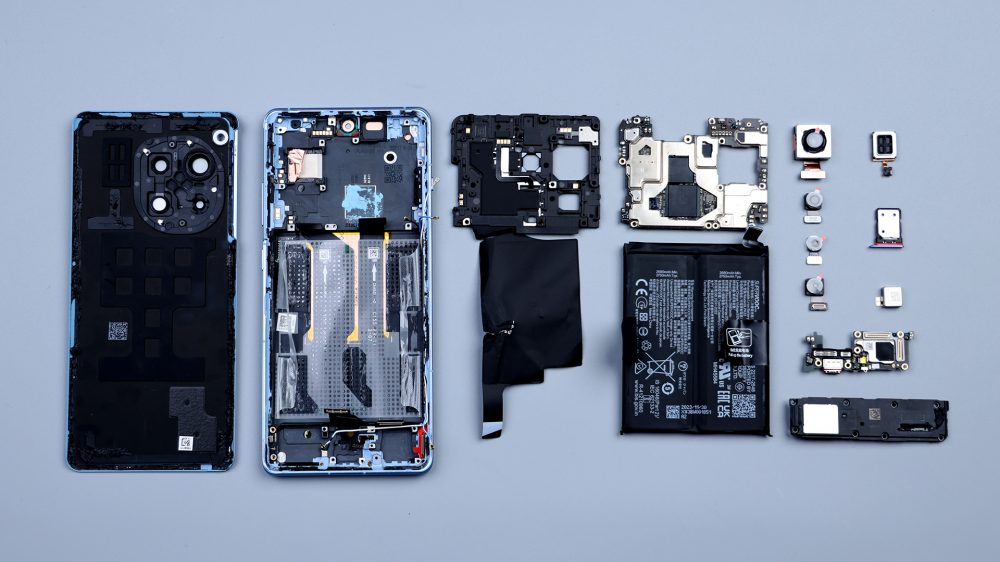
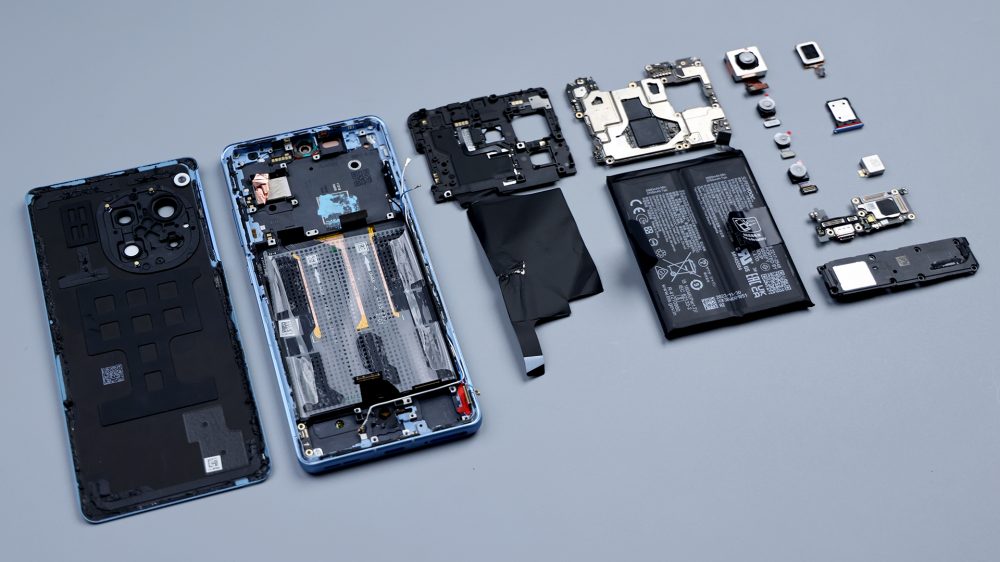
This way, the front and rear four cameras are all together, 50MP Sony IMX890 main camera, 1/1.56-inch sensor, support for OIS optical stabilization, equivalent focal length of 24mm, 6P lens, aperture f/1.8.8.8MP Sony IMX355 ultra-wide-angle lens, equivalent focal length of 16mm, 5P lens, aperture f/2.2.2.2MP OV02B10 Macro lens, 22mm equivalent focal length, aperture f/2.4. 16-megapixel Samsung S5K3P9 front lens, aperture f/2.4.
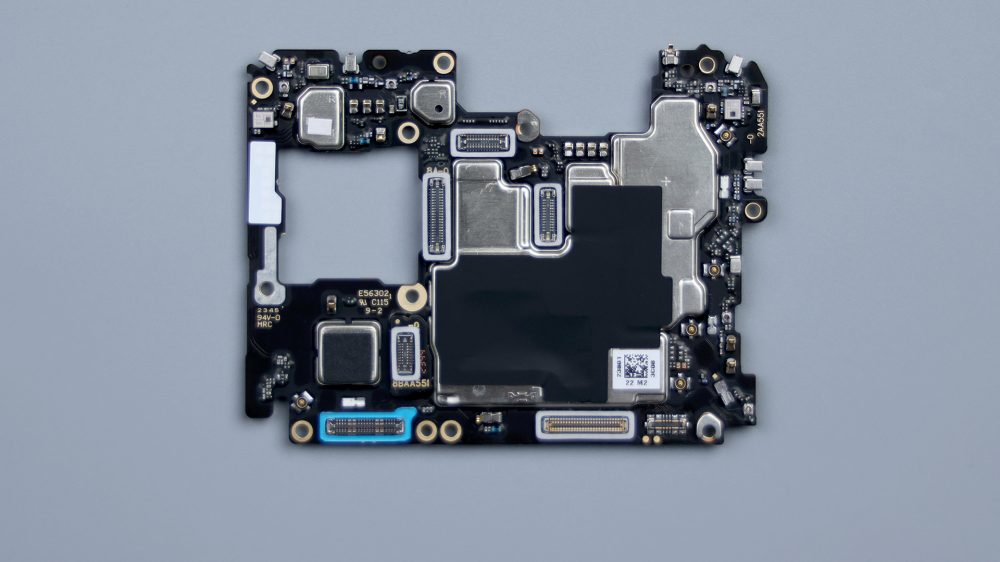
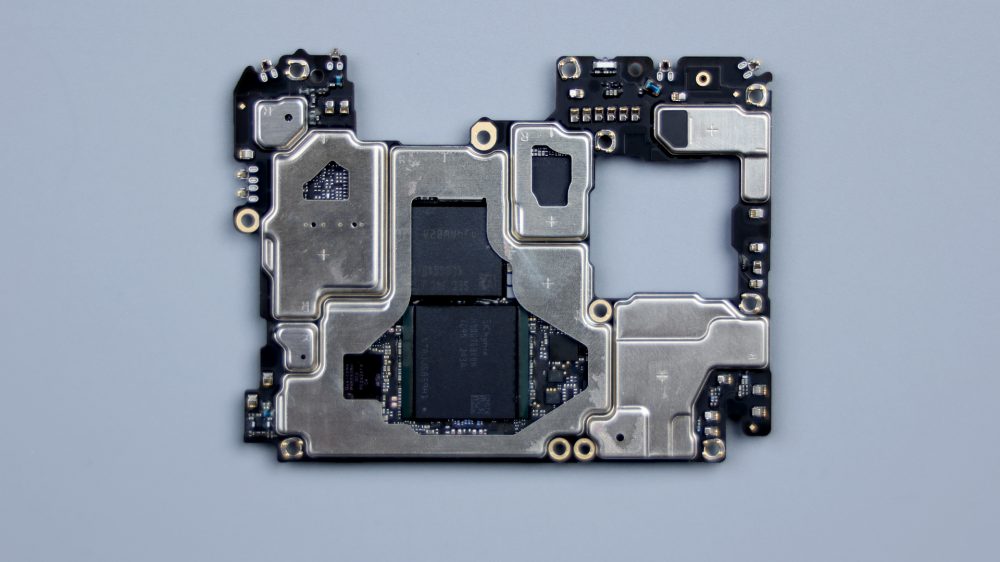
The motherboard is a single-layer PCB design with metal sheet reinforcement on the slightly narrower edges. all BTBs on the A-side are protected, with most of the rubber bands at the base location and only the battery's located at the connector end.
Most of the shields on the B-side of the motherboard are covered with graphite thermal paste, the core area is also coated with blue silicone grease, and all the capacitors and small parts are also spot-glued. The microphone cutout is located in the upper right corner, and the clear light bulb next to it is the IR emitter.
Tear off the graphite thermal paste, the core chip inside has a layer of heat dissipation material, the chip edge can be seen obvious traces of dispensing.
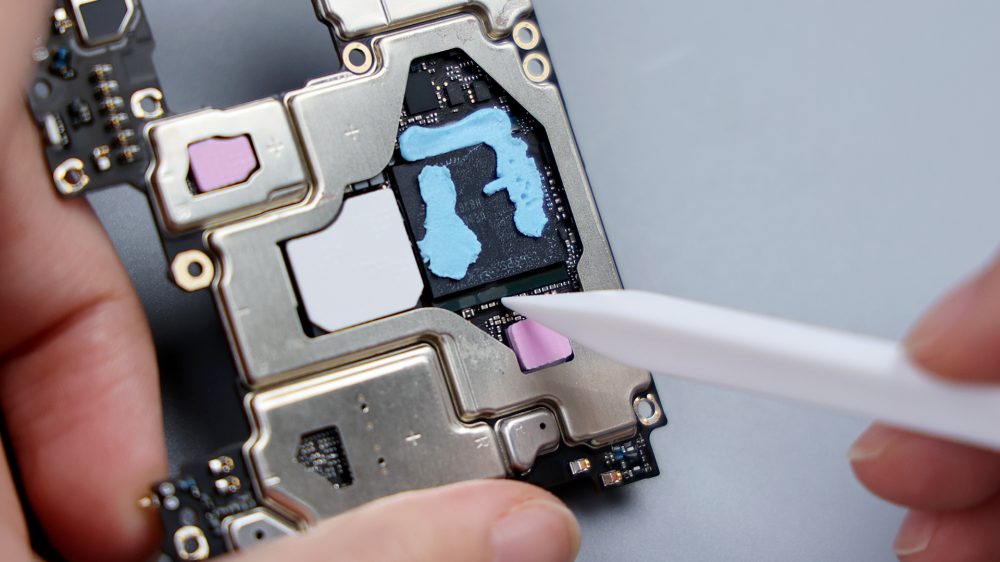
The chip with the Hynix logo in the center is the 16GB LPDDR5X running memory, the green chip pressed underneath is the Snapdragon 8 Gen 2 processor from Qualcomm, and the black chip about the same size next to it is the 1TB flash memory from Samsung. The one in the upper right corner is Qualcomm's WCN7851 WiFi/Bluetooth chip, and the slightly reflective chip next to the processor is Qualcomm's PM8550 power IC.
Tear open the motherboard A side of that white tape, underneath is indeed the contact, guess is previously designed for a certain function, or for a component reserved, the back of the product finalization canceled the design, but the PCB has been finalized, so it will have to cover up the processing.
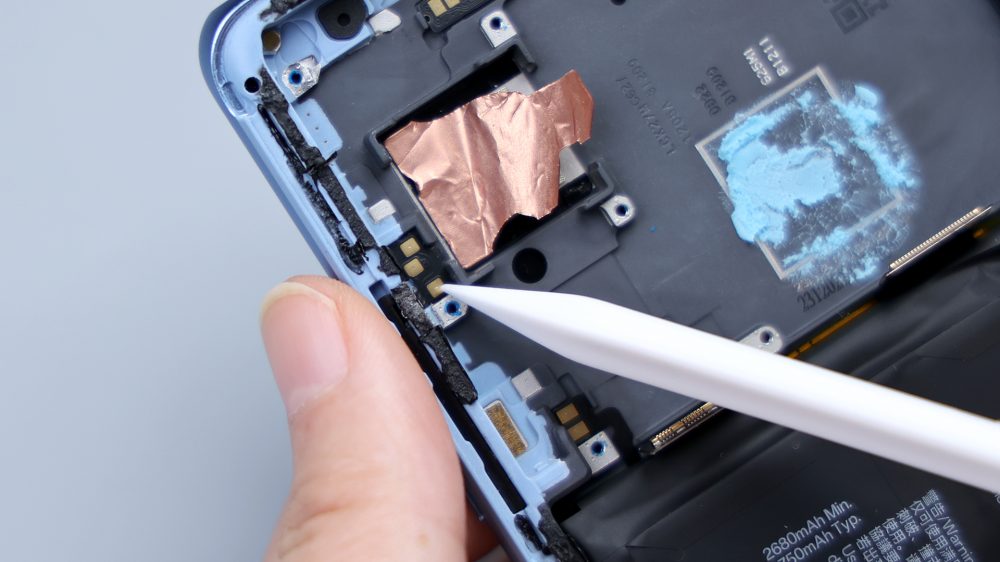
Remove the motherboard, the center frame is also empty, the upper left corner of the foam corresponds to the noise-canceling microphone, next to the square foam corresponds to the infrared emitter, the front lens in addition to the foam ring, there are still residual adhesive.
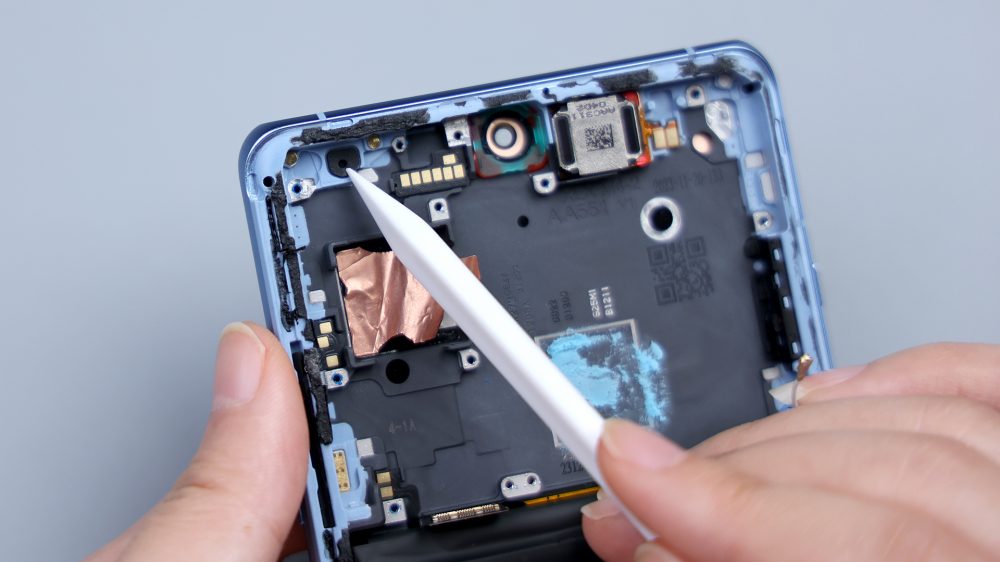
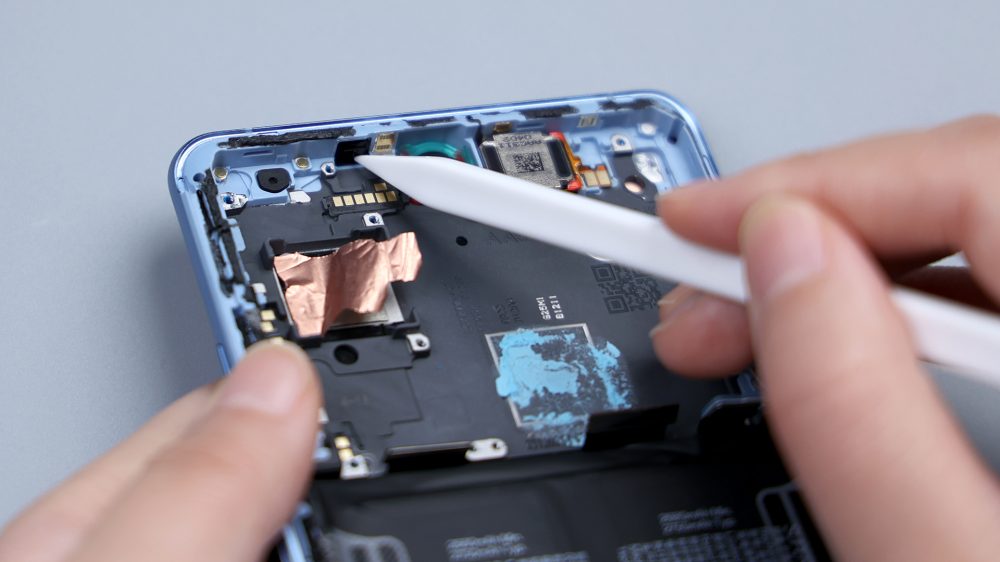
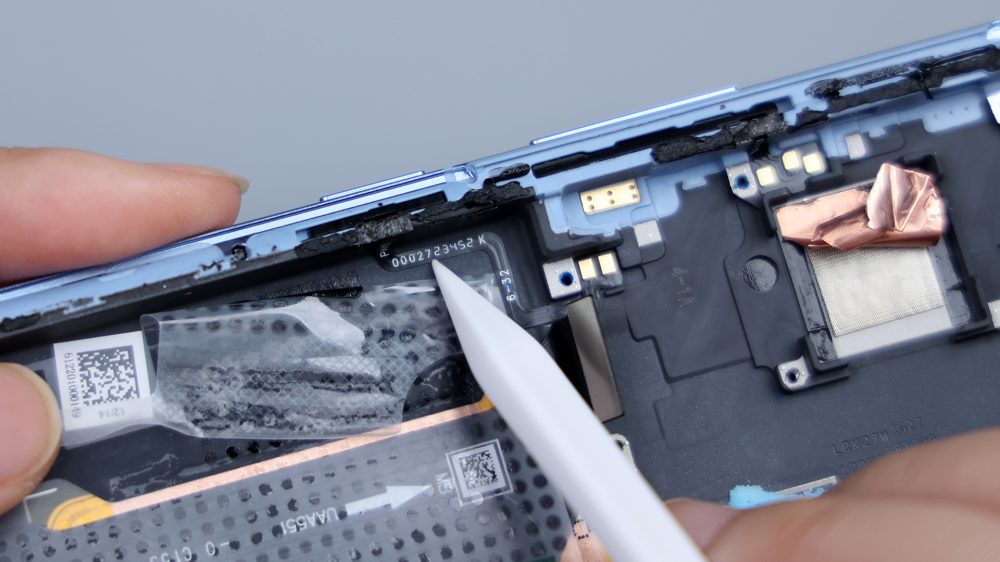
The frame at the main camera position is not skeletonized, there are two fixed black adhesives underneath, and a small frame is made around it to act as a limit. There are 3 contacts on its left side, corresponding to the volume keys, and 2 contacts downward, judging from the location, corresponding to the power button, however, most of the phone's power button and volume key contacts are integrated together, while its FPC extends to the bottom of the battery, waiting for the battery to be removed later to confirm the judgment.
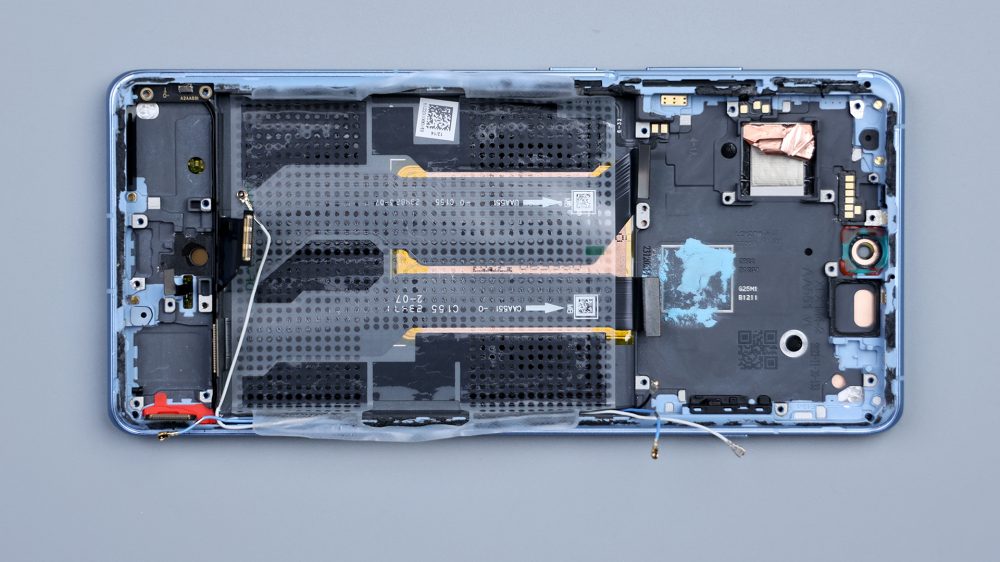
The copper foil used for heat dissipation on the inside of the screen is visible through the round hole at the top right. Multiple contacts are scattered around for signal overflow. Nano-injection molding is mainly concentrated in the outer edge of the frame in a circle, the large black area in the middle is not injection molding, but a layer of paint sprayed on the surface of the metal, which can be seen from the partially exposed metal luster, as well as the thickness of the coating in the side view.

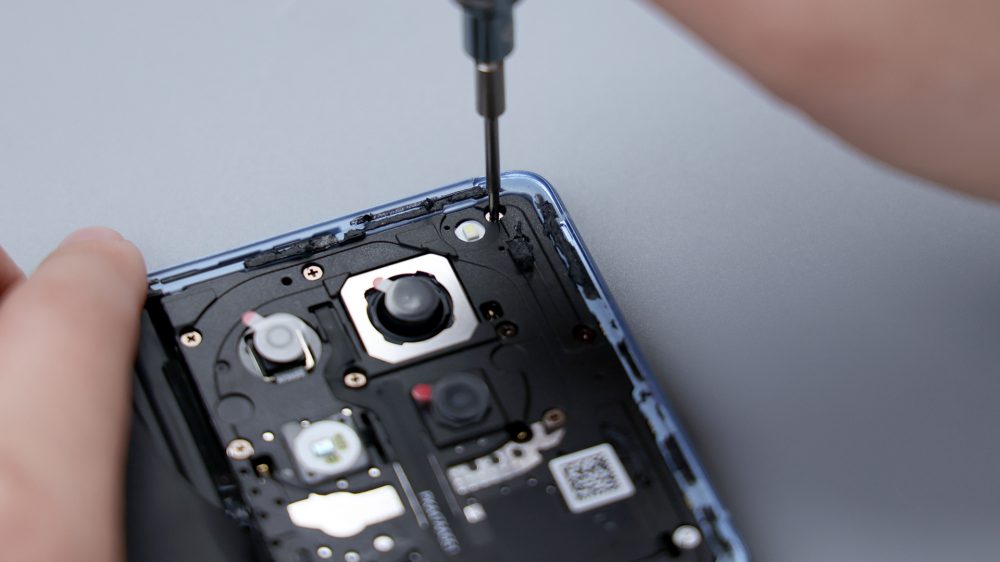
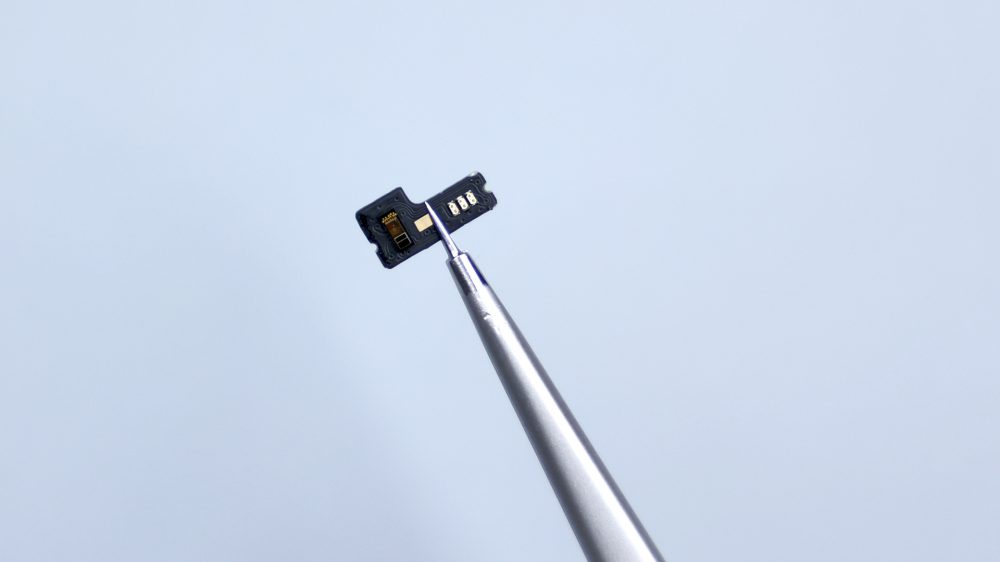
Prying up the top left PCB with the front ambient light sensor integrated on it.
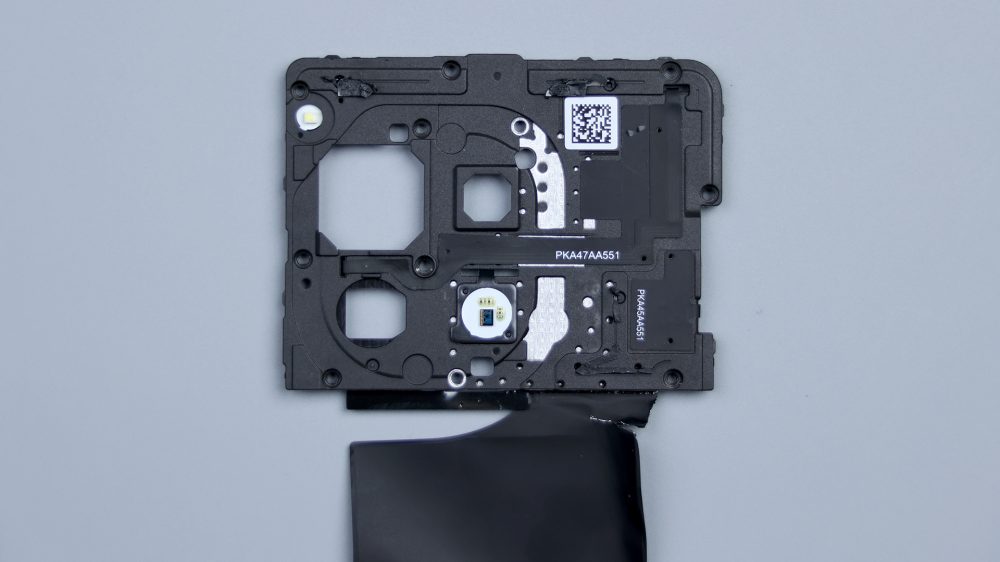
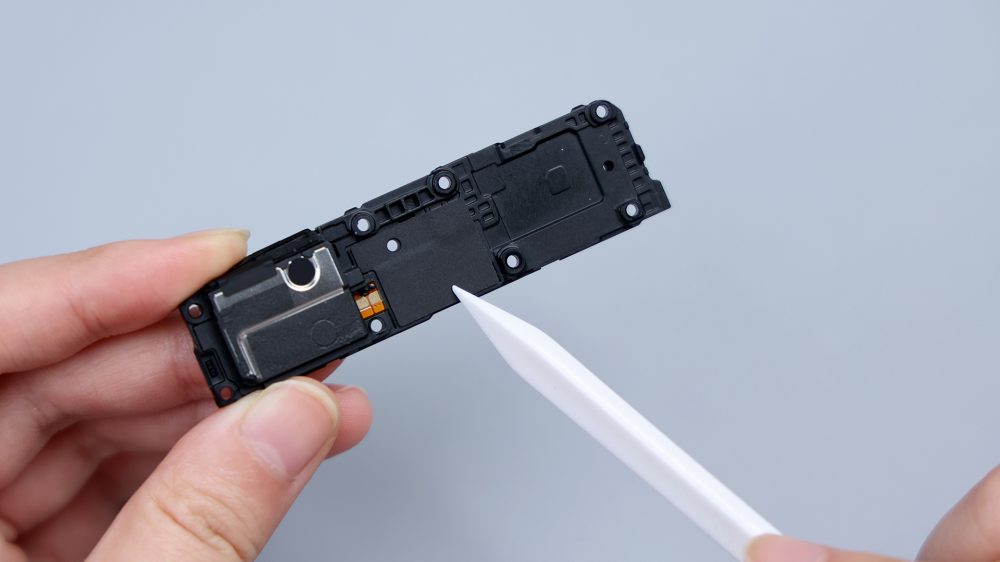
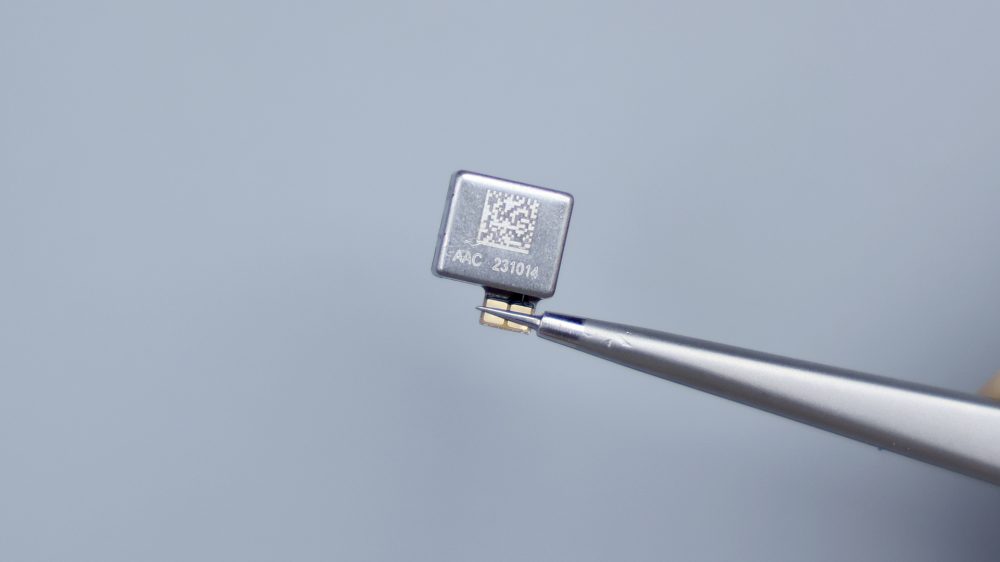
The top speaker is held in place by adhesive, and the extended 2 contacts connect to the motherboard, which is from Rexon Technology and uses the 1012H specification.
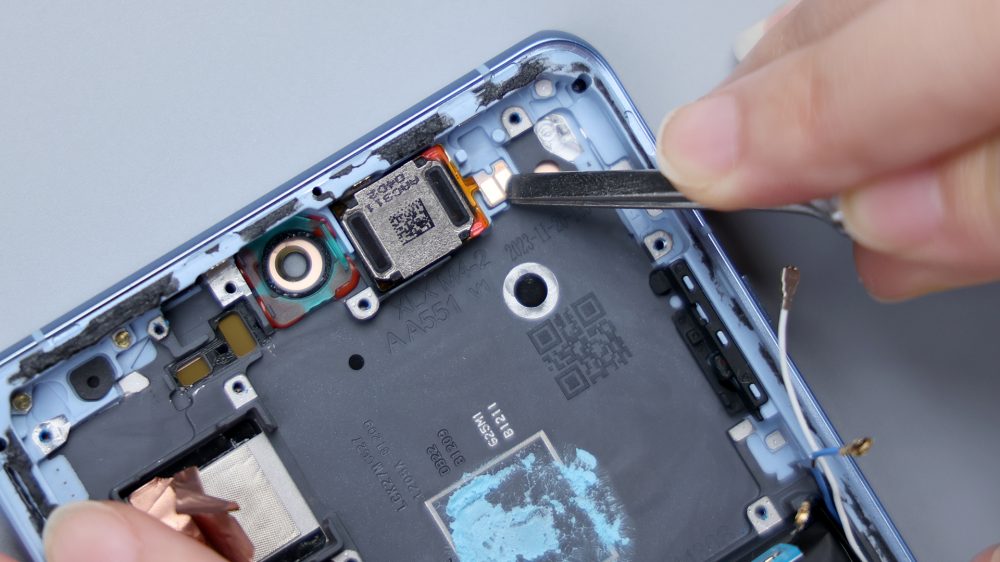
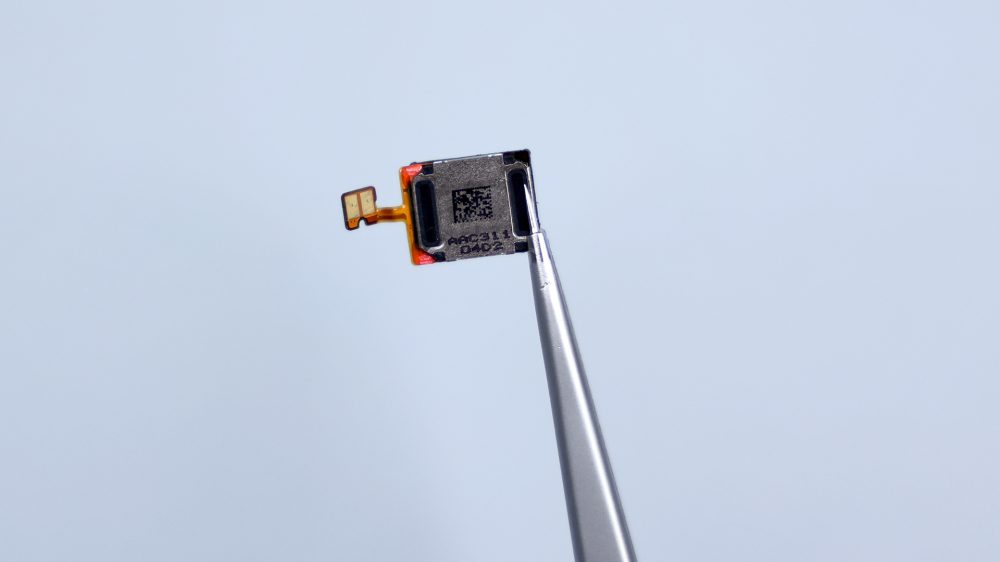
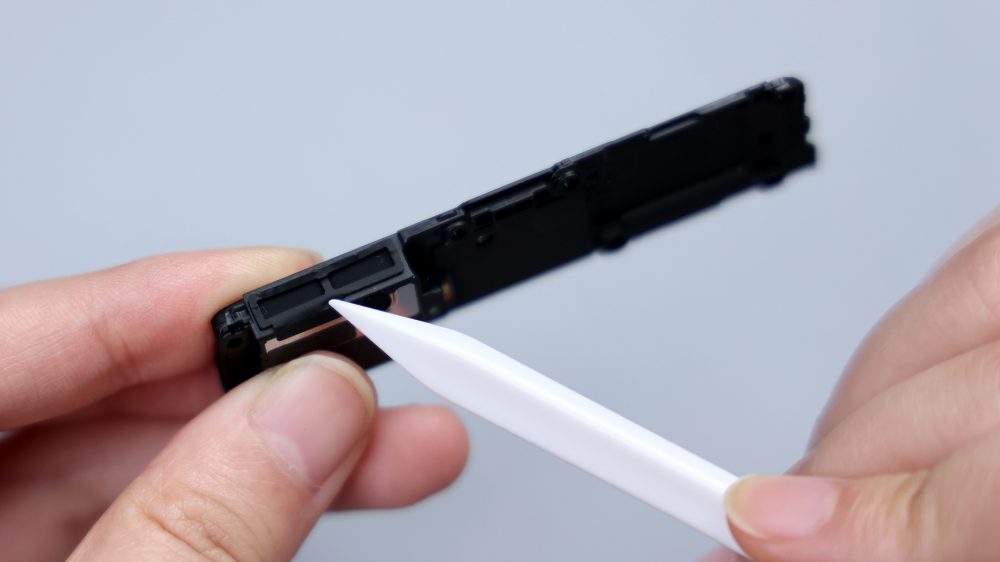
Unscrew all the fixing screws in the sub-panel area, pry up to remove the cover plate, the speaker is integrated in the cover plate and connected to the sub-panel through 2 contacts, it is from Ruixing Technology, it belongs to the AAC's master speakers, the advantage is that it achieves excellent high and low bass effects in a super small size.
The inside of the cover is equipped with foam pads, the two above the speakers are relatively thin and the one next to them is much thicker, providing cushioning protection for the BTB, USB ports and motors, and a skeletonized foam pad is also affixed to the location of the sound outlet holes. The secondary board has 1 dedicated fixing screw and a small PCB on the left edge.
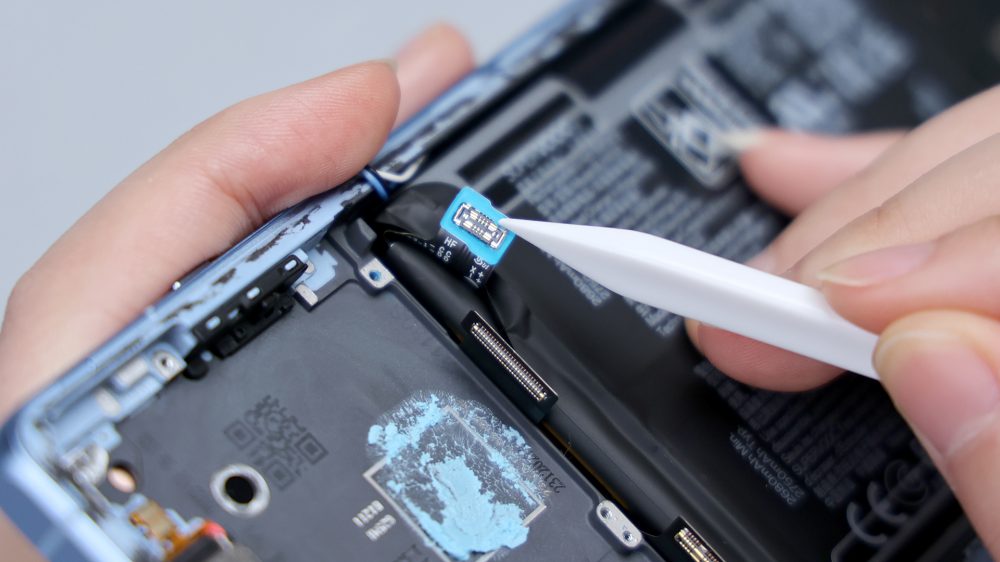
Disconnecting the screen, the main and secondary FPCs, and the BTB for fingerprint recognition in turn, the OnePlus Ace 3 uses an ultra-thin screen fingerprint solution. After unscrewing the fixing screws and prying up the secondary board, disconnect the coaxial cable connected on the back and you can remove the secondary board.
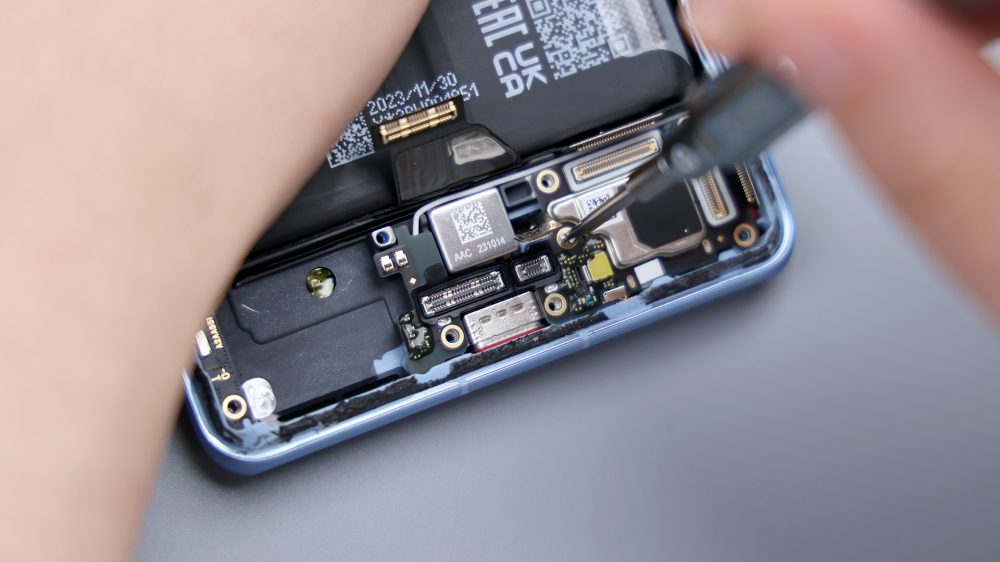
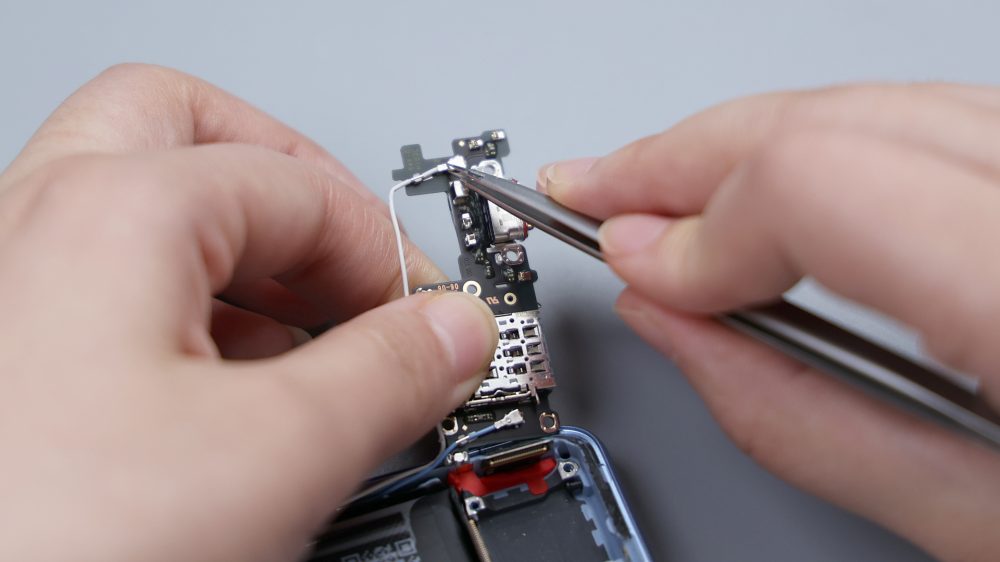

The microphone is located down in the center of the sub plate and has a metal cover on the outside. The protection of the secondary board has not been left behind, all BTB bases have rubber rings, and the capacitors, small parts and the end of the USB ports have been spot glued.
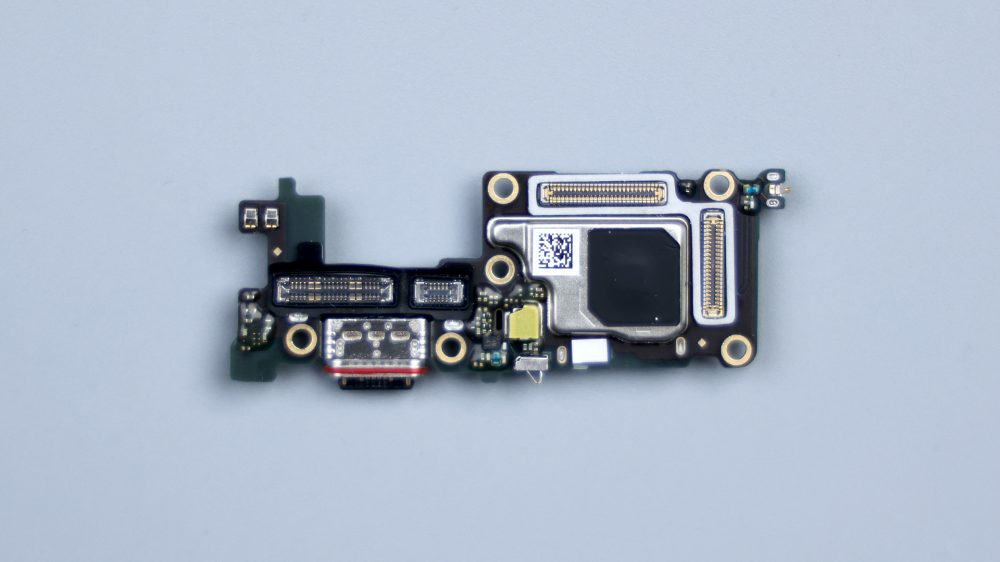
The outer edge of the Type-C has a red rubber ring to protect it from dust and water, and the interface is USB-2.0 specification.
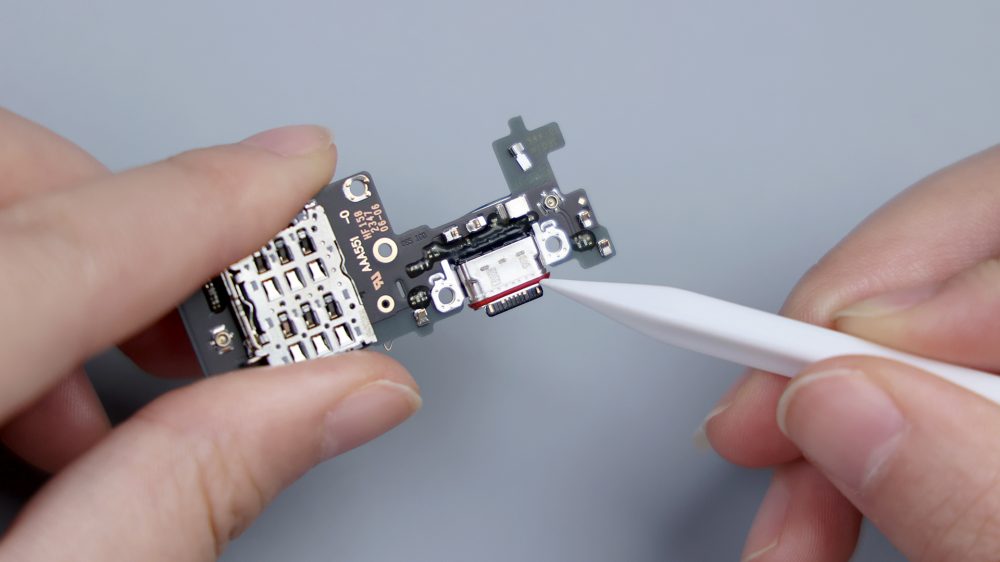
The vibration unit is fixed by adhesive and removed by prying up with tweezers, it is also from Ruixing Technology, model number ESA0809B, the length and width are the same as ELA0809, the thickness is 0.5mm more.
There is a foam ring at the corresponding position of the microphone on the frame, and the lower part adopts the anti-dumbing design, so as to avoid the damage of the microphone by inserting the wrong card pin.

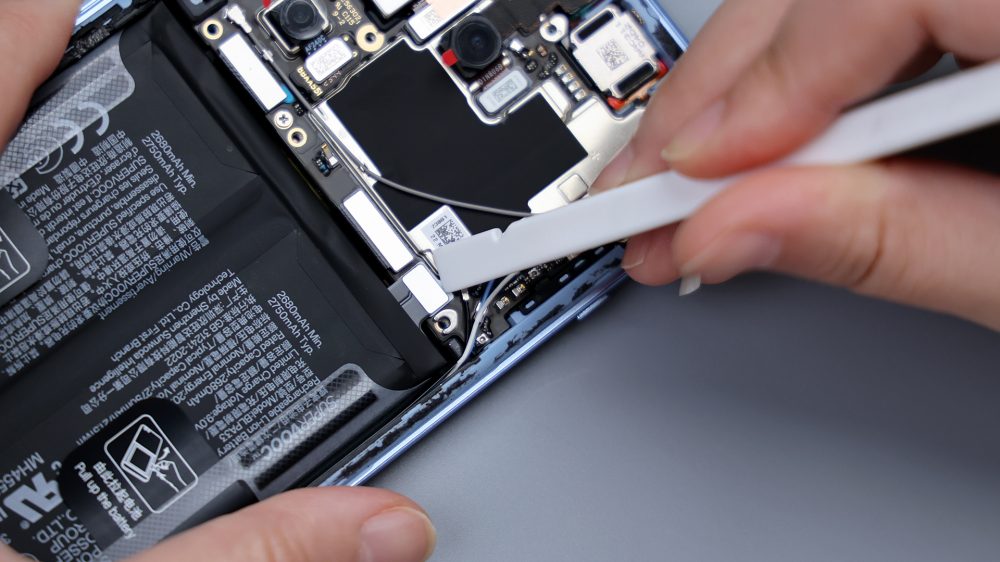
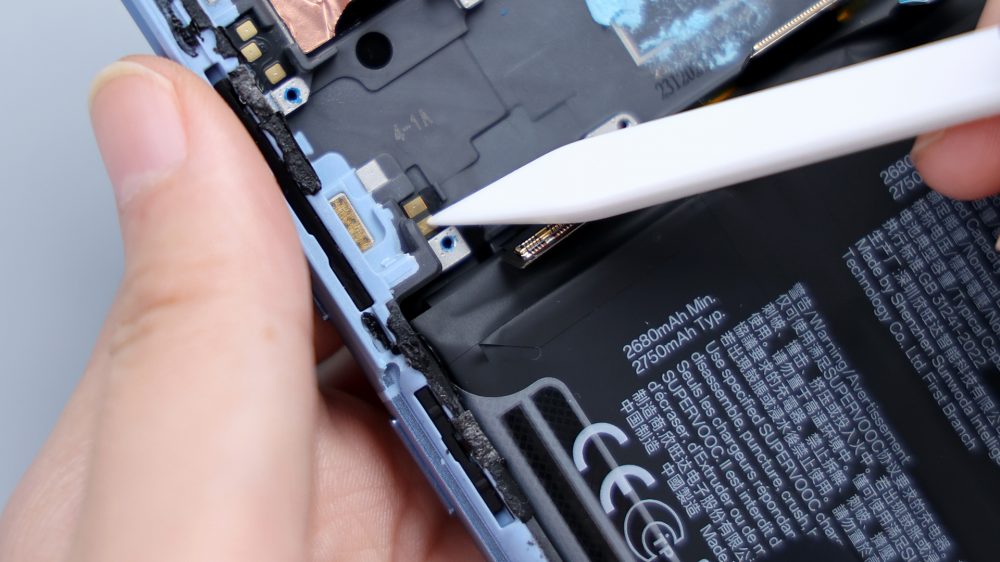
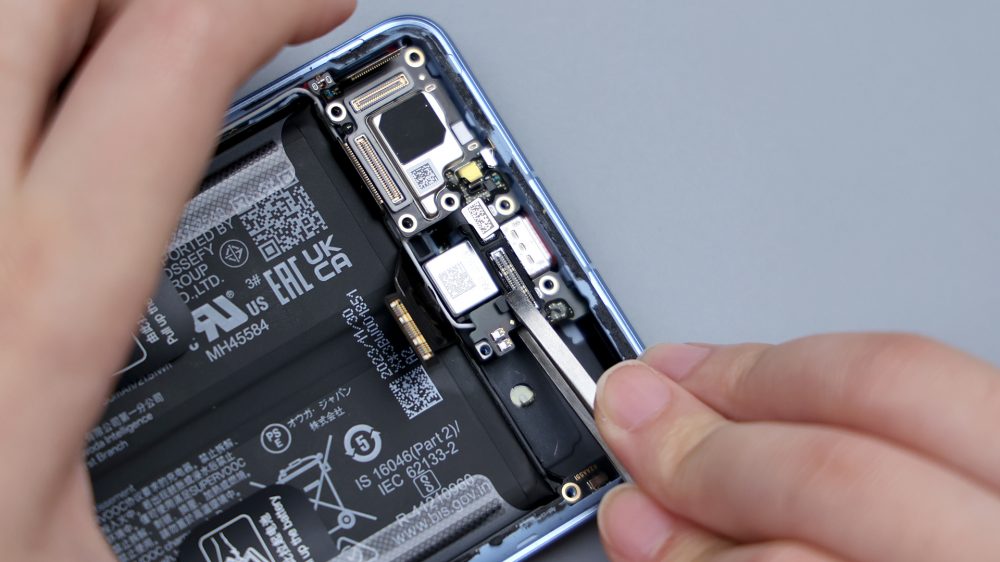
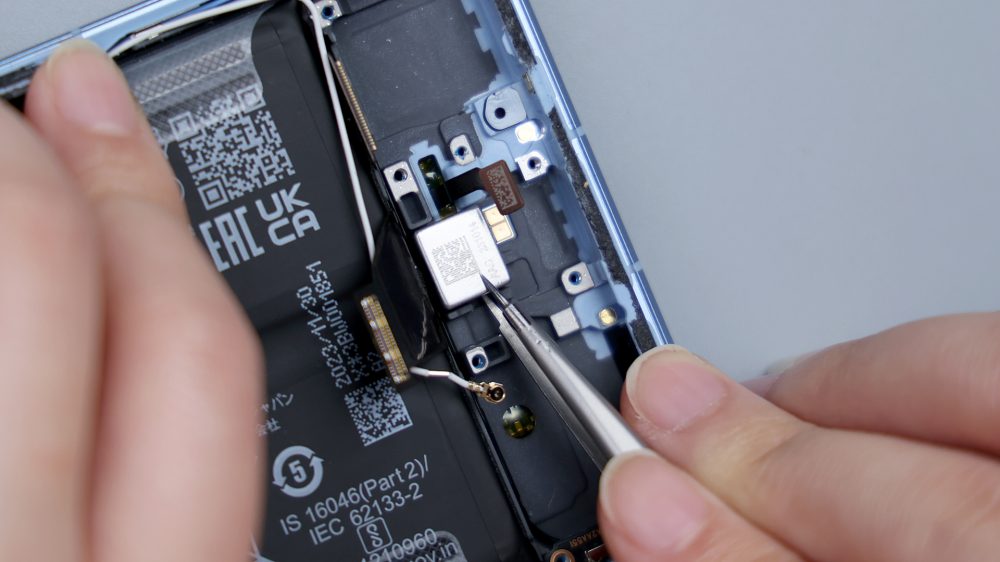
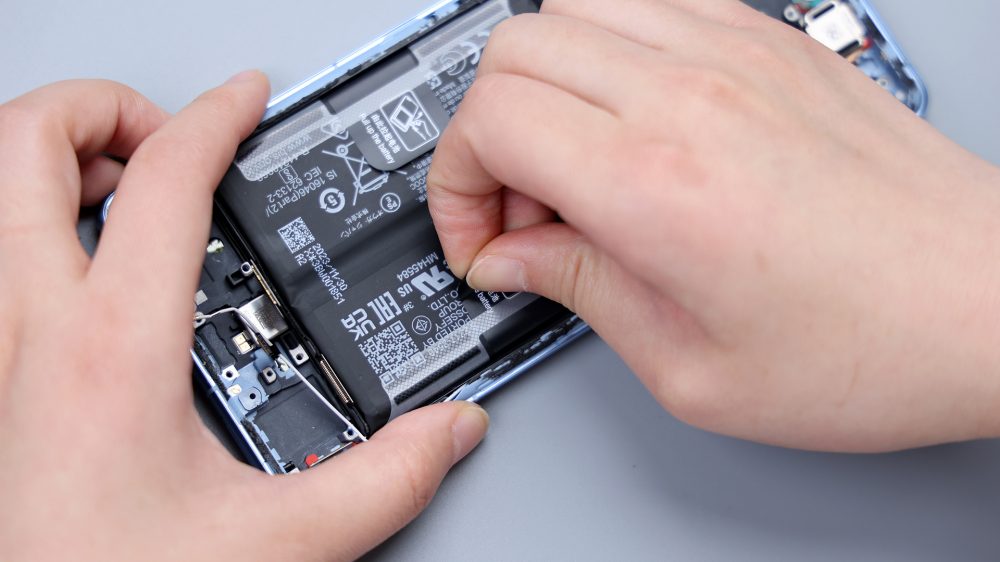
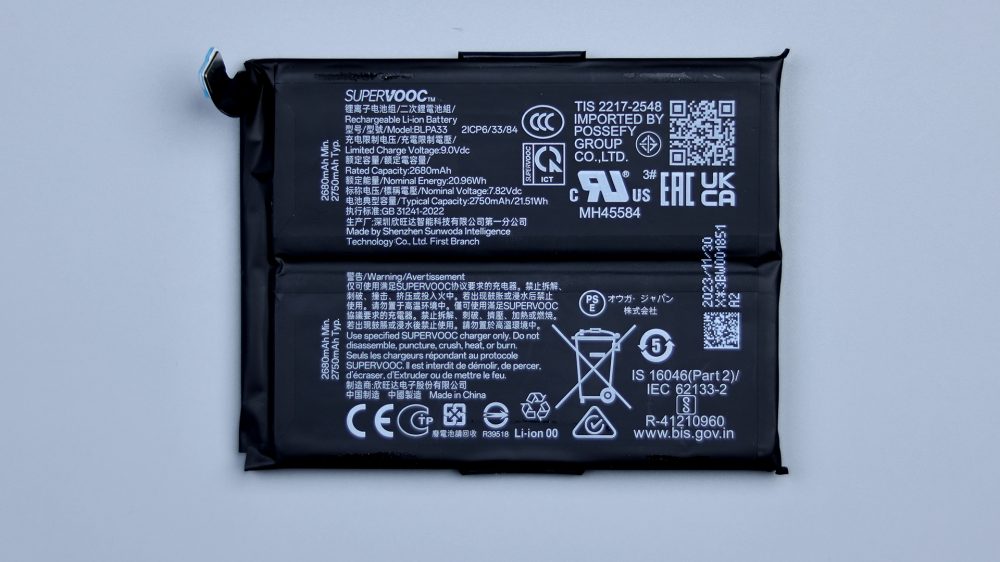
The battery is a very familiar easy-pull quick release design, according to the illustration, tear the tape and lift upward with force on both sides to remove the battery. The battery of the OnePlus Ace 3 uses a dual-cell, single-interface scheme, with a total dual-cell equivalent capacity of 5,500mAh, and supports 100W wired fast charging. The manufacturer is Xinda Electronics Co., Ltd, and the cell supplier is ATL.After removing the battery, the 2 contacts in the lower left corner of the motherboard area are also in place, and that FPC connection is indeed the power button.
Whether in the Yiga internal, or look at the entire market, the price and positioning of OnePlus ACE 3, can not enter the high-end flagship ranks, but through the disassembly of the point of view, its materials and internal workmanship, but not at all weaker than the mainstream flagship.
Heat dissipation measures cover a wide range of measures, protective measures are detailed and comprehensive, in this price range, it can give the configuration basically all together, even the screen fingerprints are used in the ultra-thin program, as far as possible to protect the user experience. Compared to its predecessor, it has significantly improved in the core configuration, materials and detail processing, and the center frame has been replaced with a more textured metal material. Compared to the same flagship Yiga 12, although you can intuitively feel the gap, the OnePlus ACE 3's lower limit is pulled up very high, and it is not at all timid in the face of the digital series big brother. If the budget is around $500, and you want to buy a phone with enough performance to be useful, but also a little bit of quality, the OnePlus ACE 3 can be one of the alternatives.
The usual rules, the end of a disassembly-related topics, this issue is to say "cell phone mold". If two phones look alike, can they share the same mold?
The answer is "almost impossible". First of all, it's important to understand that appearance is appearance and mold is mold, they are not the same thing. Appearance is a relatively broad and intuitive thing, while the mold is more detailed and specific, such as OnePlus Ace 3 and OnePlus Ace 2, look very similar, but are two completely different sets of molds. It can be said that they use the same design language, but do not share a set of molds. Because, no matter the size of the three circumference, the material of the exterior parts, or the curvature of the lines, the location of the openings, accurate to the data, there is a big difference, which makes each of them own a completely different set of molds, plus the internal structure, the layout of the components, the differences in the model of the parts, you want to directly put the parts of the A in the frame of the C, it's impossible to achieve. The advantage of the family-style design is not to save the cost of opening molds, but to be able to continuously optimize this design through one iteration after another, so that the internal and external structure is more mature, and the phone is more stable and reliable.
In addition, after the release of the first few disassemblies, many partners asked: "Why is the disassembly rhythm so slow? The disassembly process looks long and the movements are not smooth and handsome enough." In fact, as mentioned before, the original intention of doing the disassembly, in addition to showing the internal structure of a cell phone, more or less want to take you in-depth understanding of the whole disassembly process, as well as the idea of disassembly. Because, after a year or two, there may be a lot of users to search for dismantling articles, then their needs, will be more inclined to tutorials, such as their own to the phone to change the battery, or replace a certain part, to deal with a little trouble, and so on, at this time you need to have a more detailed dismantling demonstration, including the relevant precautions, to avoid accidentally dismantle the wrong or dismantle the bad. My dismantling content, similar to the first perspective, take you to complete all the dismantling steps, the process of operation looks a little slow, and even a little laborious, mainly because the real dismantling process is that, many cell phones to dismantle it is not as easy as imagined, slow down a little bit, but also to let everyone in the future to dismantle their own time, can be prepared in advance.