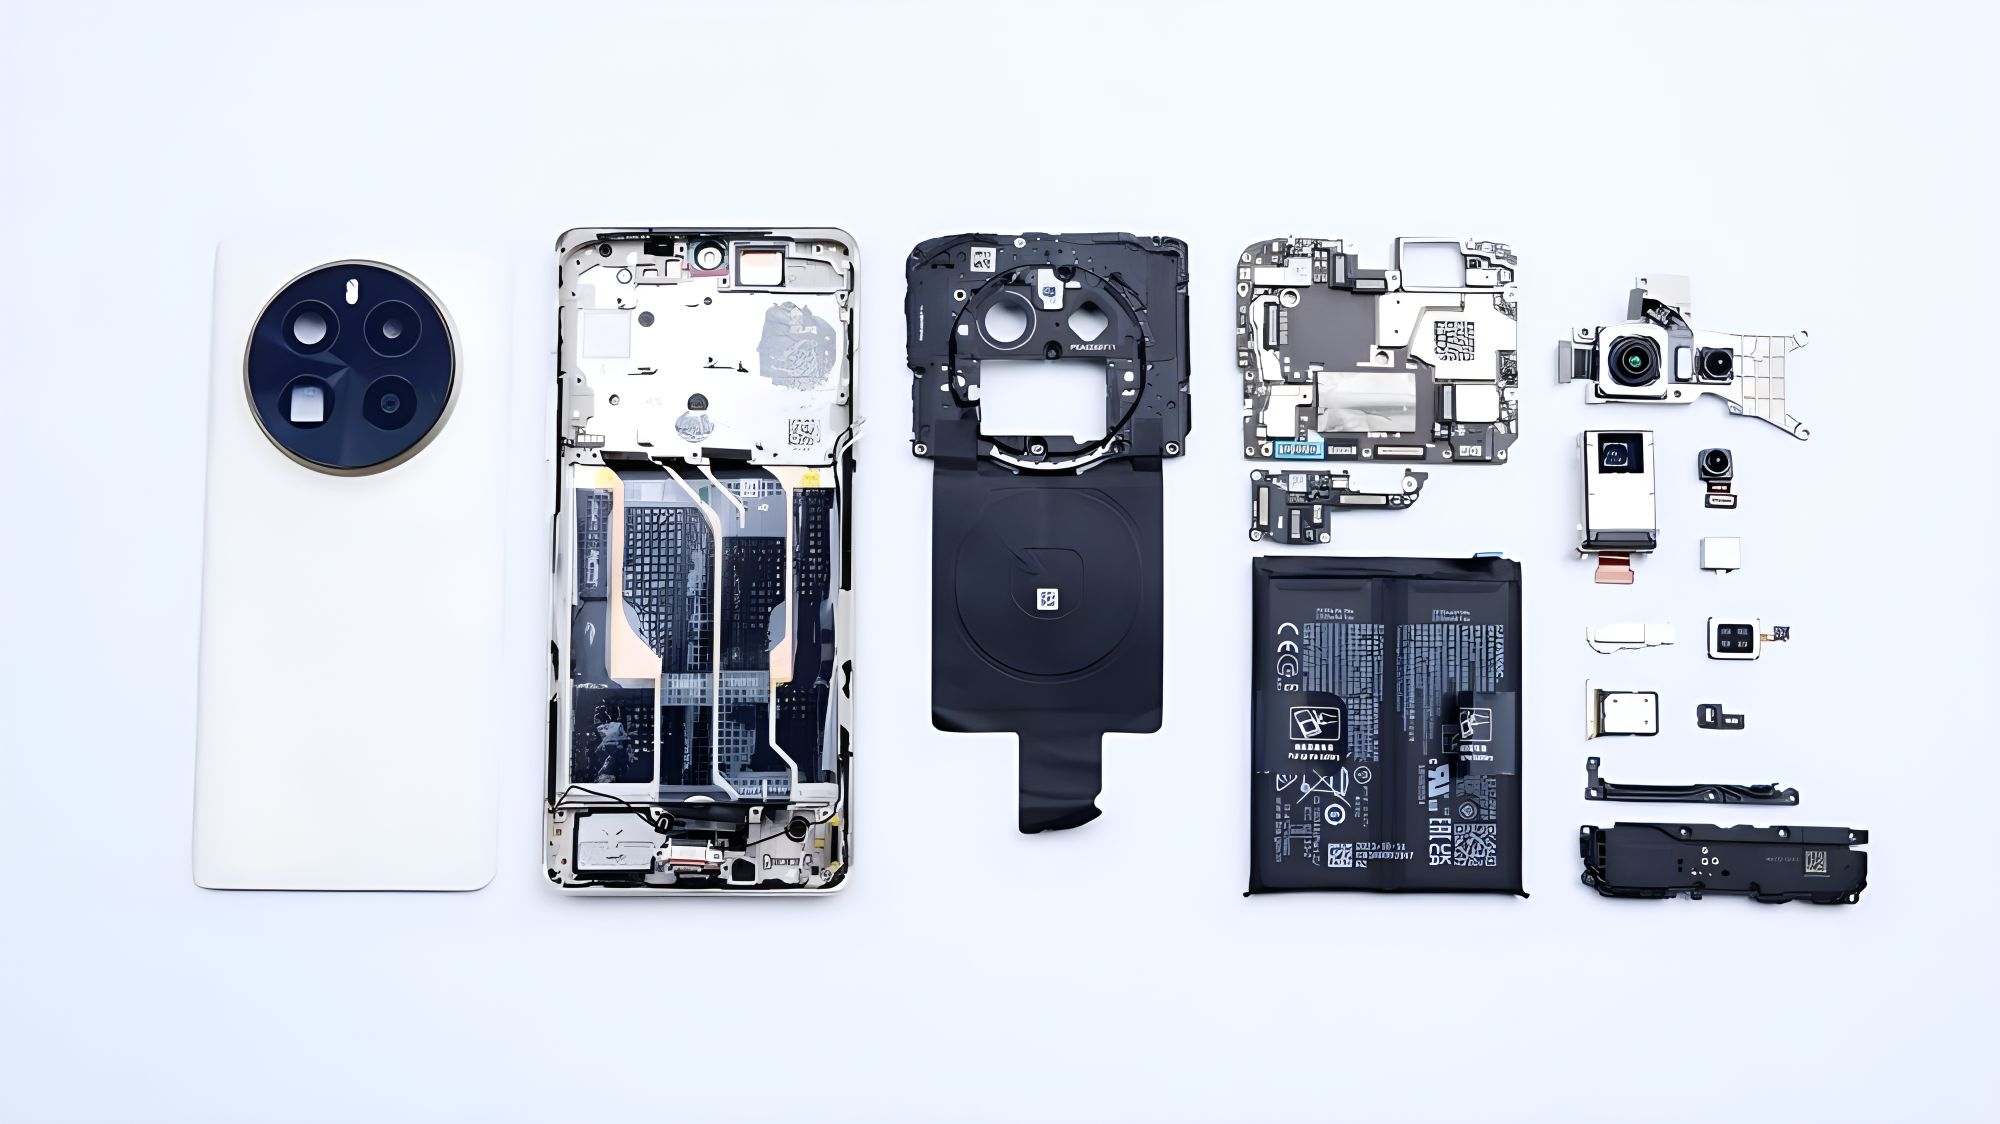
A teardown of the Realme GT5 Pro, and it's here today.

Although the model number is "GT5 Pro", the appearance does not seem to have any "blood relationship" with the previous realme GT5, but more like the realme 11 Pro. it continues the classic design style of realme, but also incorporated some of the design elements of its "sibling" Yiga, such as the texture of the DECO glass cover of the camera and the fine outer ring. It continues the classic design style of realme, but also incorporates some of the design elements of its "older sibling" Yiga, such as the texture of the camera's DECO glass cover and the fine lines of the outer ring, which are quite similar to the recently released Yiga 12. If you were to choose between the GT5 Pro and the Yiga 12, which one would you choose?
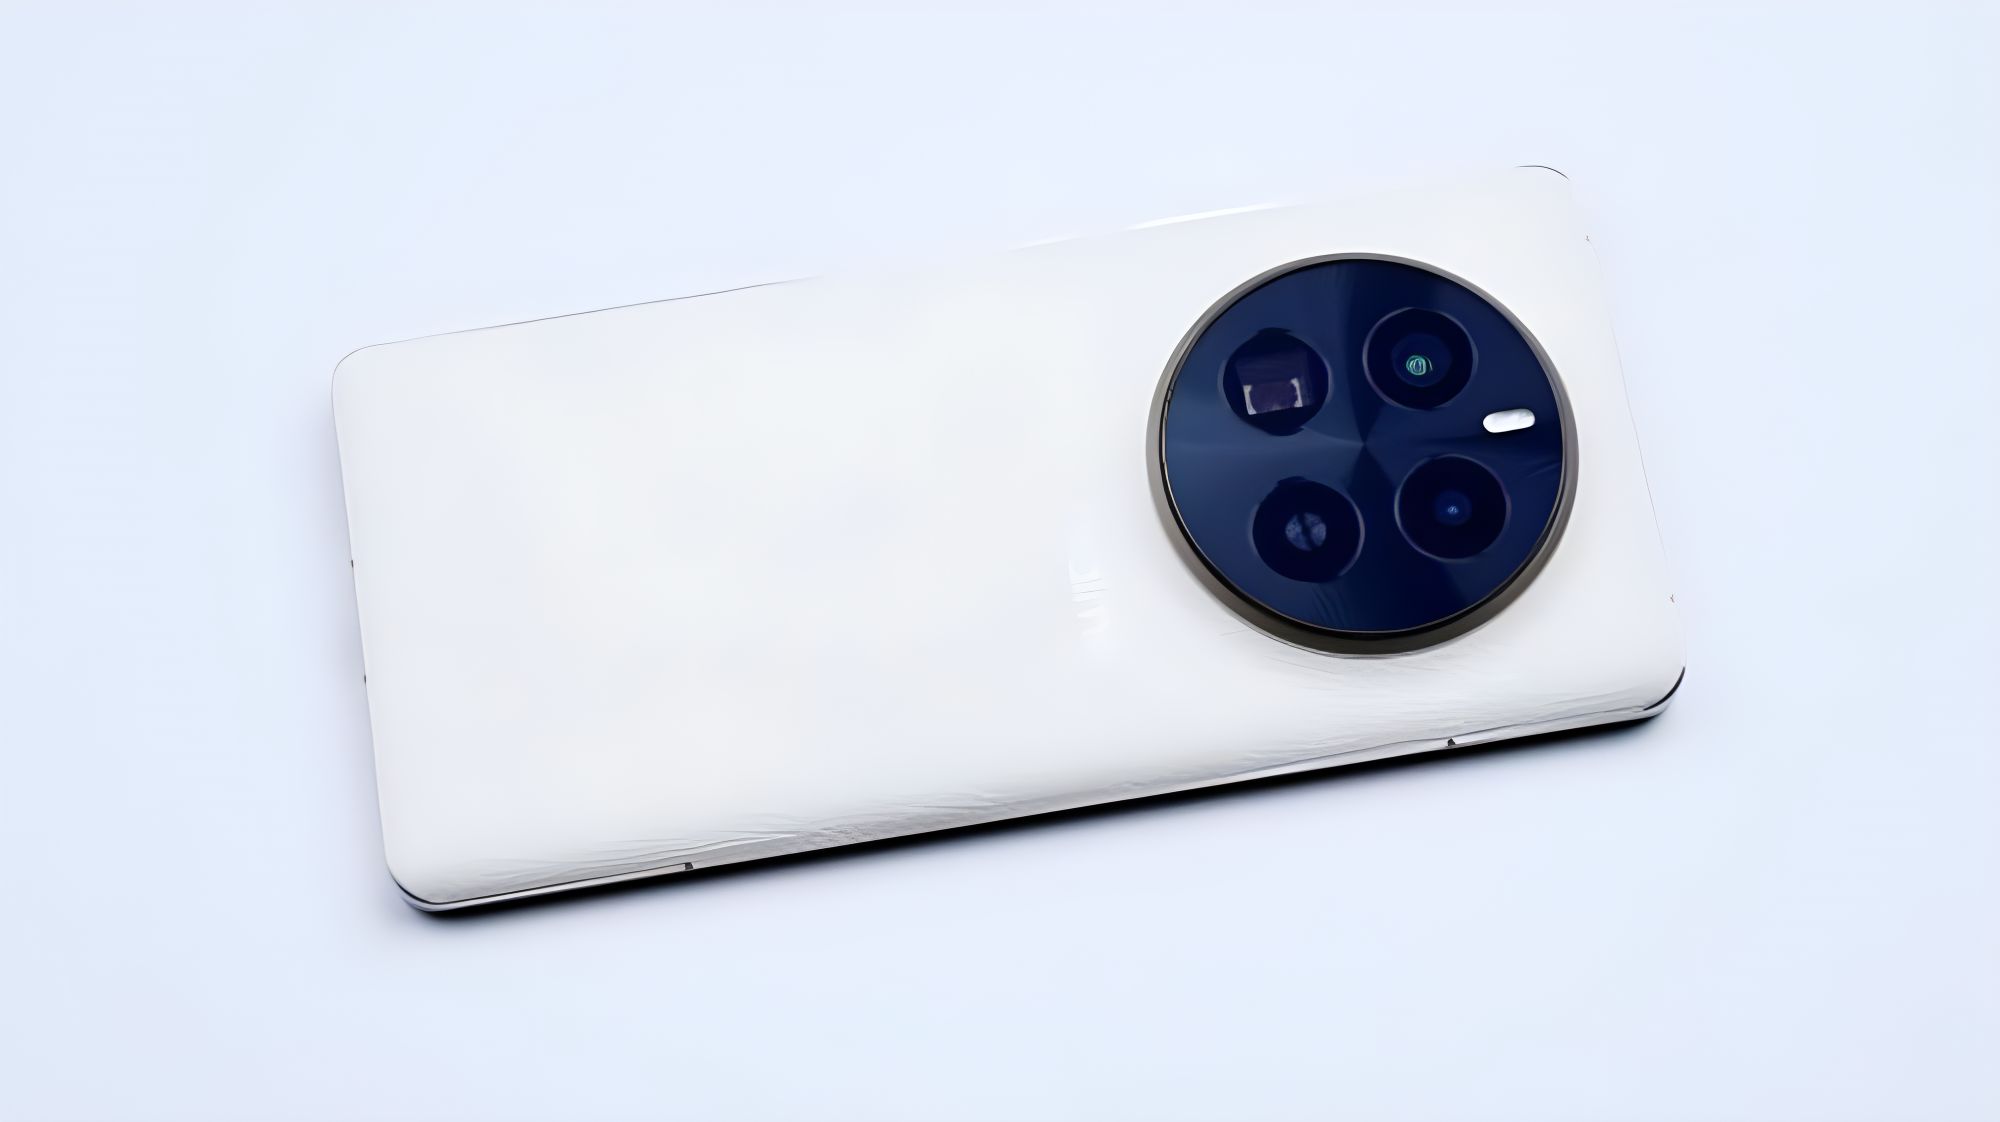
The GT5 Pro's large lens module is the "muscle" it shows off, and judging by the size and the degree of protrusion, you can tell that the camera's performance is very strong. Of course, the large lens also makes the body become more weight, 218g although not called "half a catty machine", but daily use is still very heavy hand, if you bring a protective case, almost half a catty to go.
realme began to use leather material in high-end machines, this GT5 Pro also provides two versions of leather, we have this color is the moon, simple but without losing a sense of high class, leather feel delicate. The center frame is made of metal, and the front and back sides are made of large curvature arc strips to compress the visual thickness of the two sides as much as possible, which is also a popular practice for high-end machines in recent years, and can bring a better sense of fit in the palm of the hand.

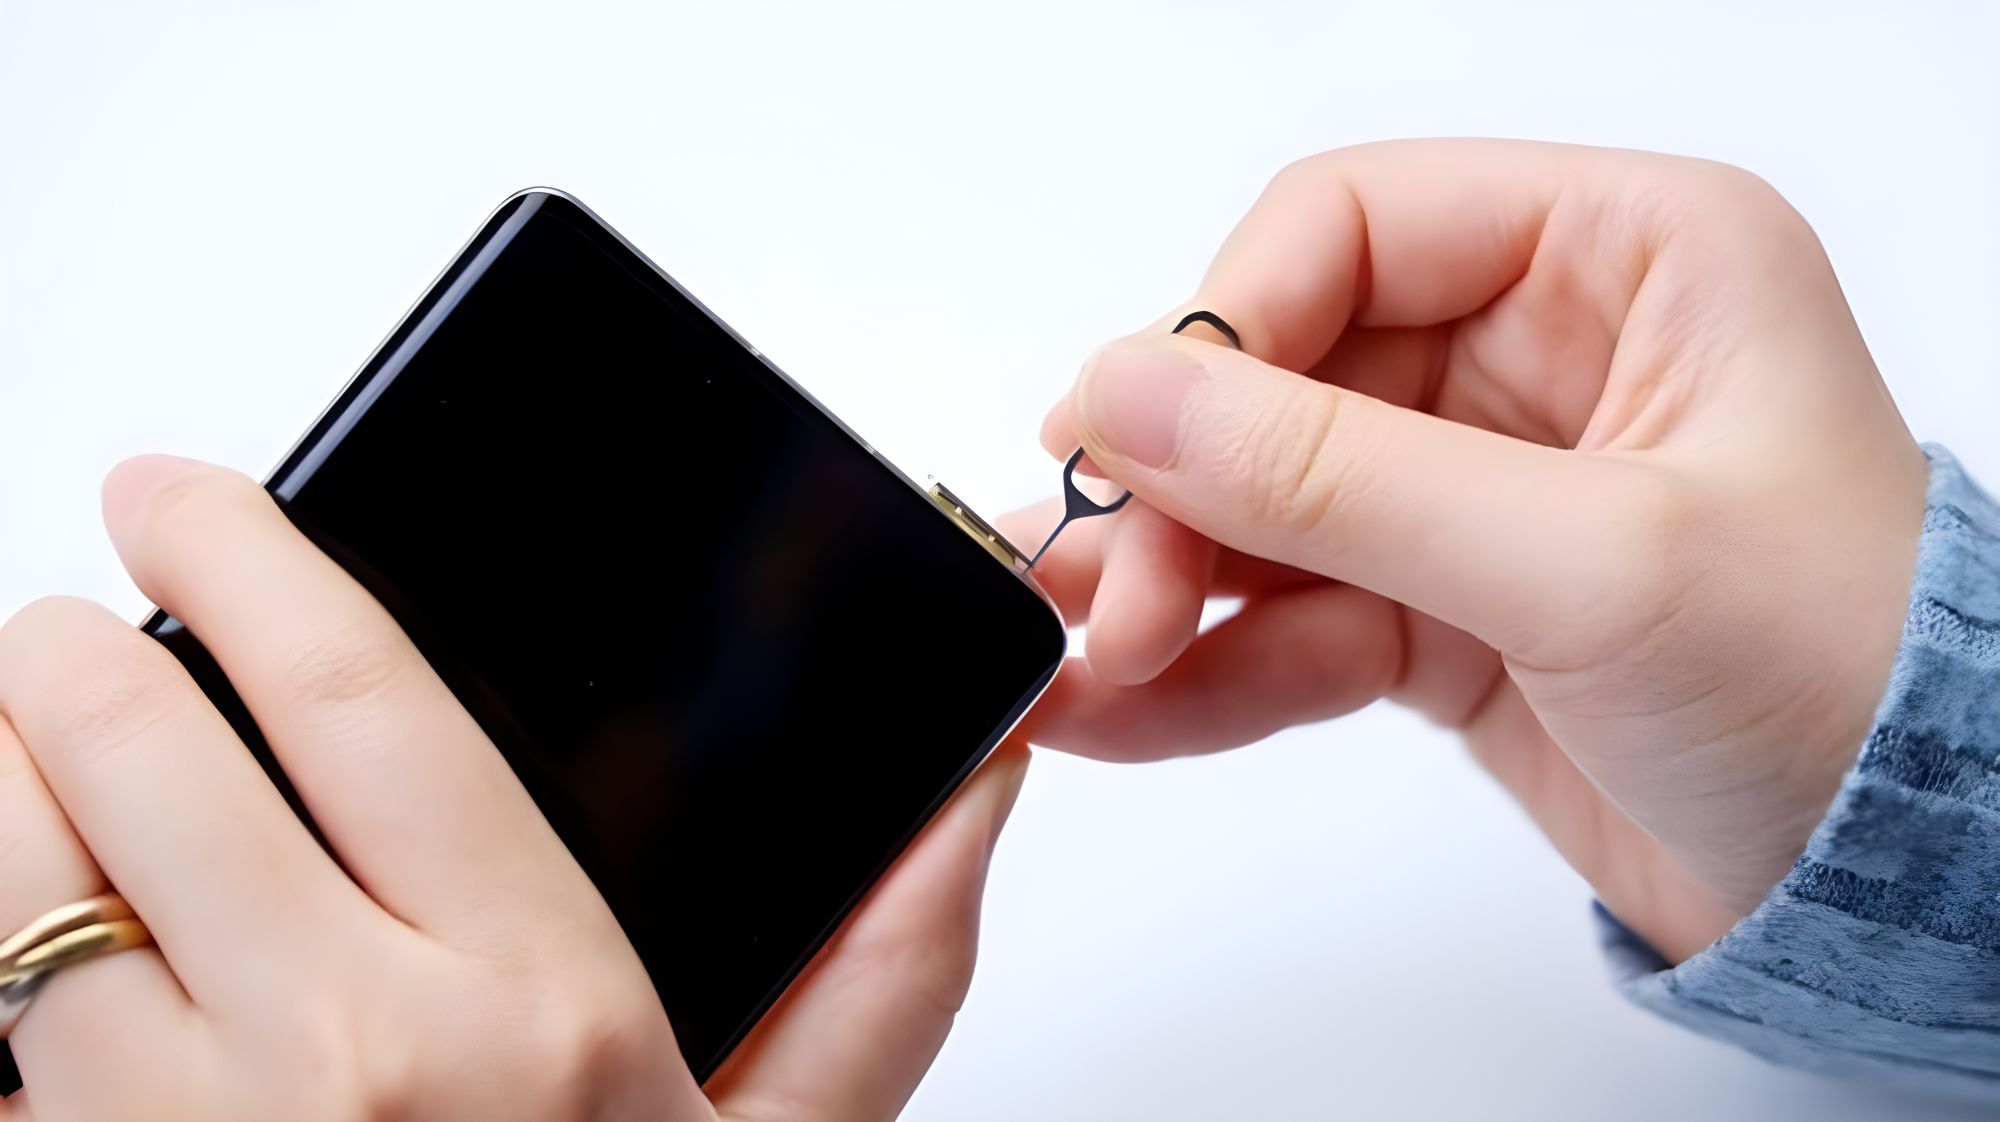
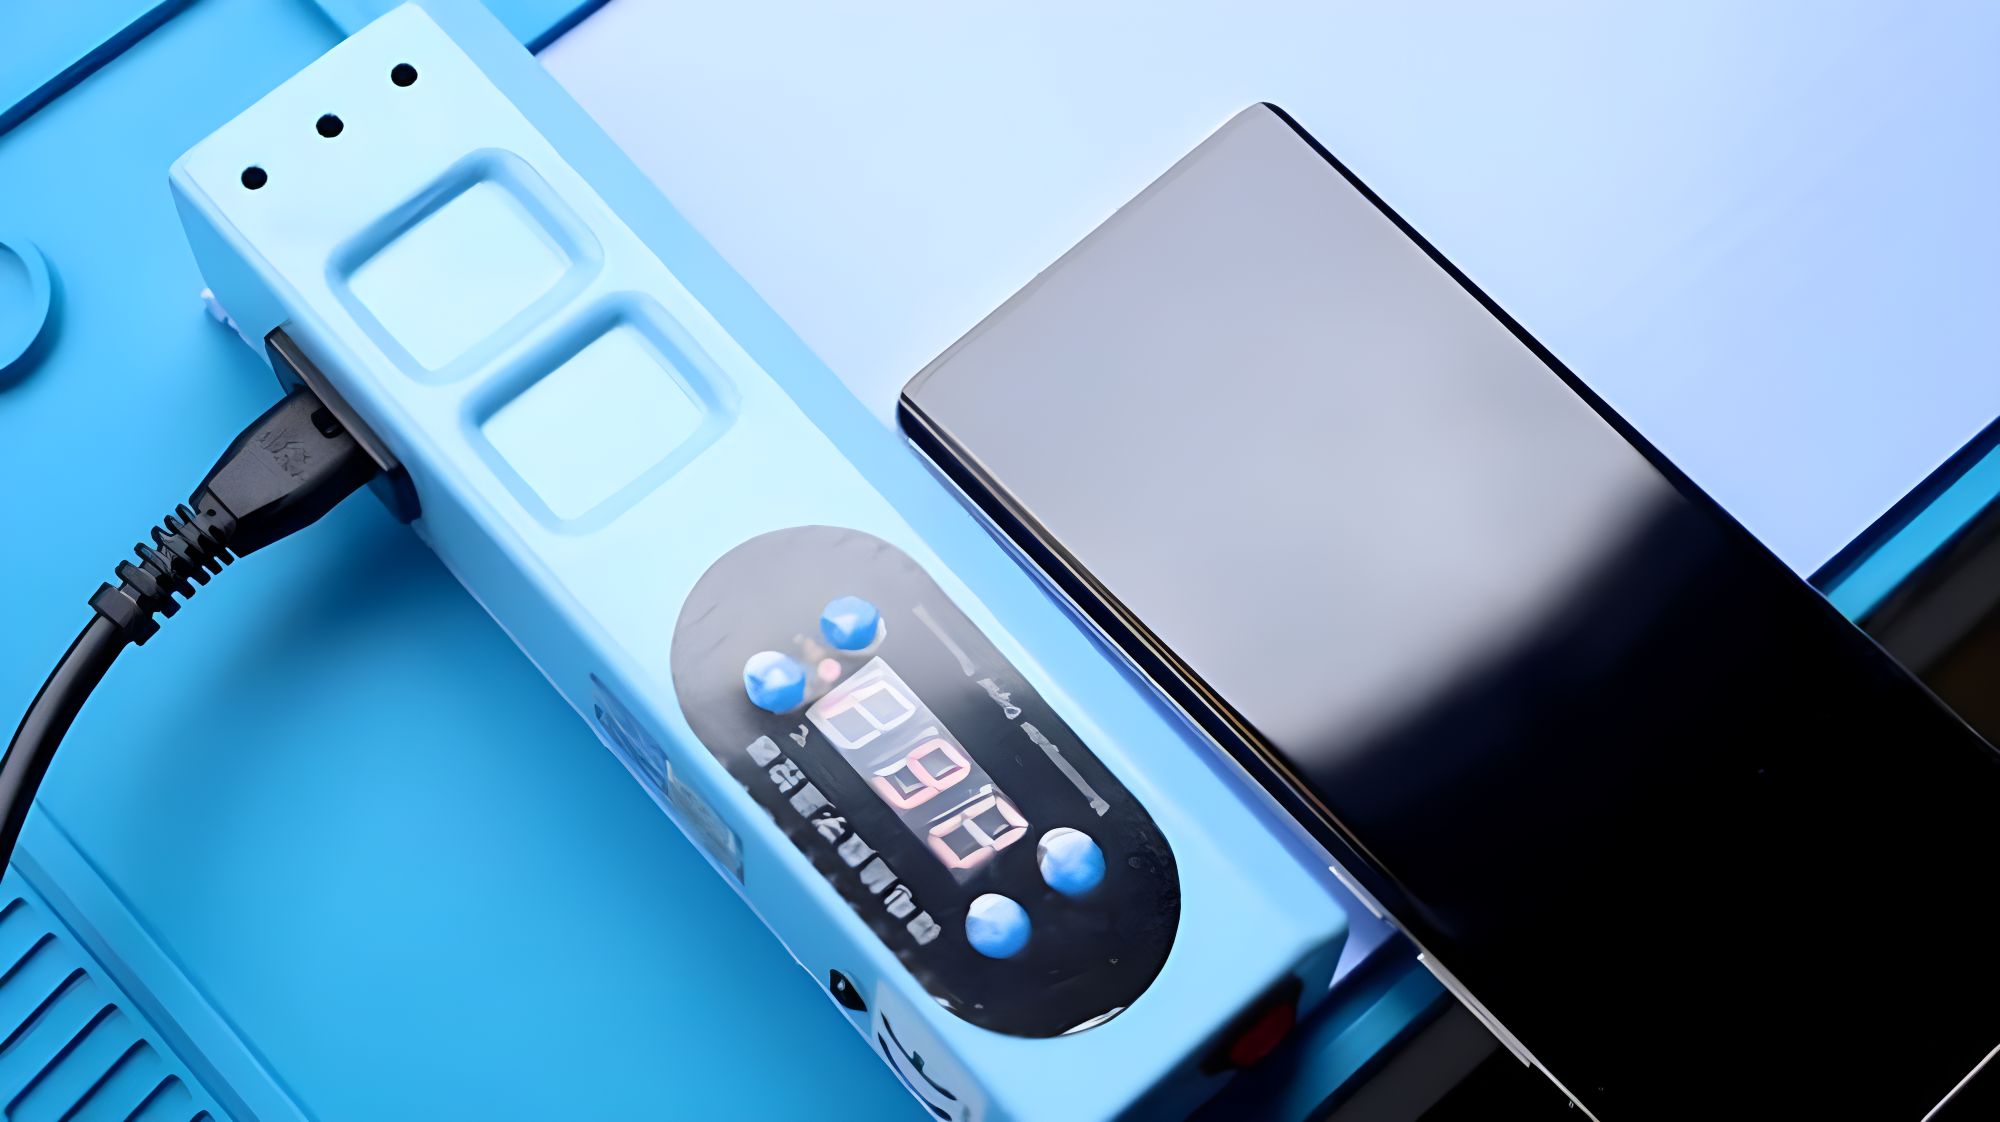
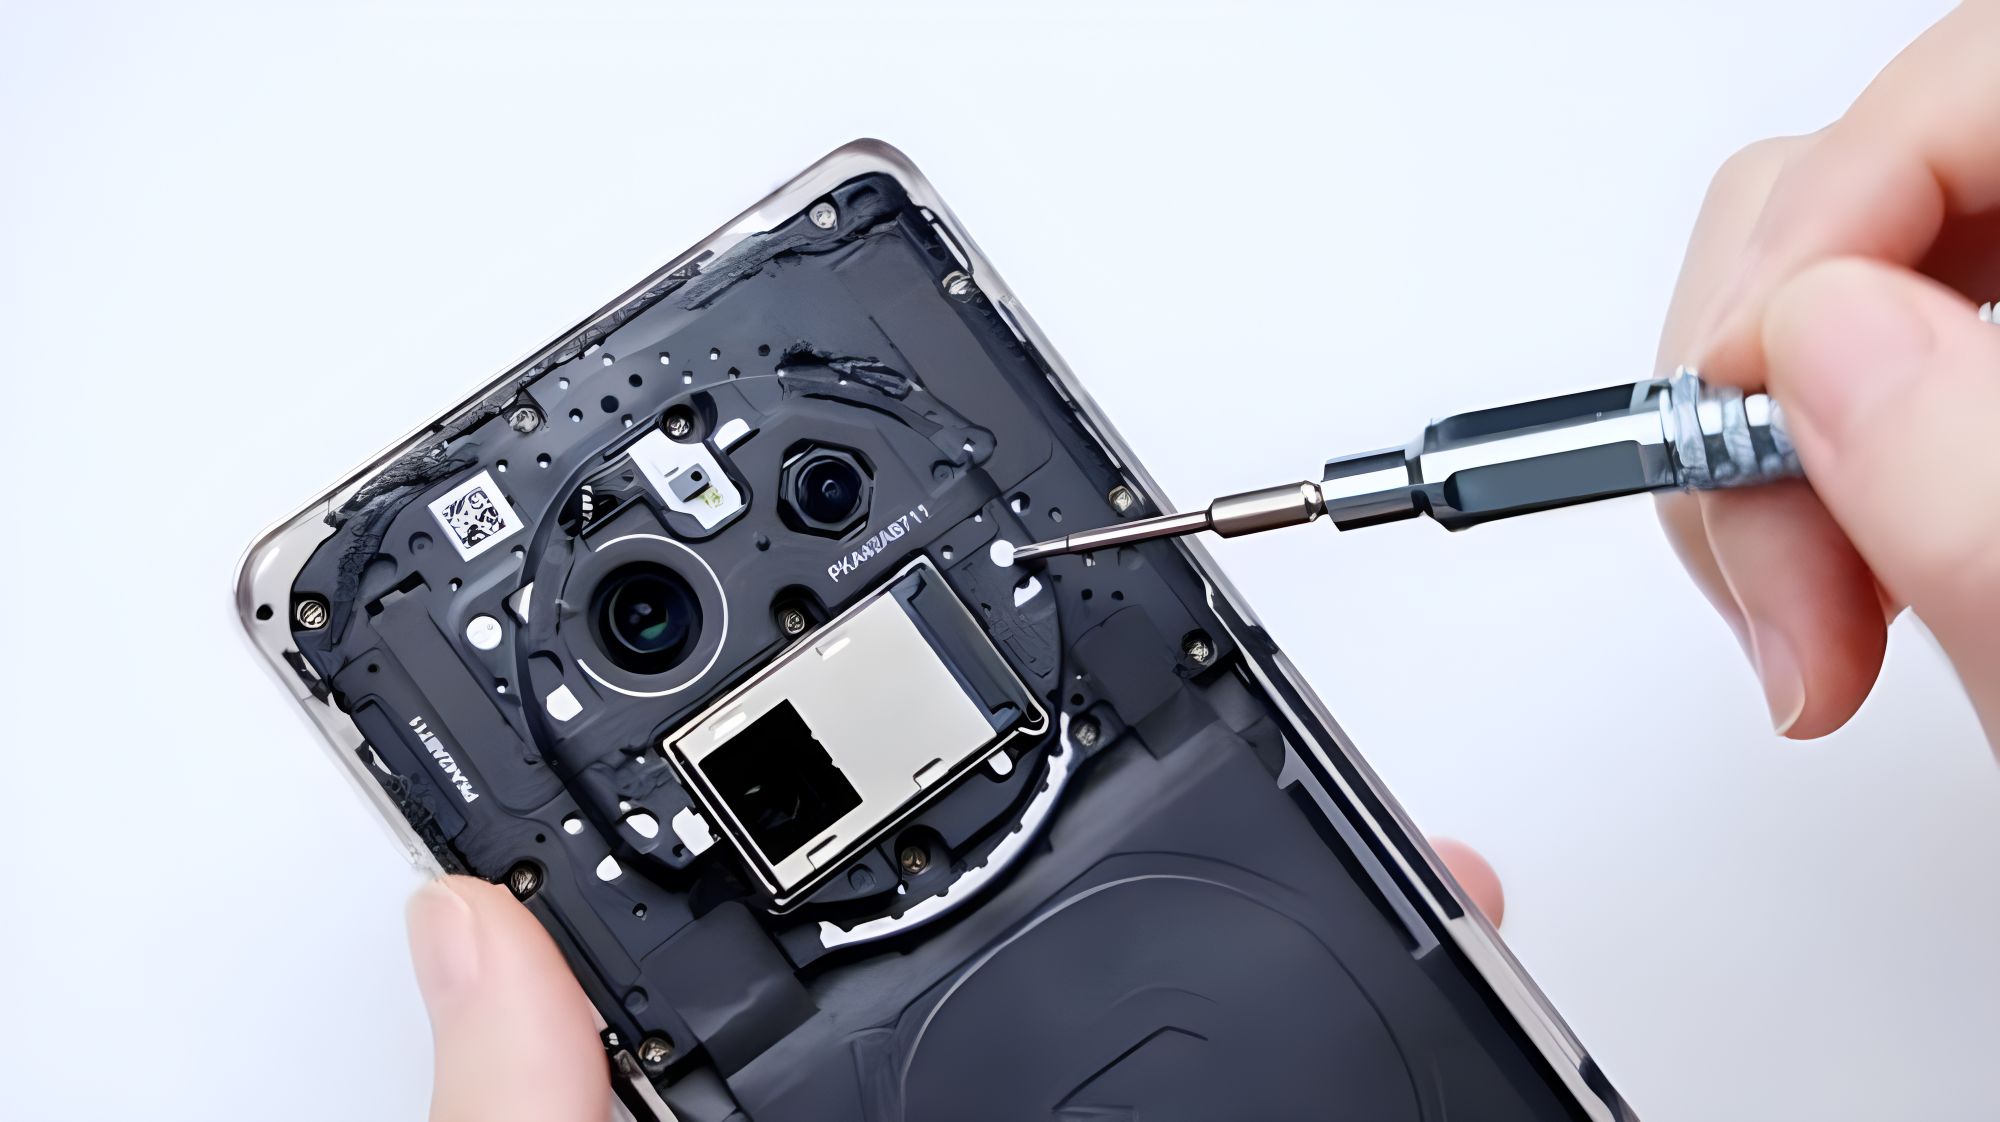
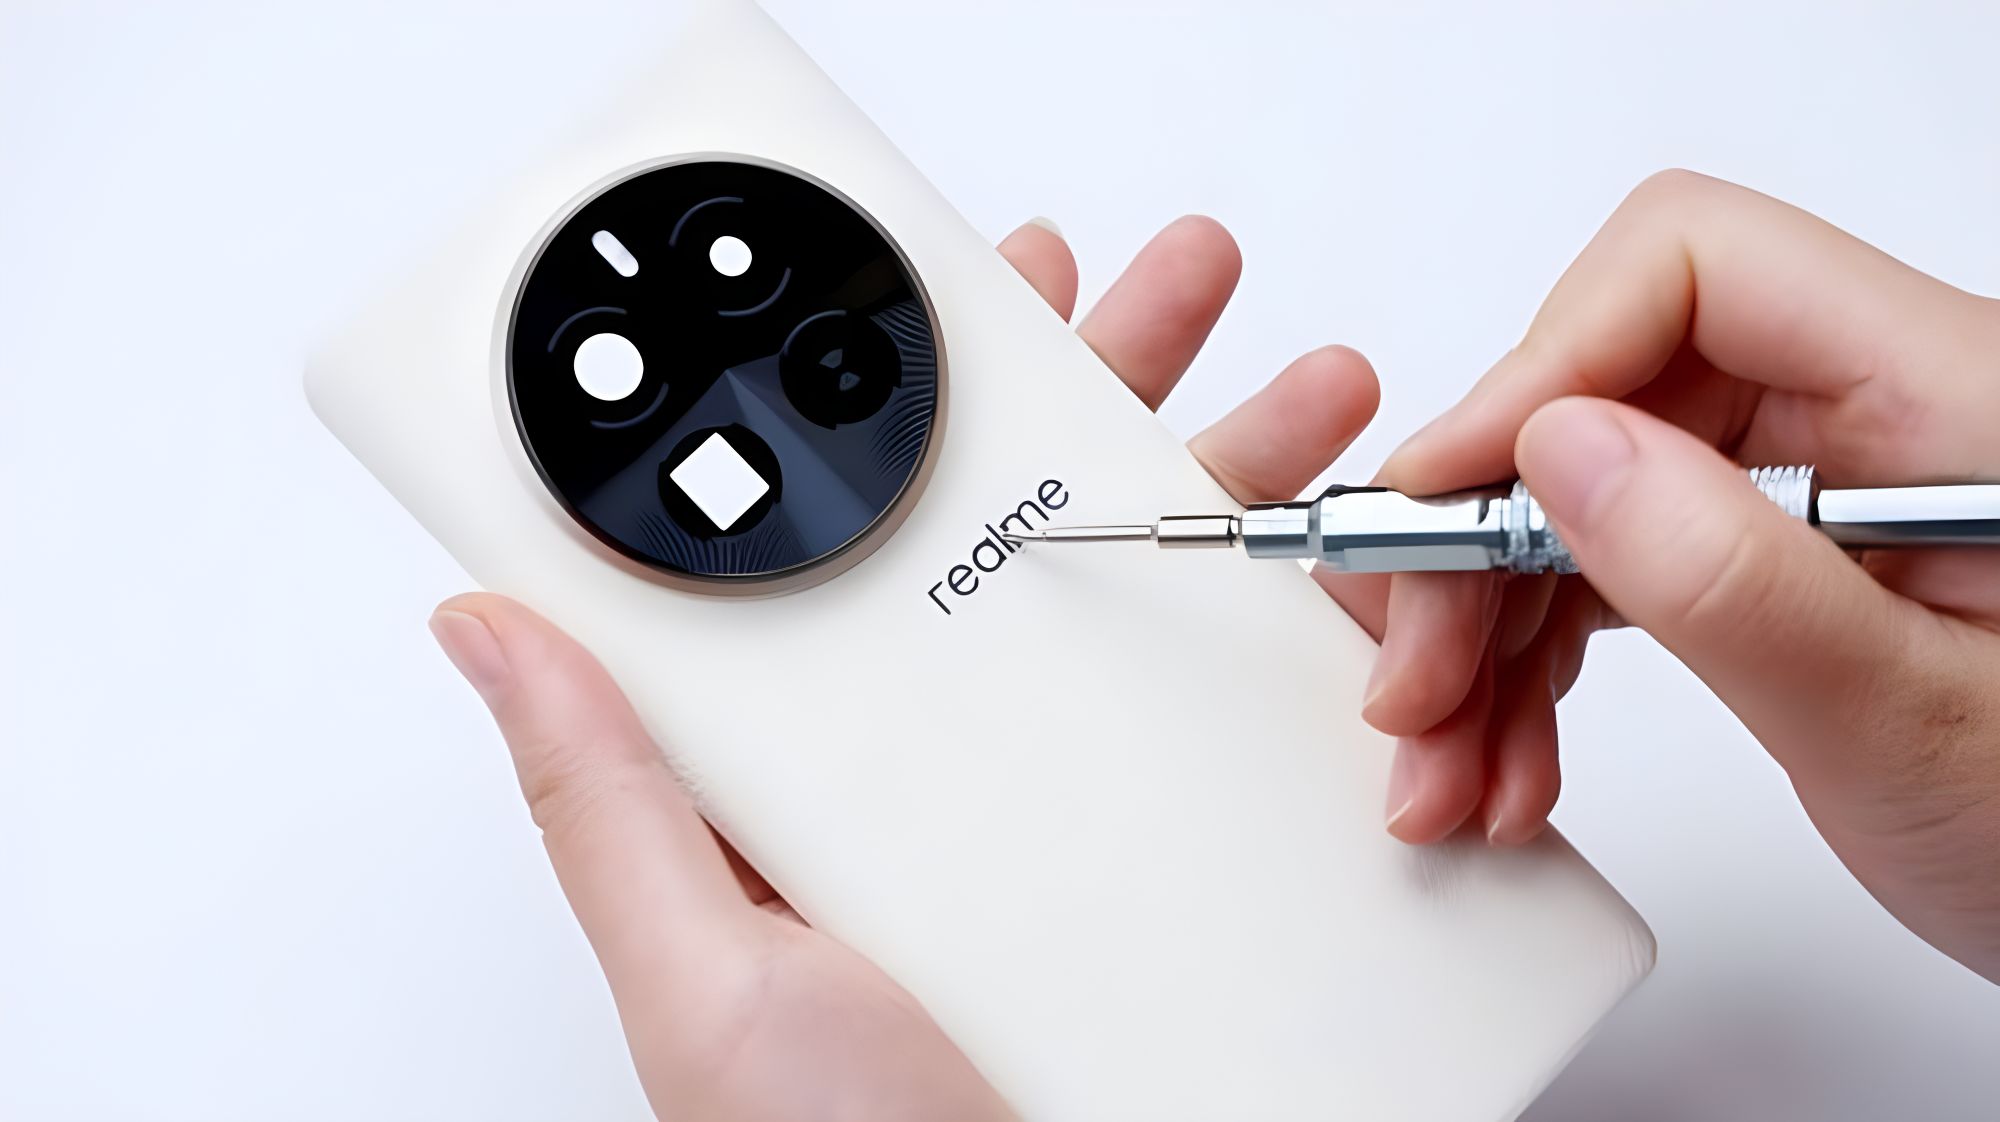
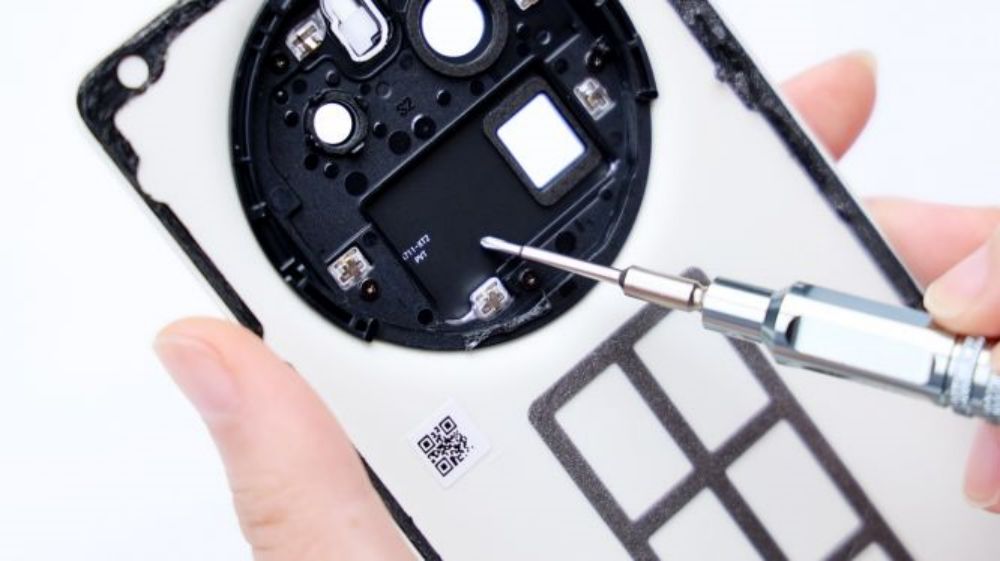
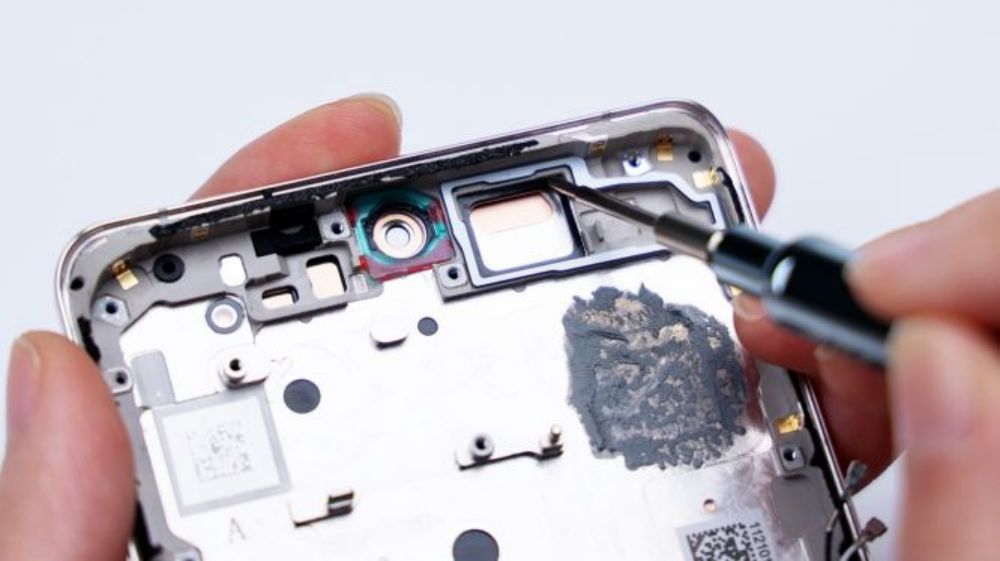
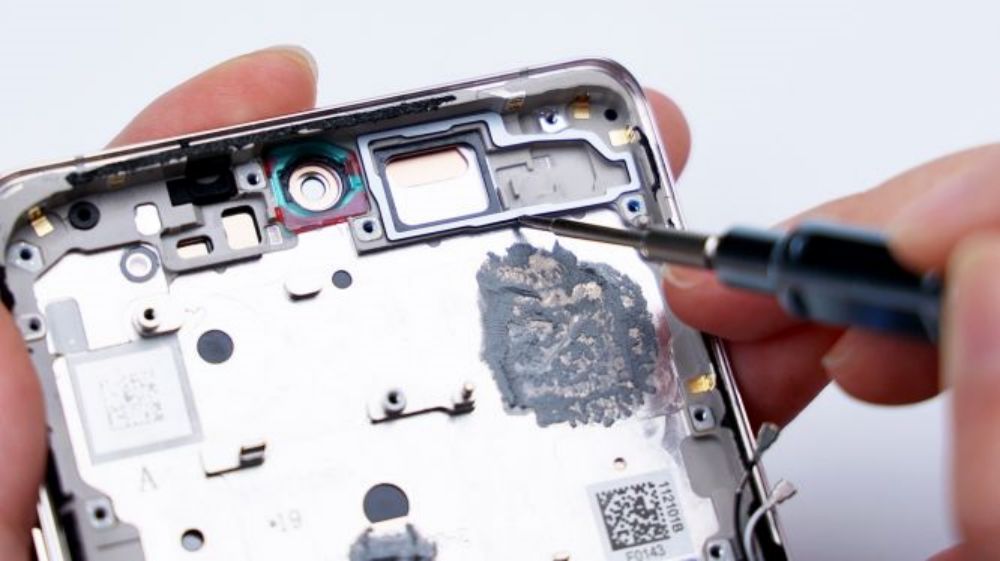
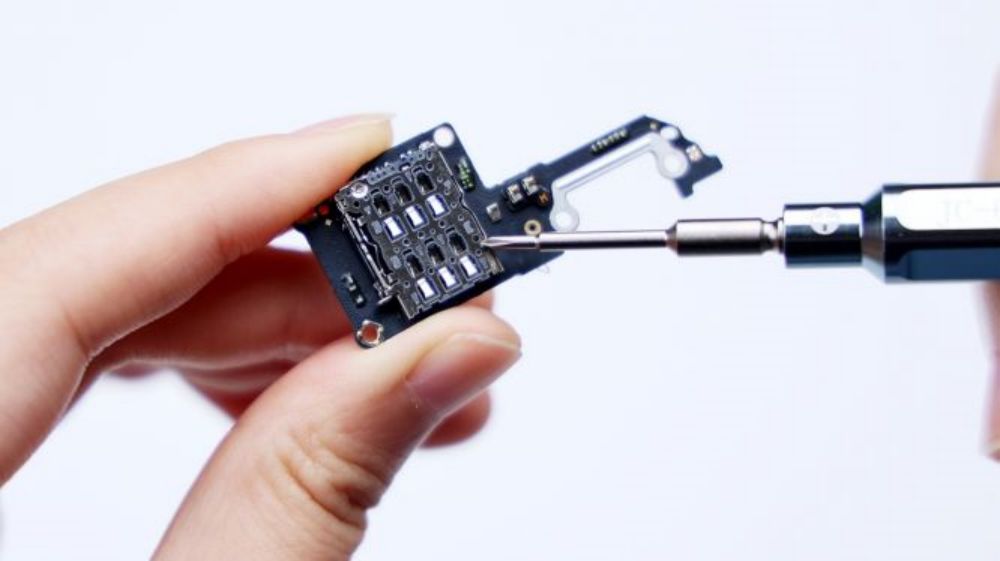
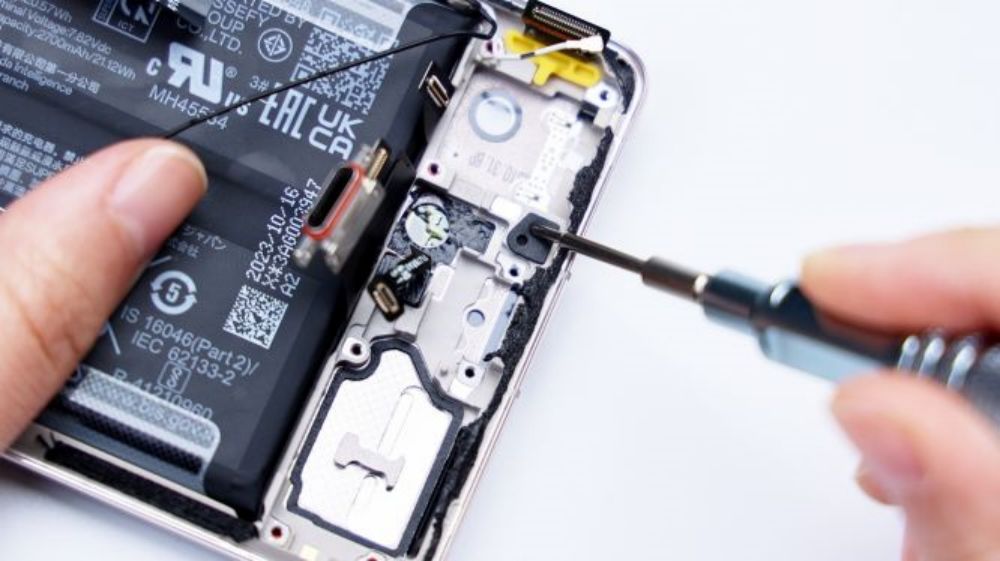
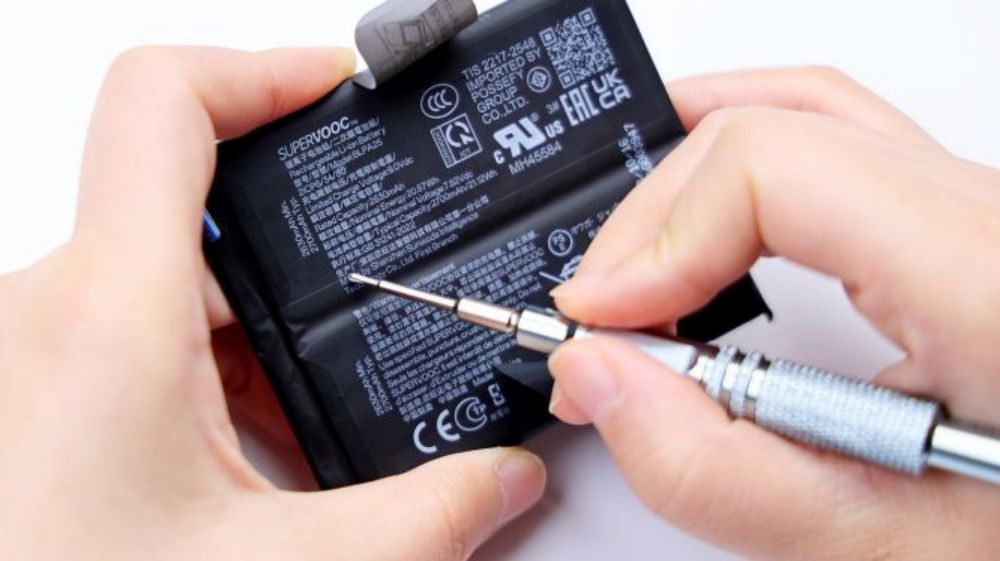
The following began to disassemble, shut down the machine, take out the bottom of the SIM card tray, the main body of metal, wrapped in a plastic frame outside, this yellow translucent sealing rubber ring to remember, the back has a place to echo with it.

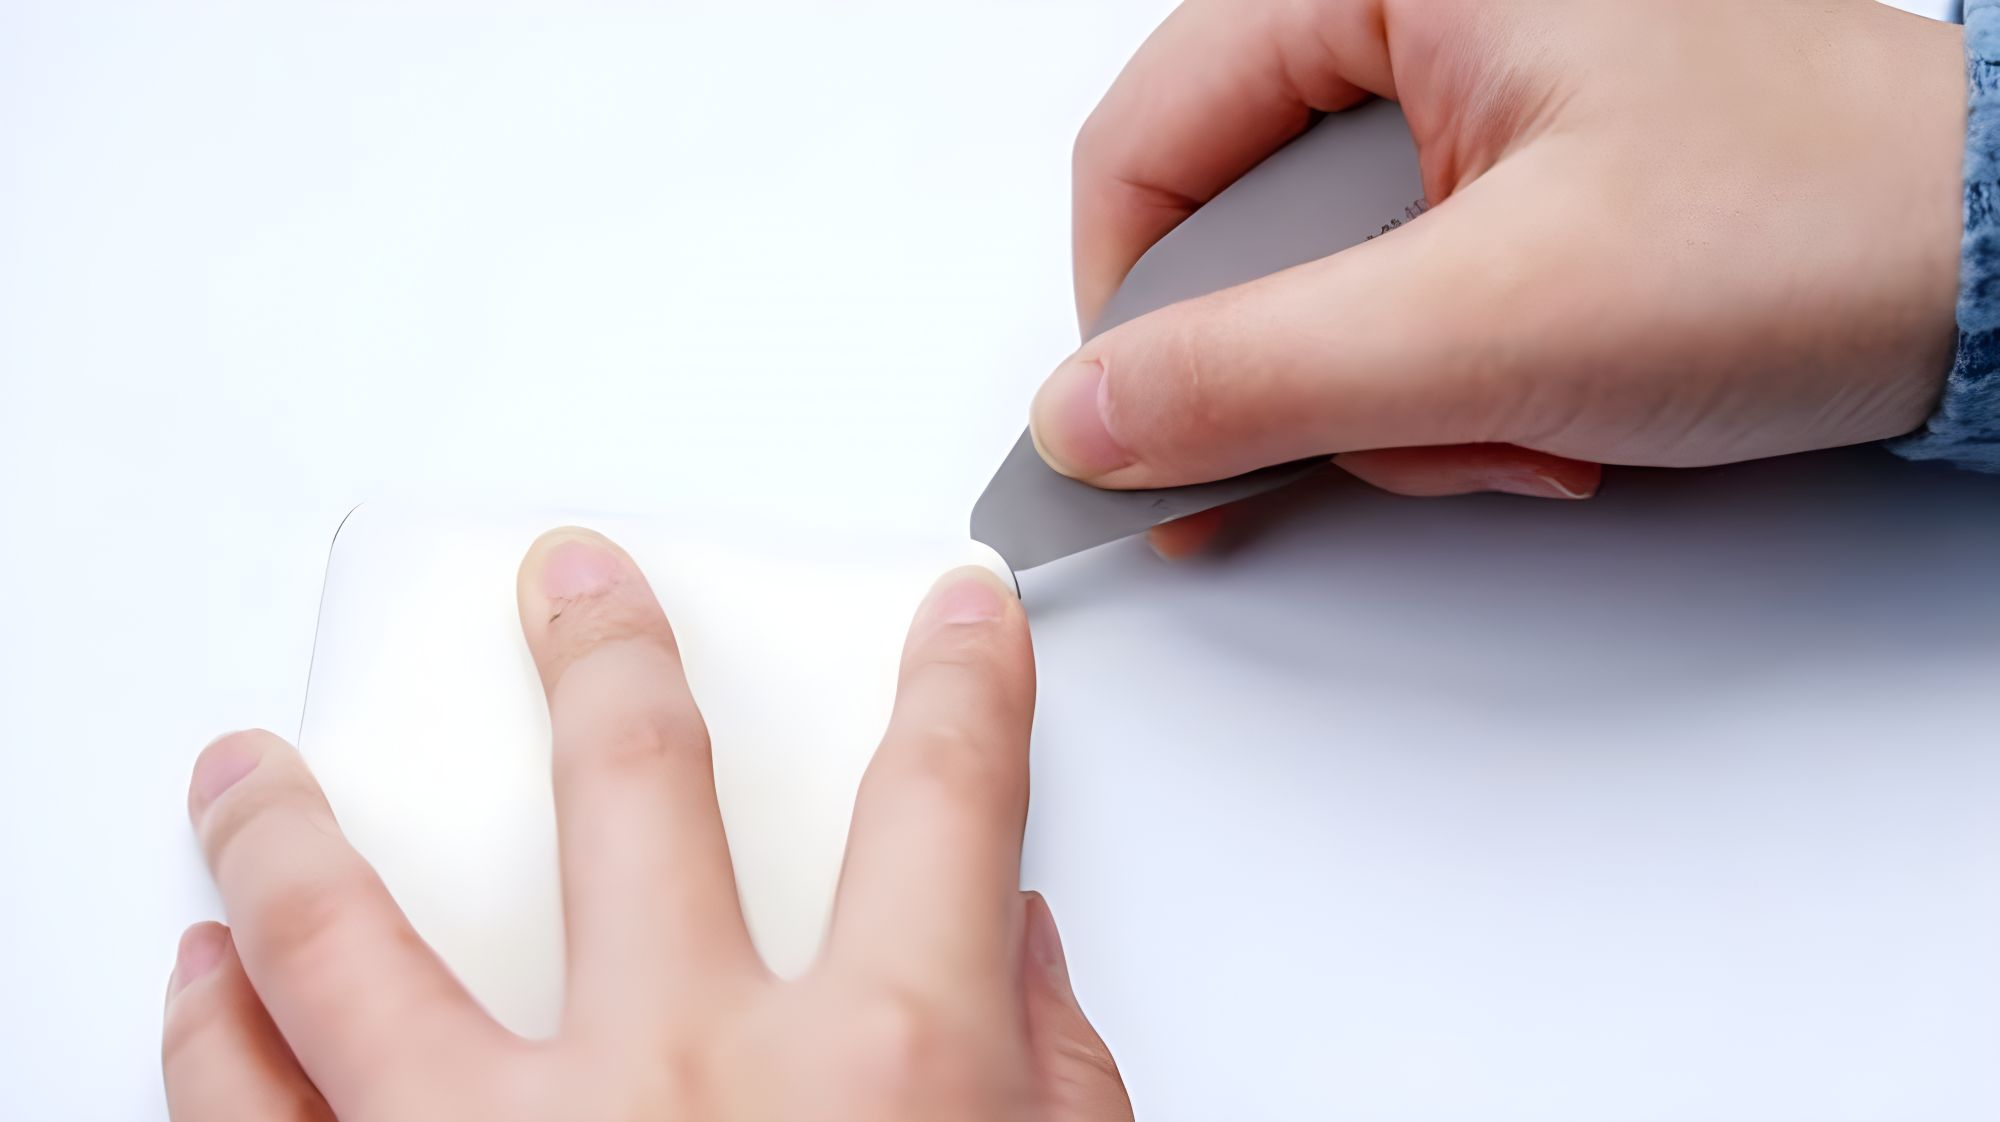
The first difficulty appeared in the link to open the back cover, large and extremely protruding camera DECO, so that when the phone is placed on the heating plate, the back cover is only the bottom edge of the part of the heat source can be contacted, and most of the other places can not be heated. So, you can only heat the flat area of the back cover outside of the DECO first, set it to 100 degrees and heat it for 3 minutes.
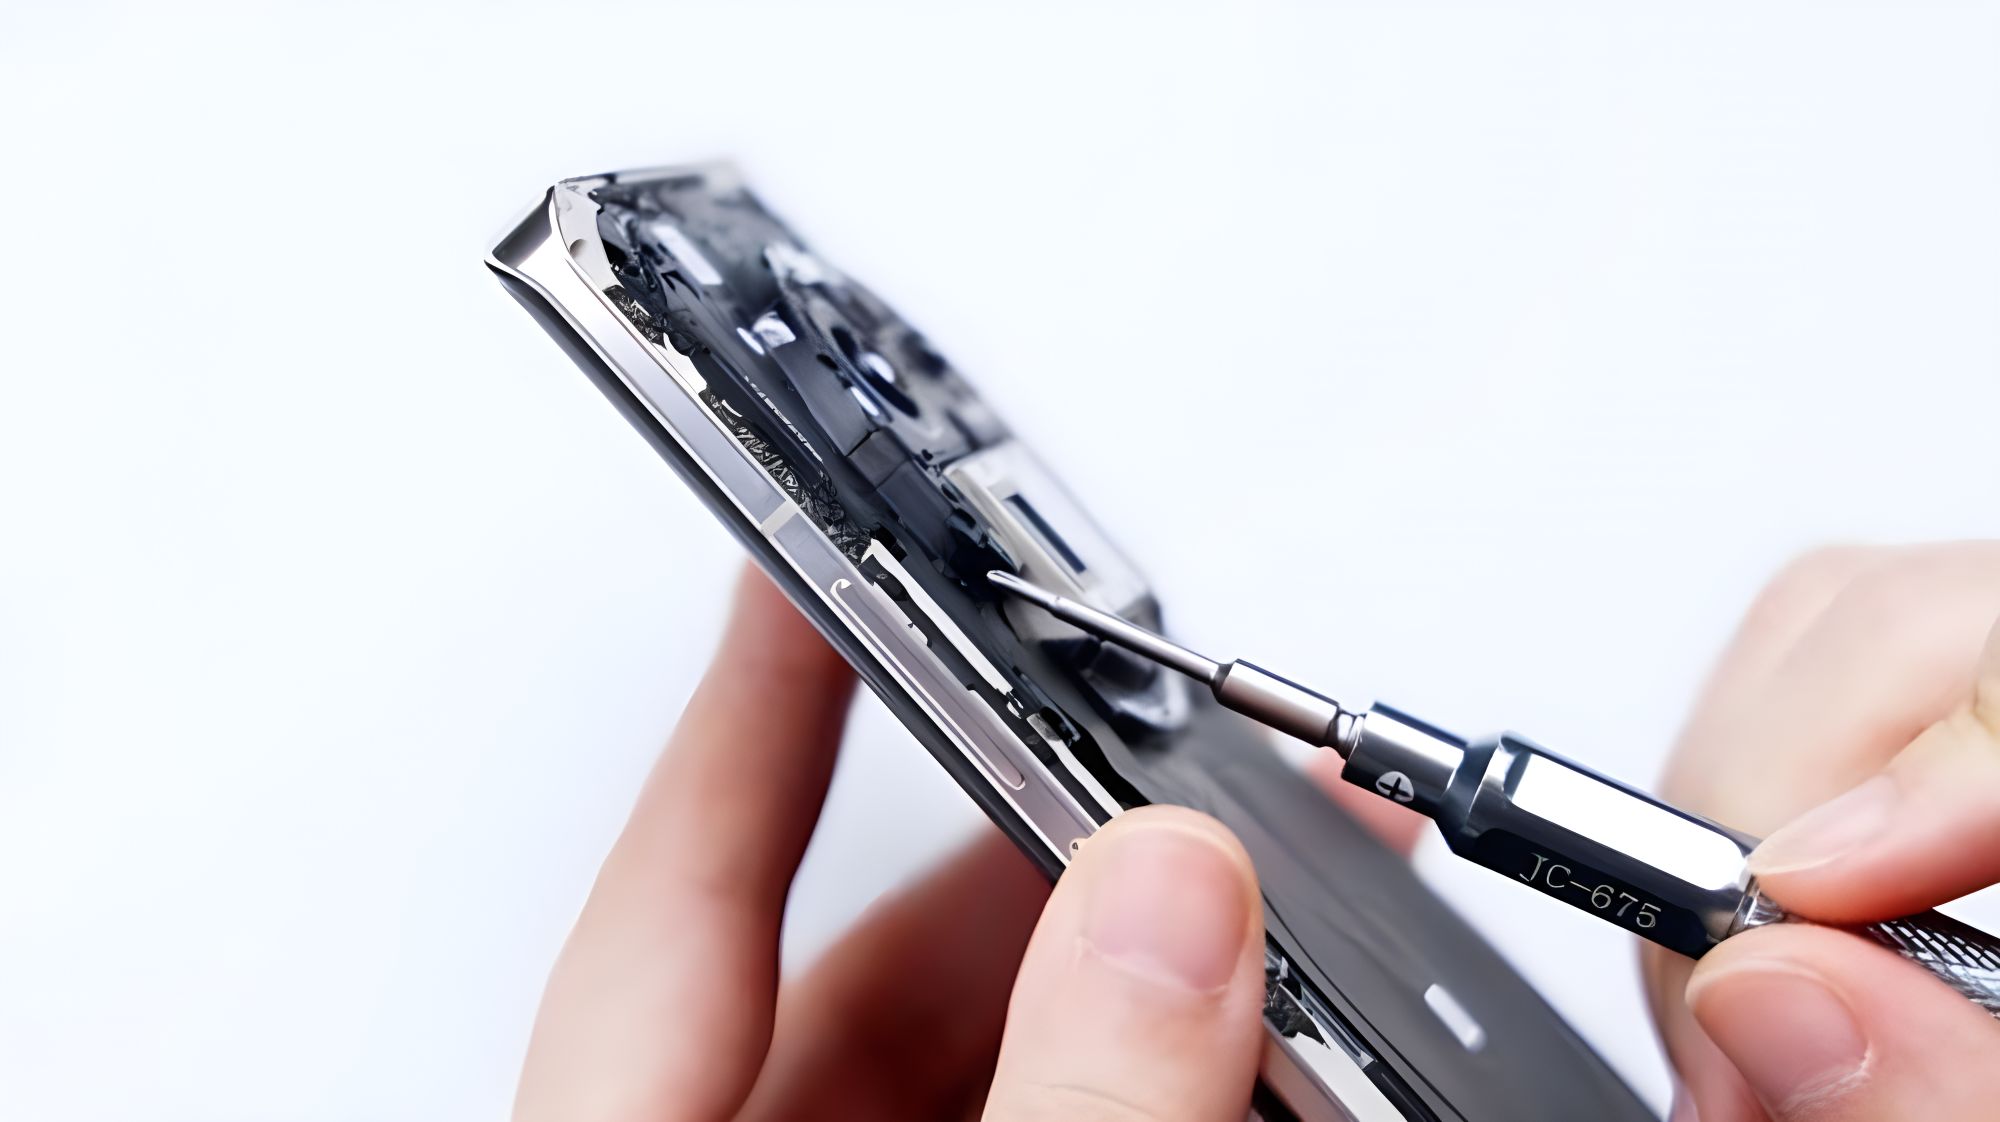
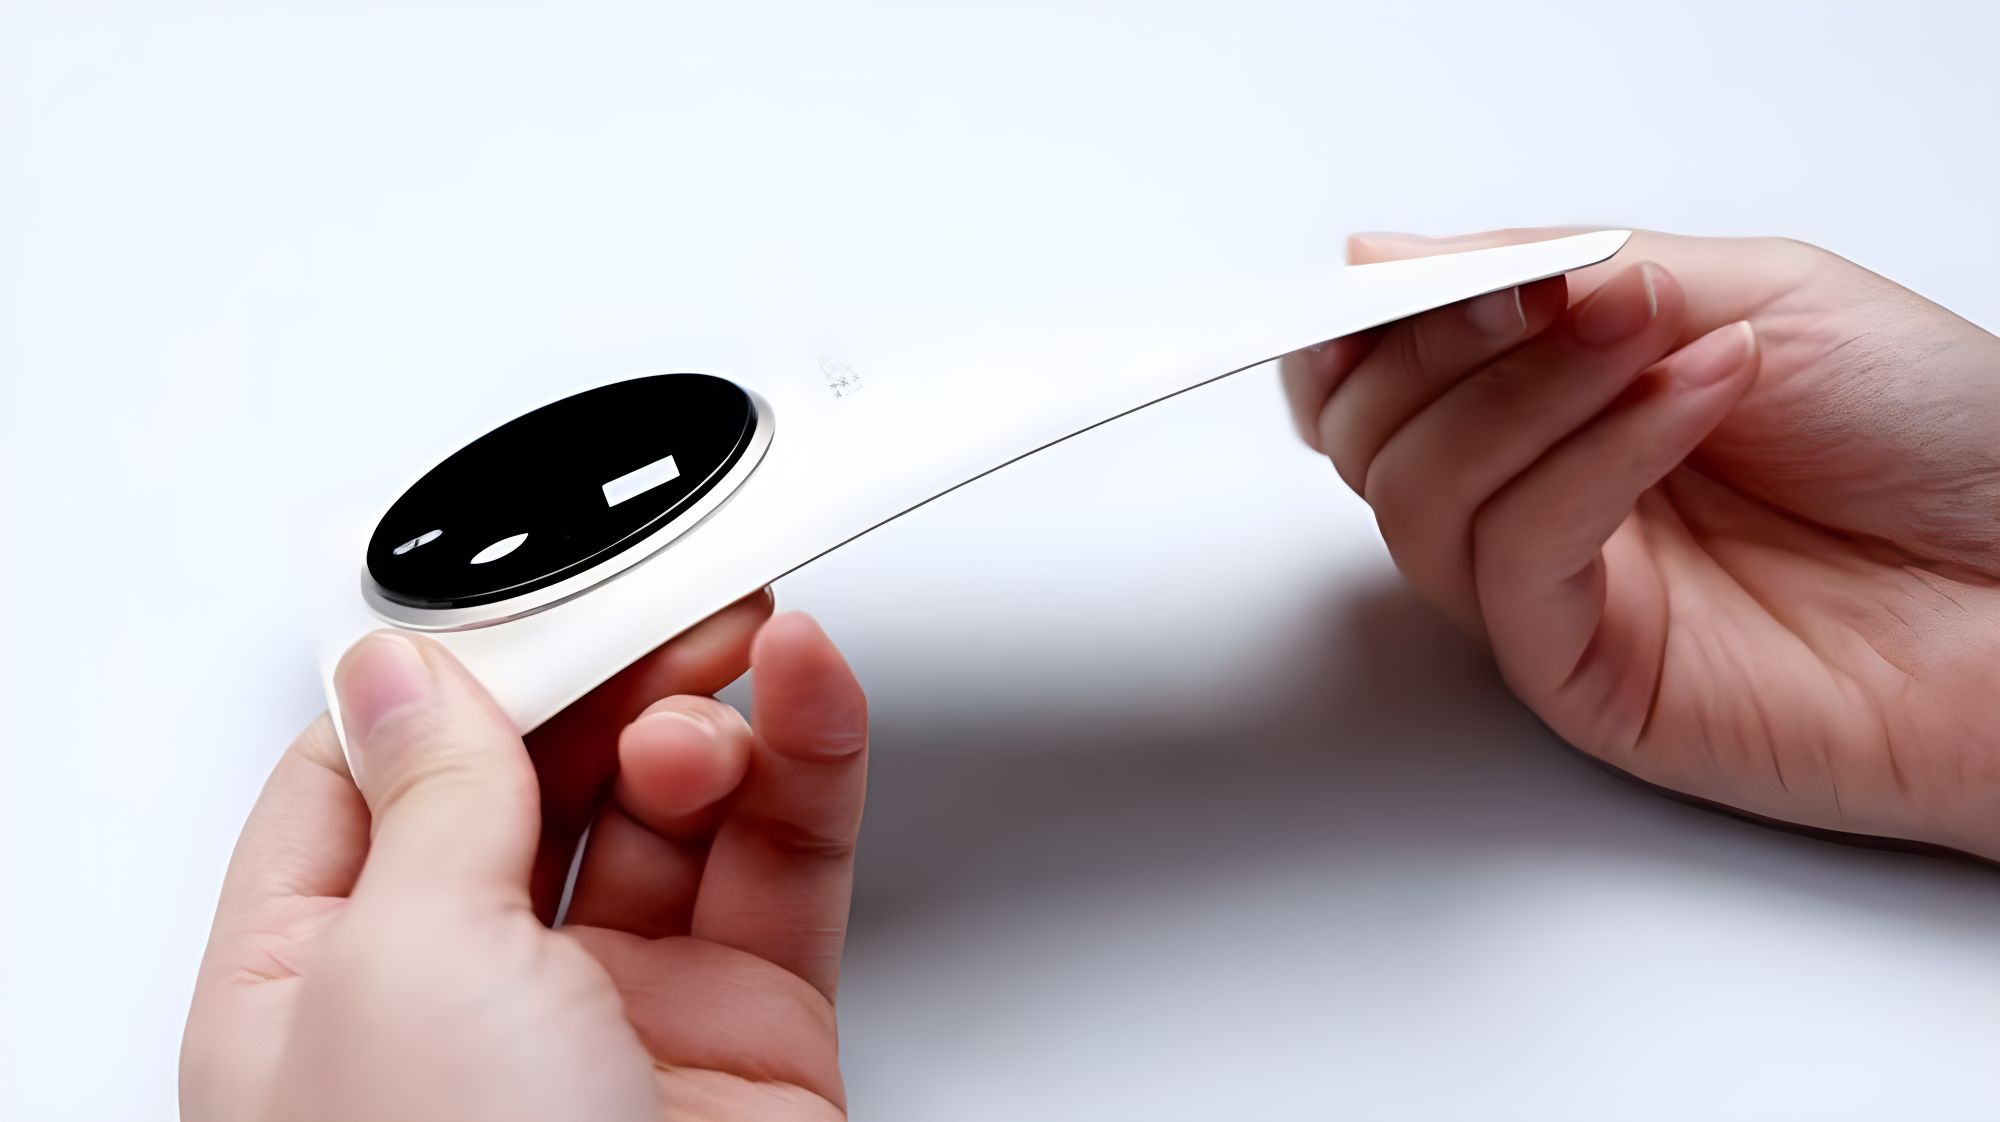
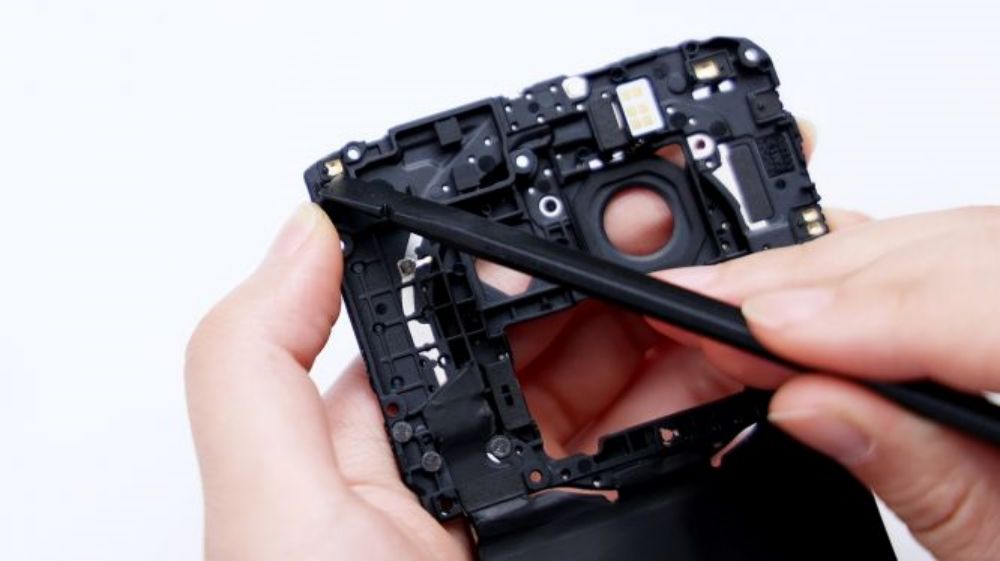
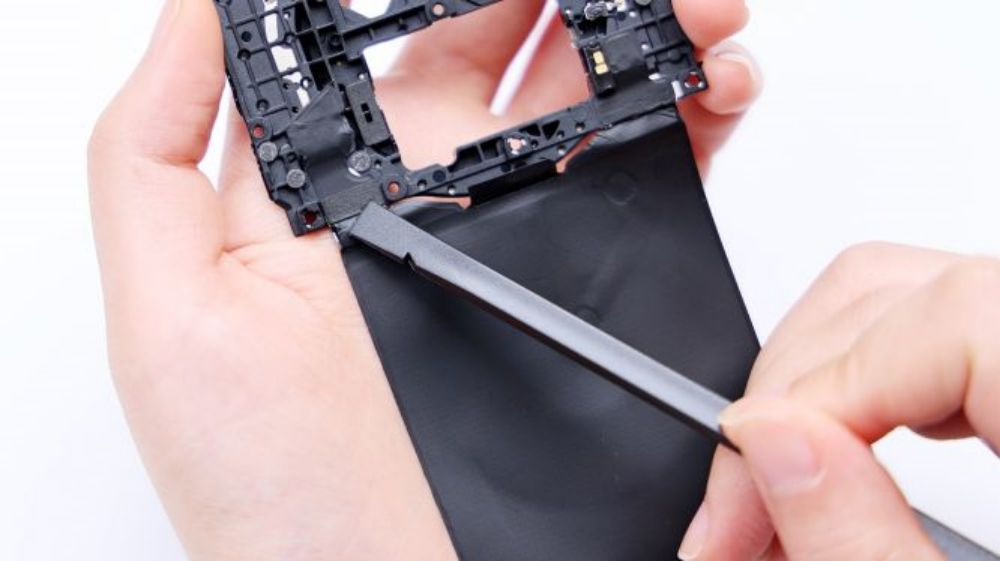
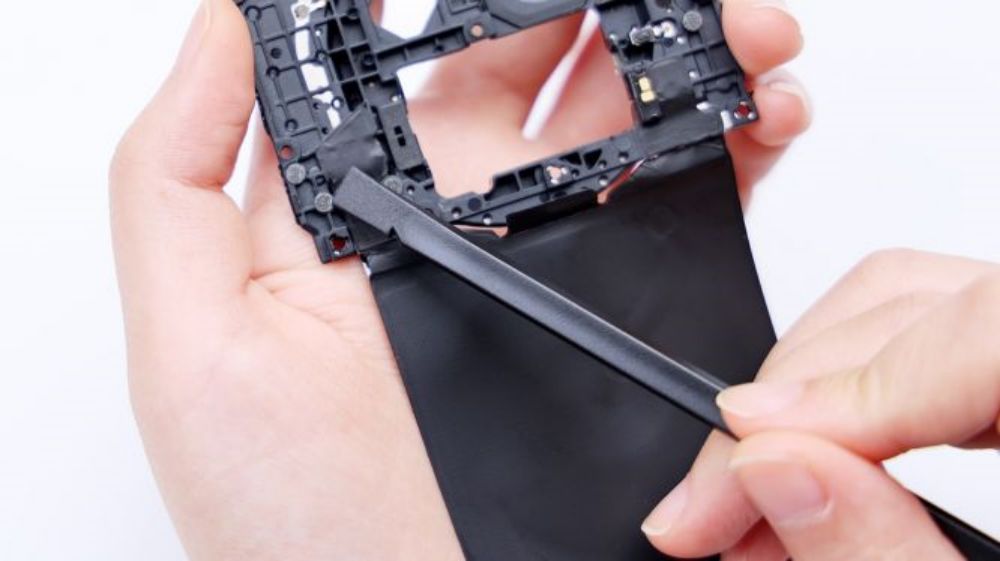
Vegan leather material back cover, with suction cups to assist the method is not to think about, can only rely on the warping piece to open the breakthrough. However, what I did not expect is that the GT5 Pro is even tighter than the last K70E's back cover. With the same thickness of thin warps, the K70E can be stuffed into the gap between the back cover and the center frame after heating, but not the GT5 Pro. I had no choice but to put on thinner metal warps to open up a break in the corners, then replace the plastic warps to finish the back.
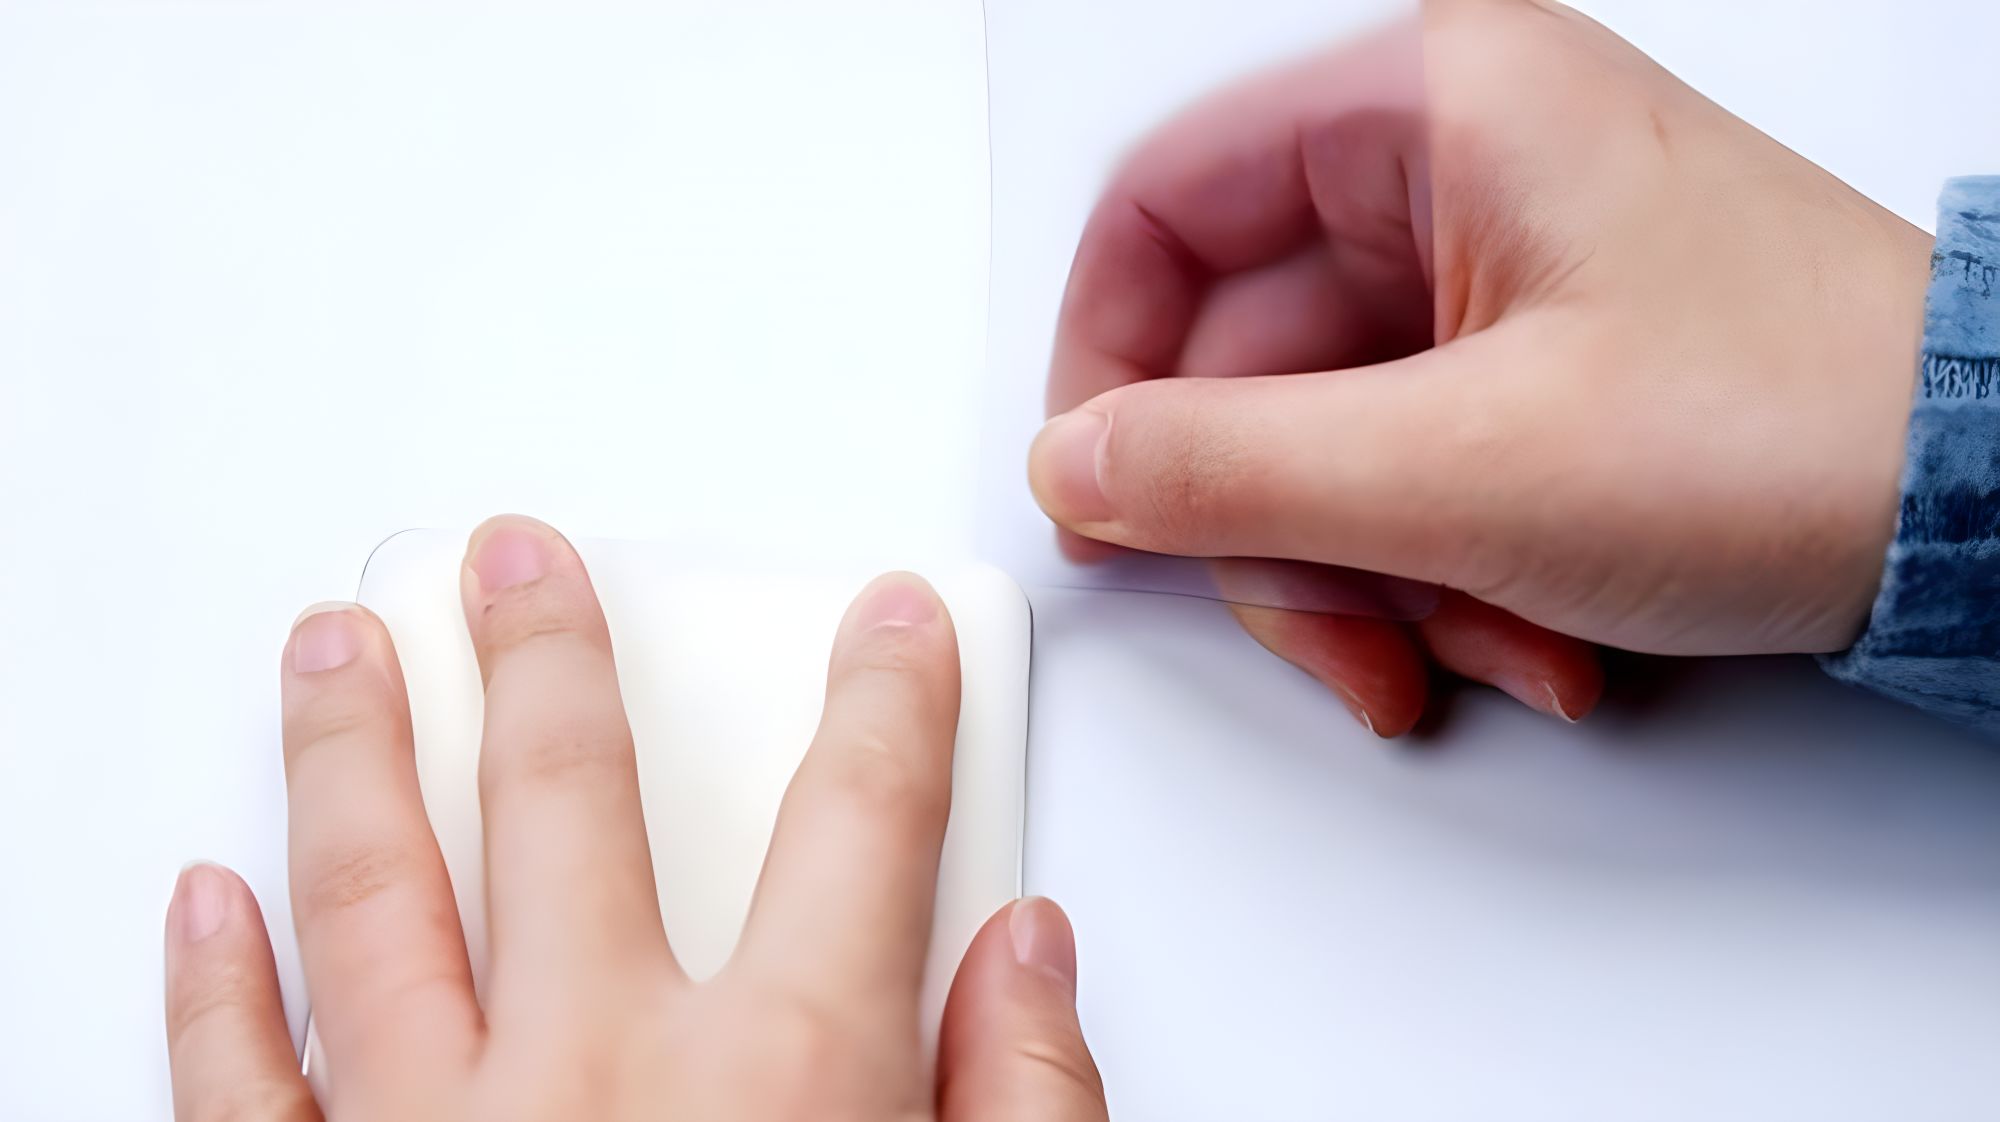
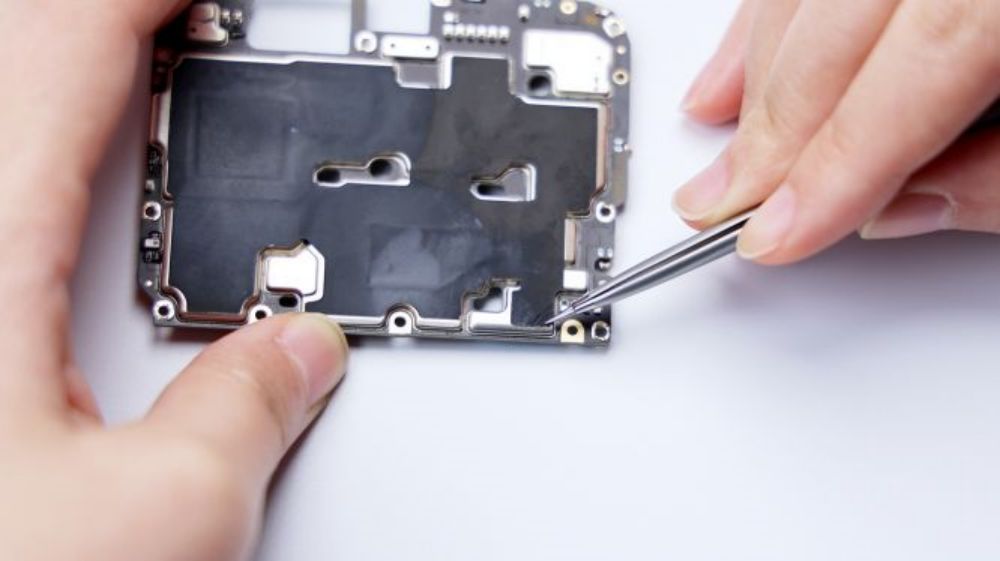
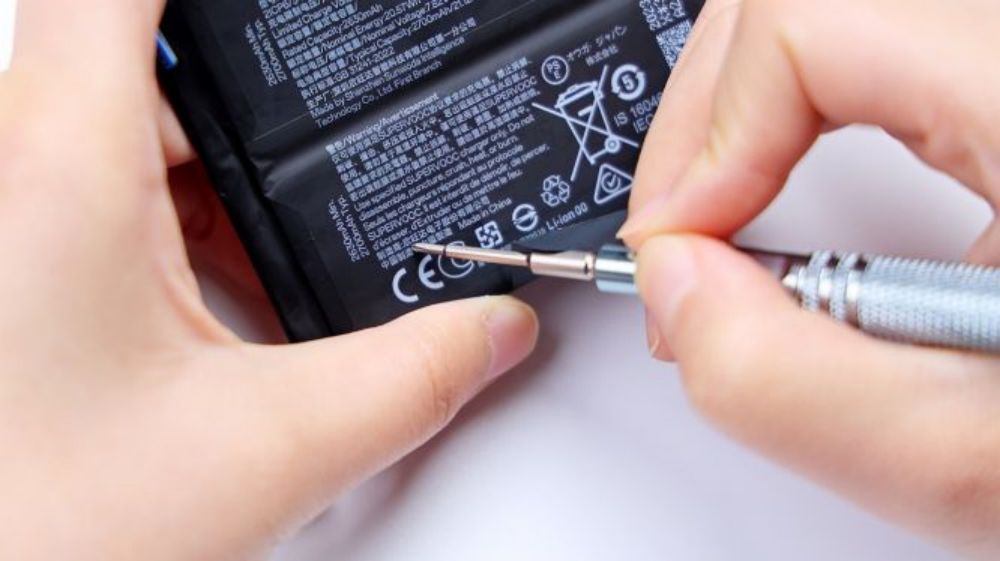
What I didn't expect is that after opening the breach, the work of cleaning up the surrounding sealant was so easy and smooth that it gave me an illusion that the back cover of this machine was not glued properly.

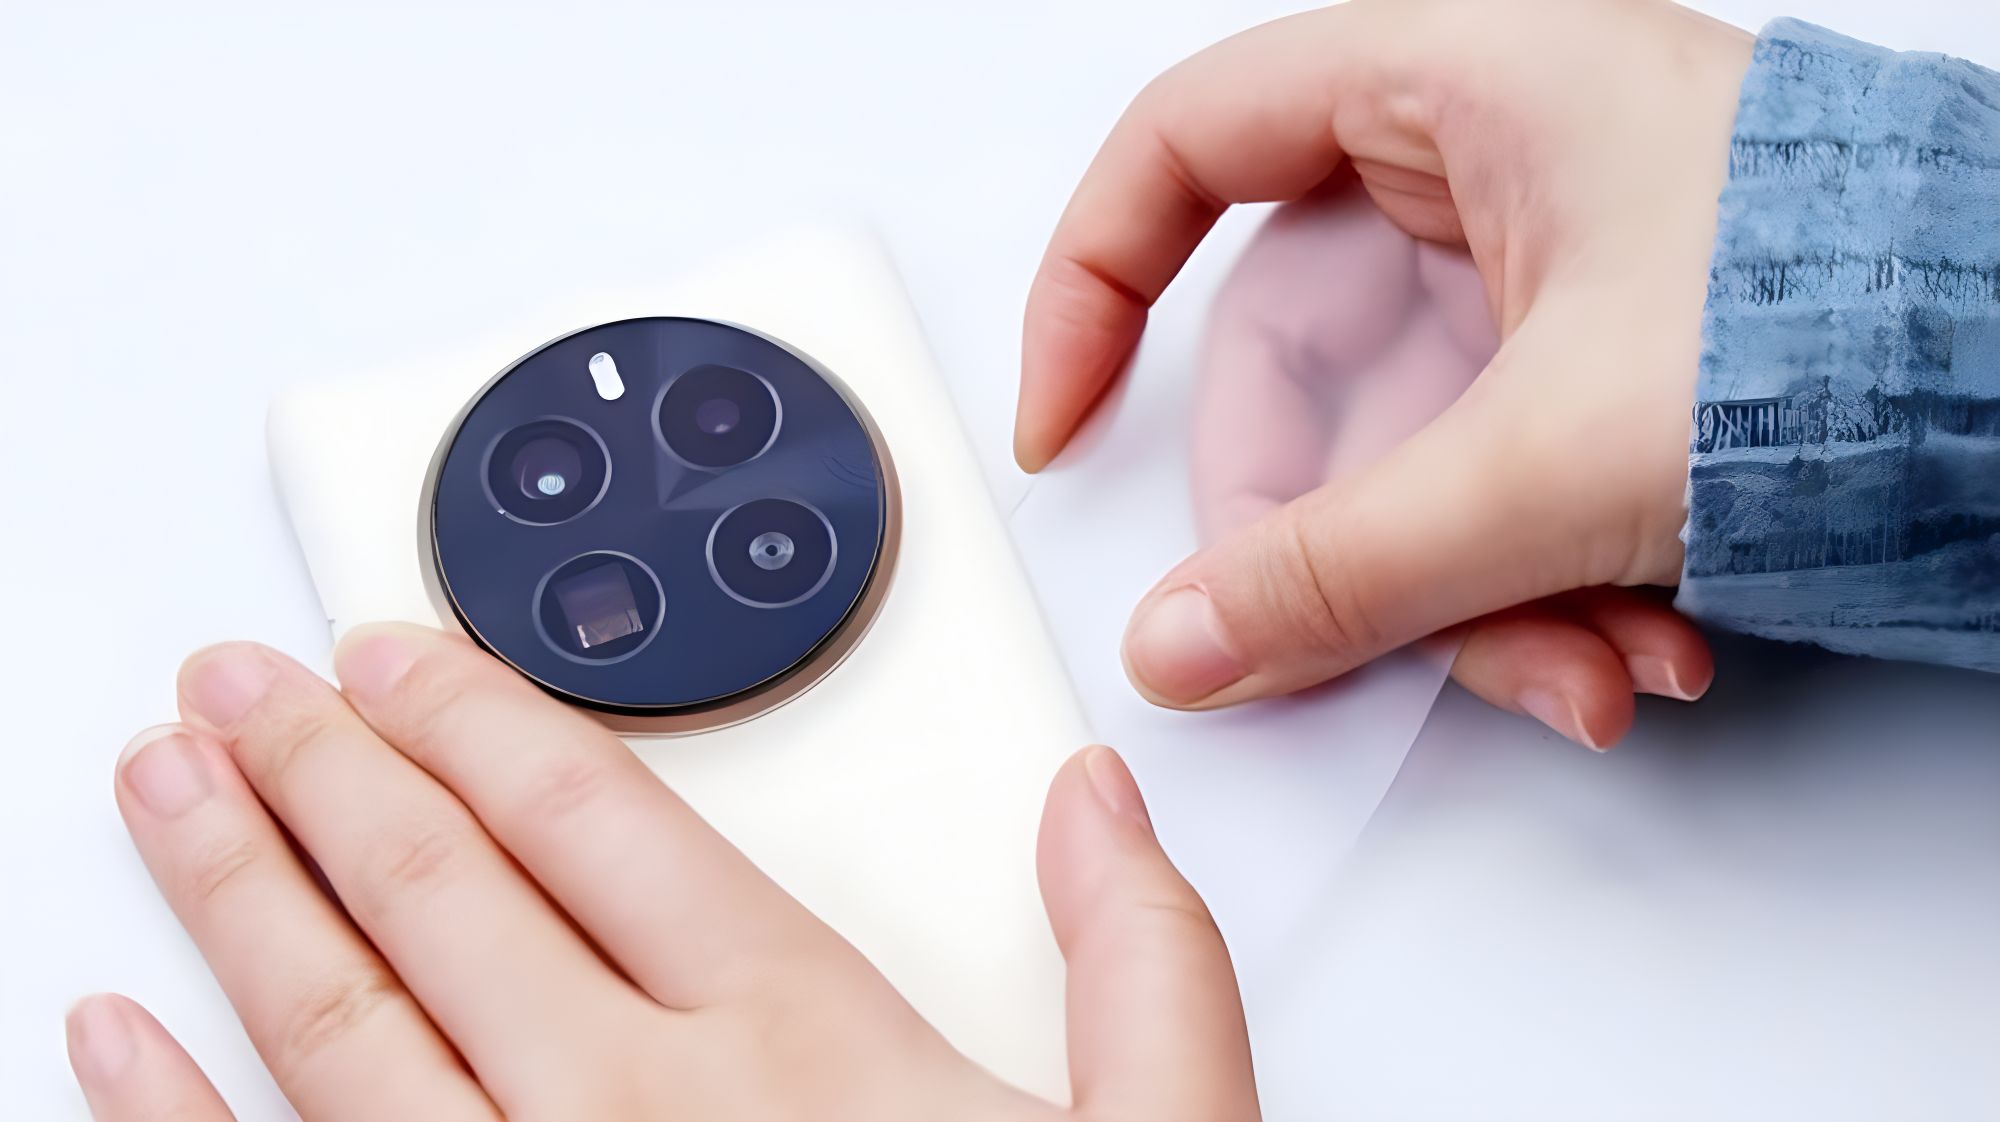
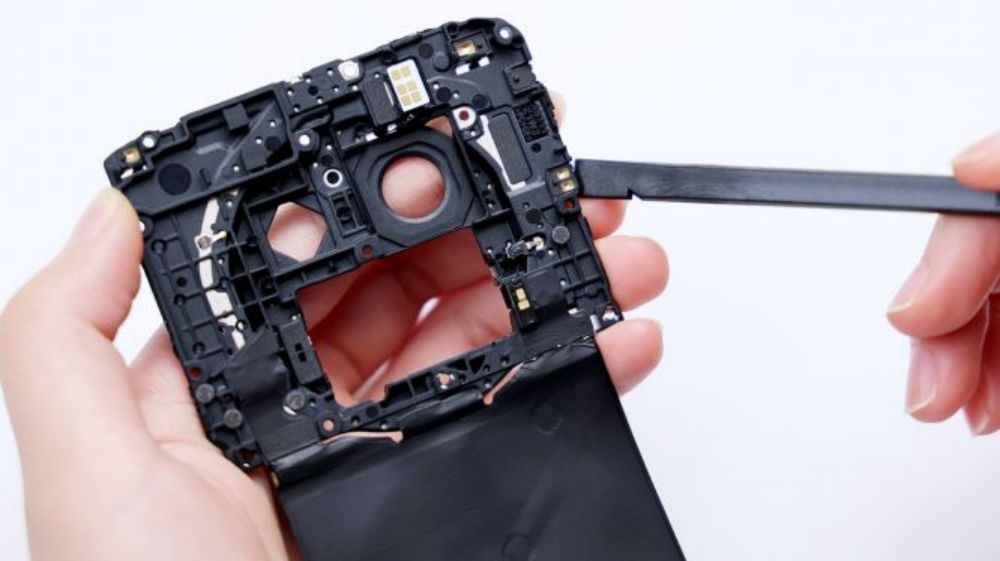
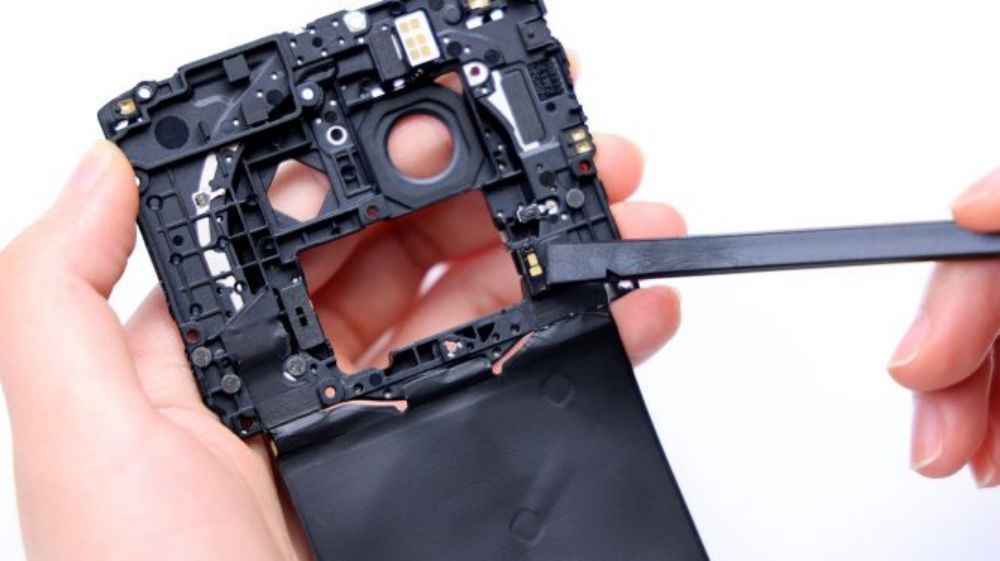
However, immediately after, and encountered a small problem, although all around the sealant are open, but the back cover can not be removed, guessing that the DECO area is also a little bit of glue bit, a separate heating of the lens module, insert a thin warped piece, swept through the DECO below, the hand feedback strength, confirming the previous guess, here is indeed a little bit of glue, and the sealant adhesive is also very large, a little bit of forward, and finally succeeded in opening the back cover.


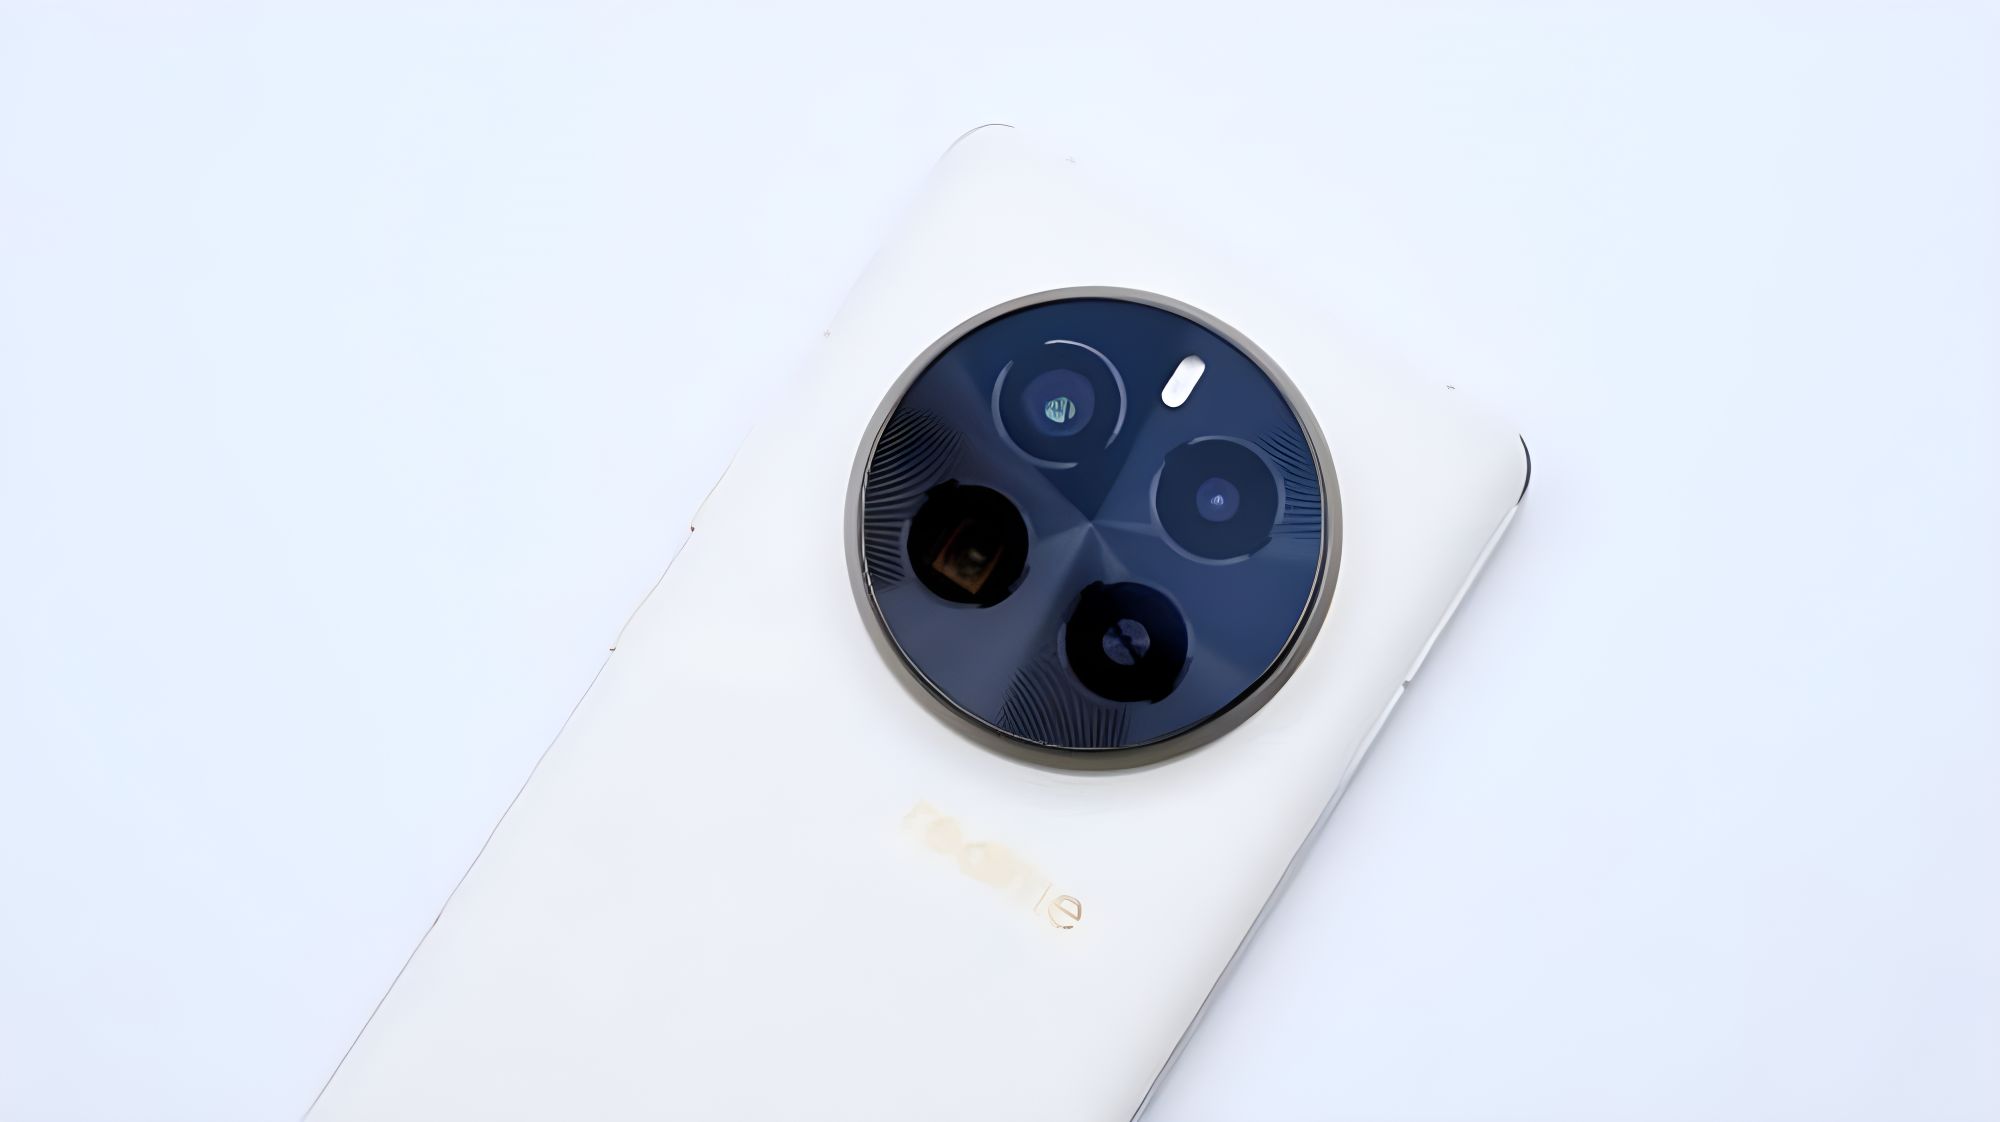
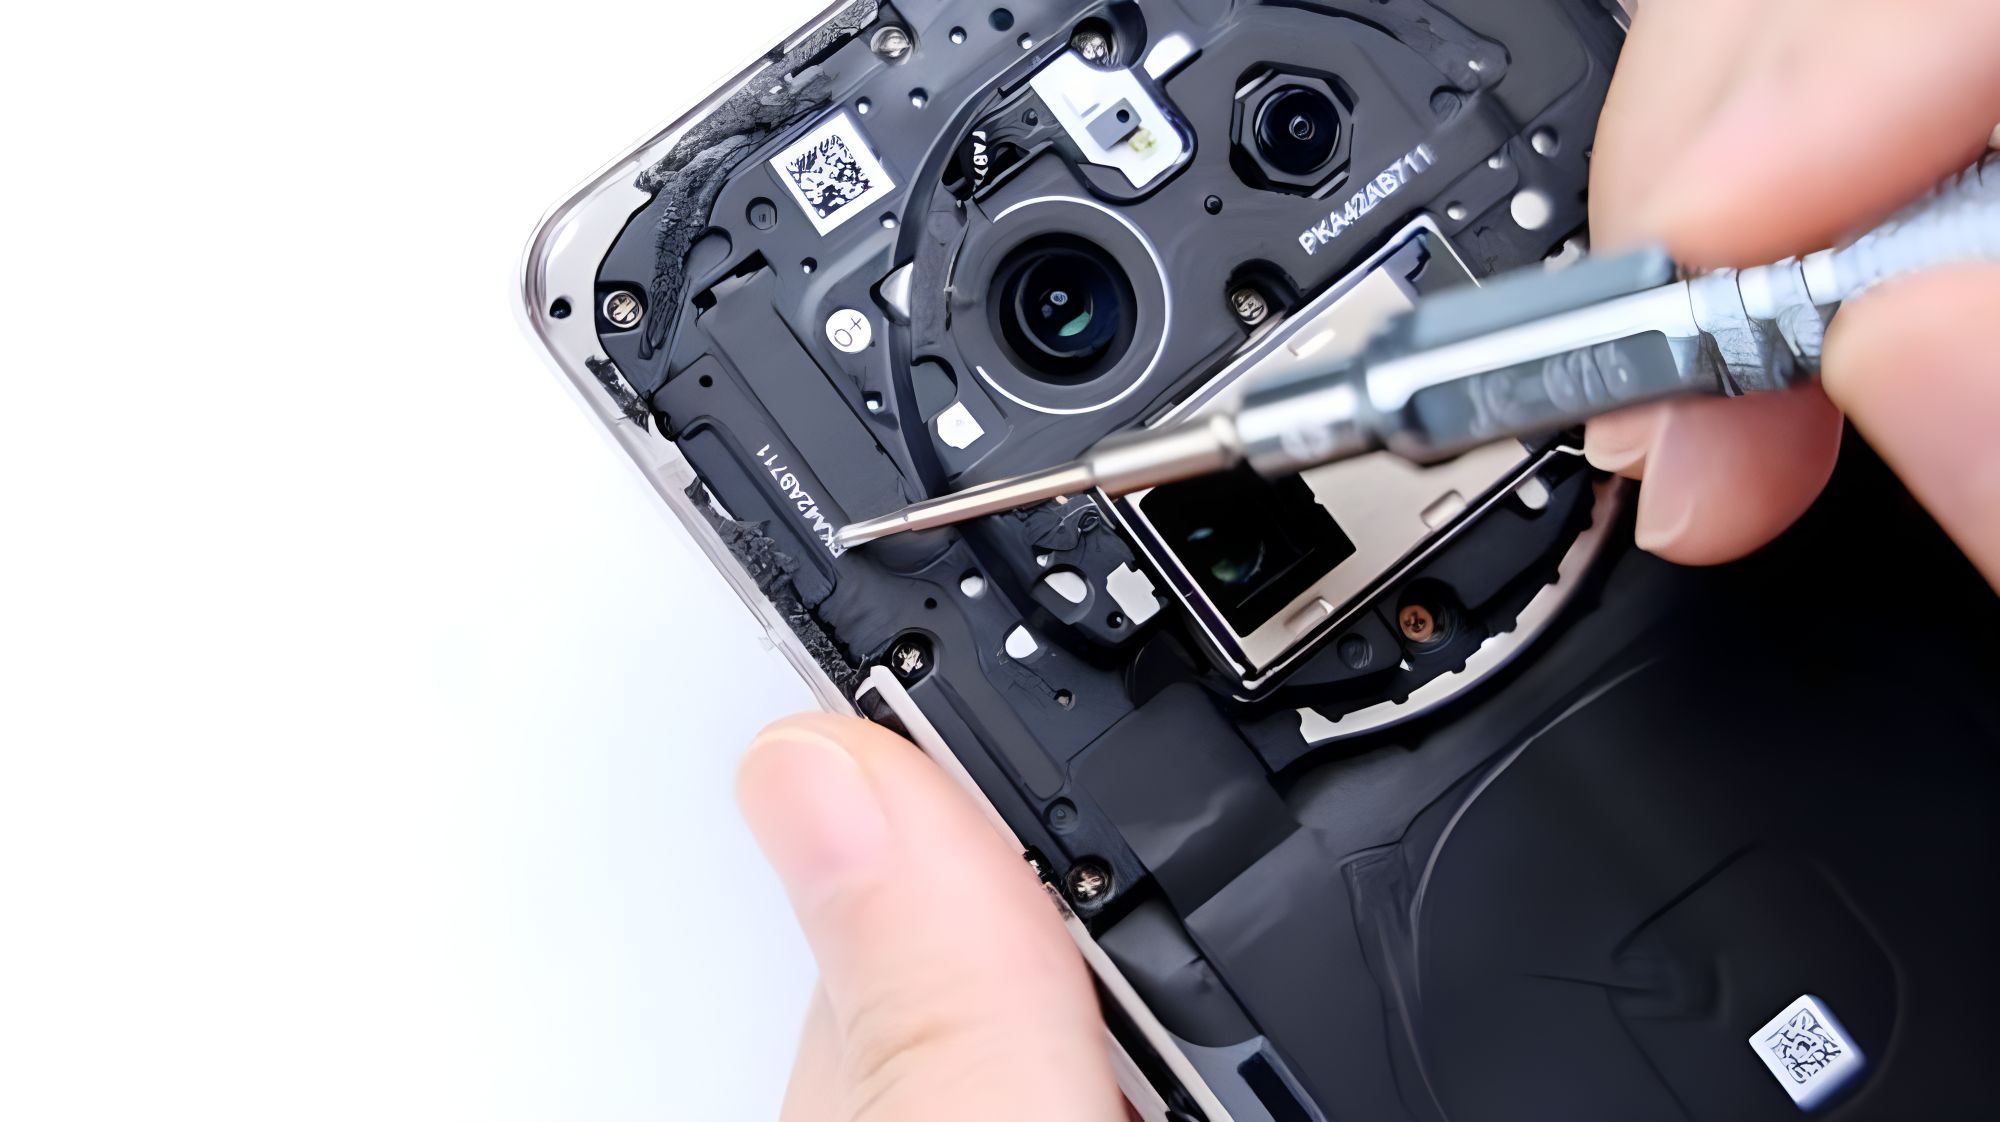
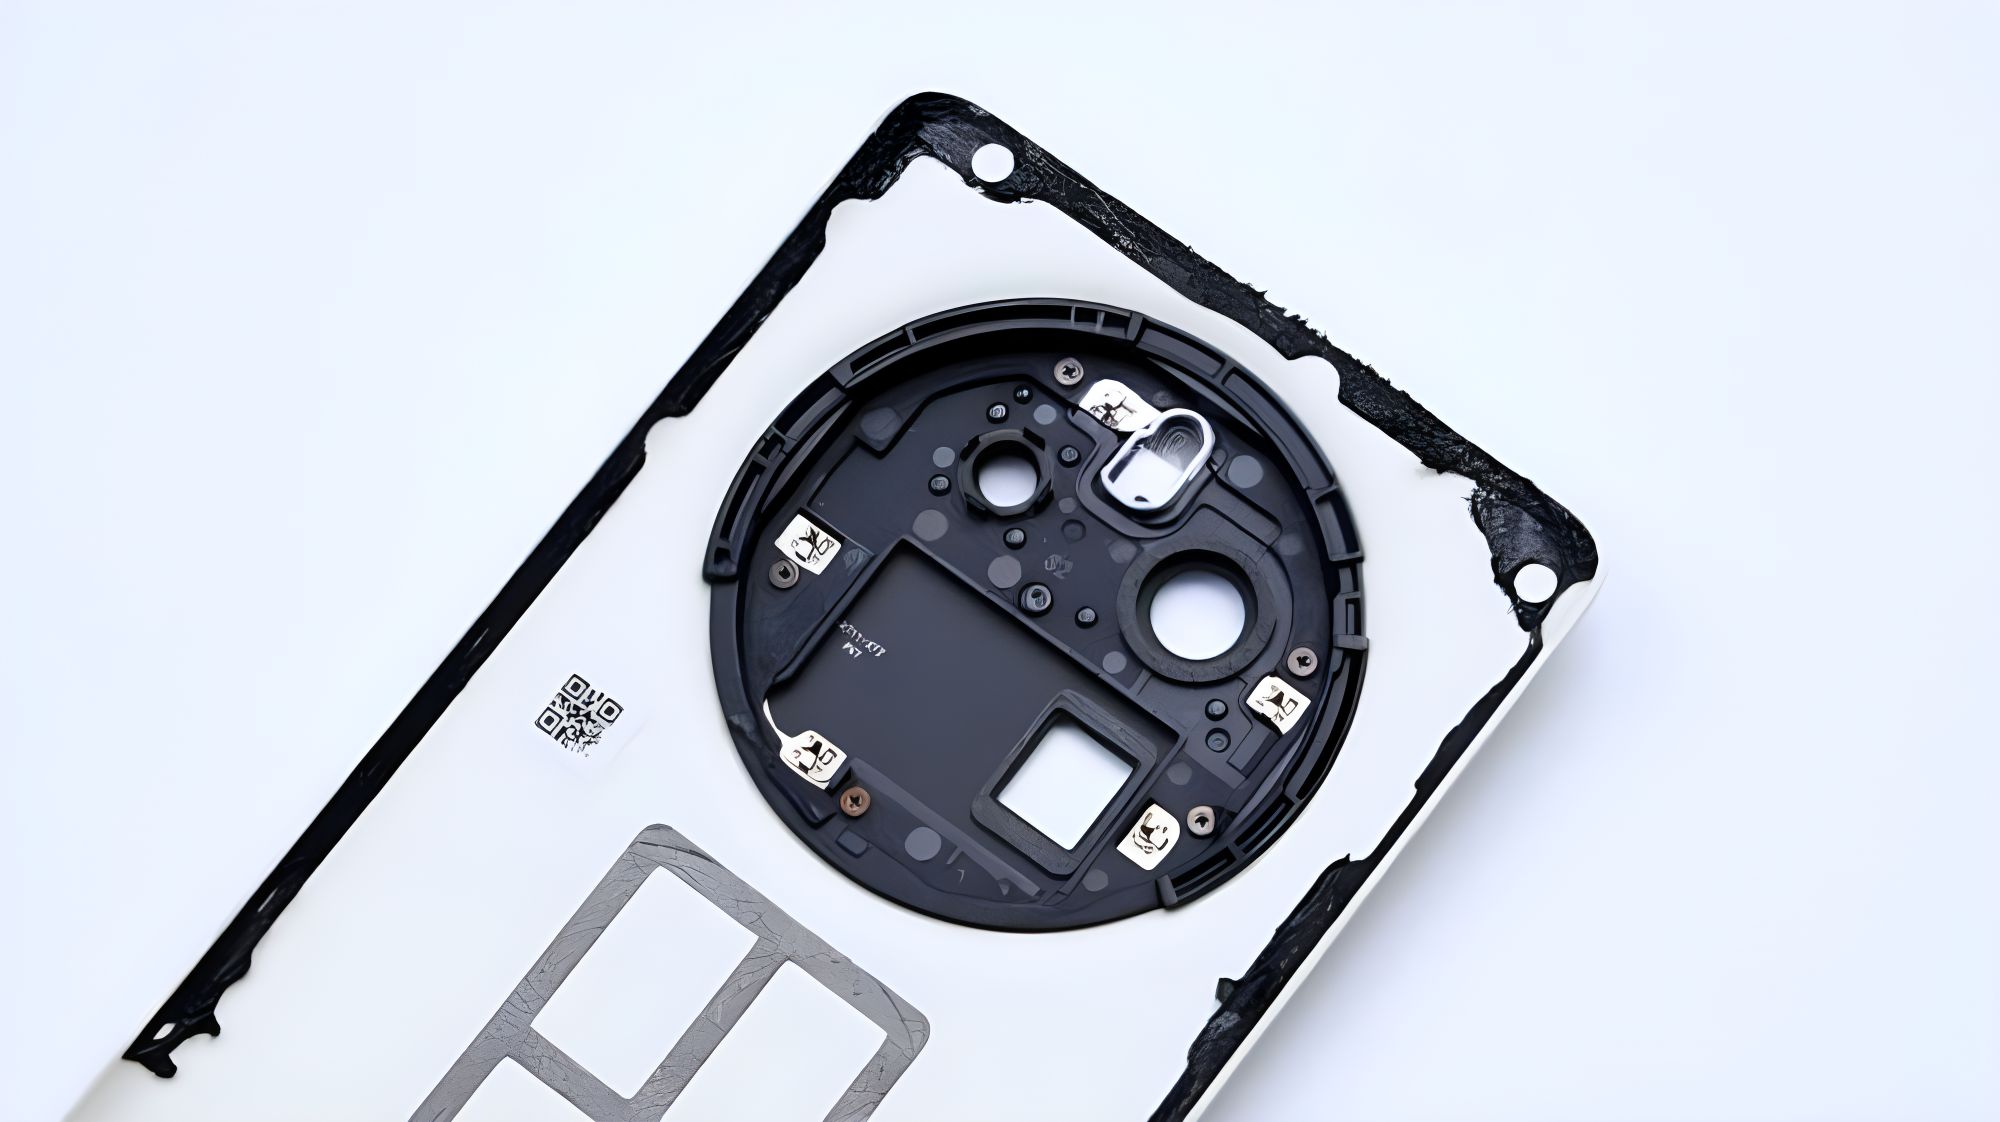
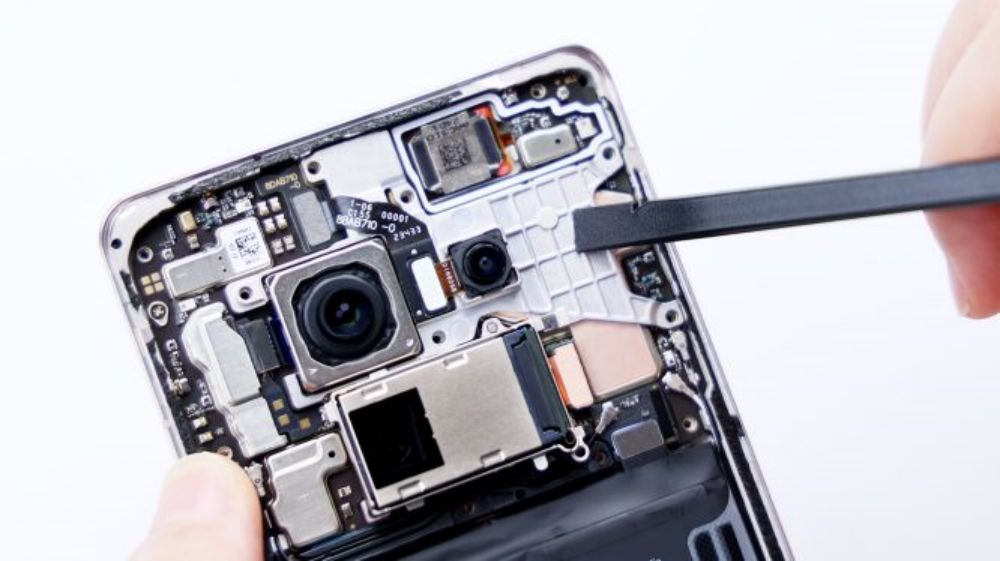
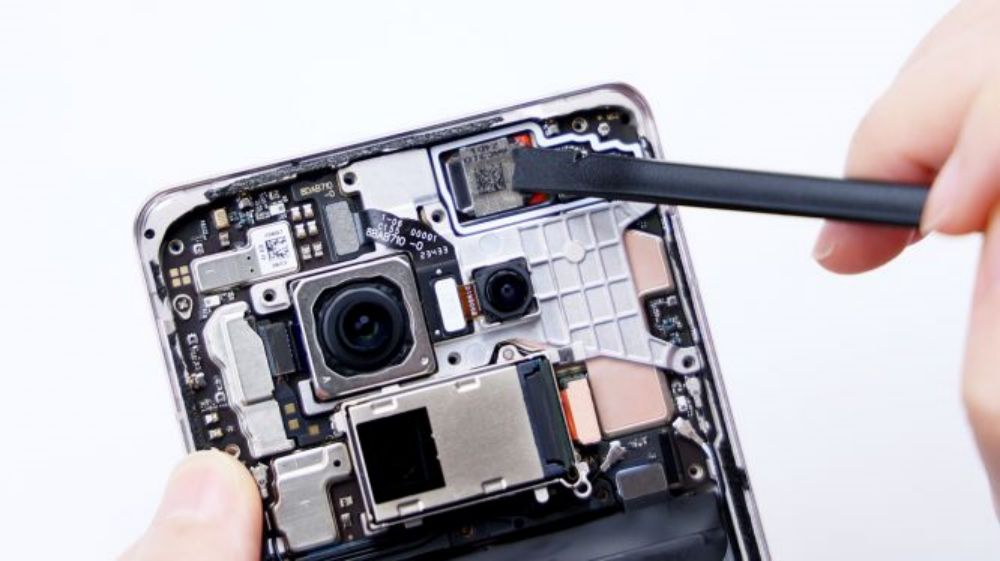
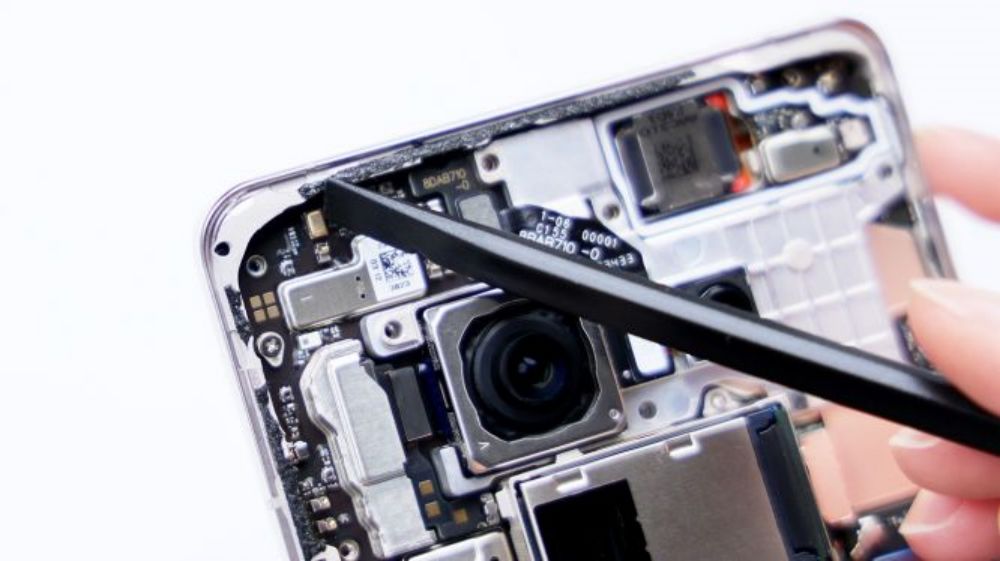
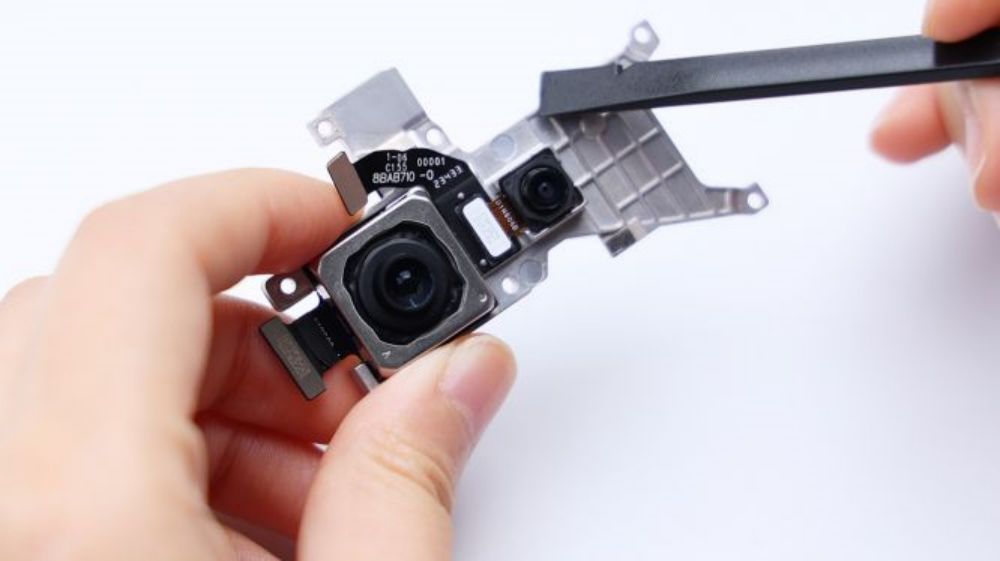
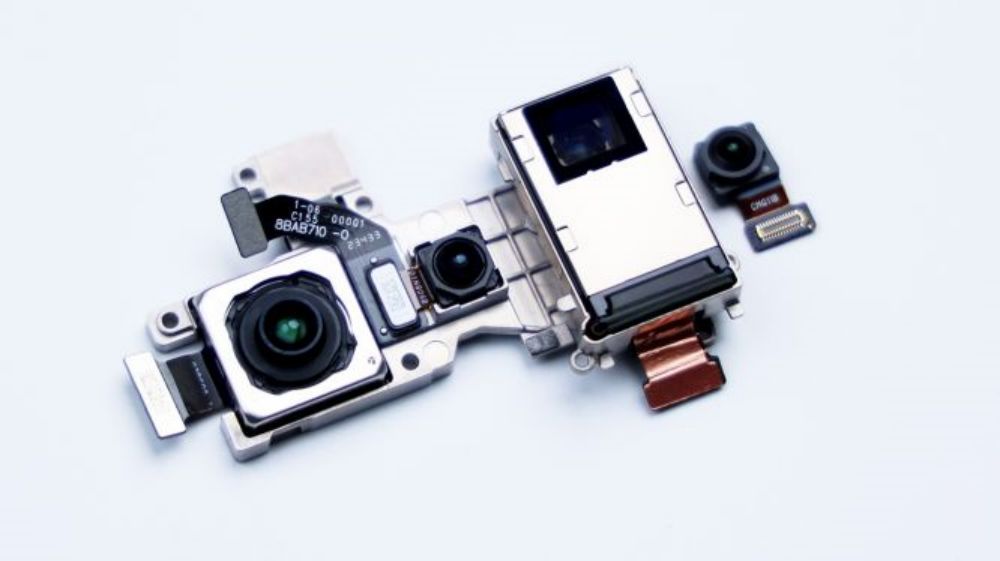
See the internal structure of the first moment, the most eye-catching is the rear camera module, specifically the periscope telephoto lens, the head is really too big, so big that a lens accounted for the location of two lenses, the upper left of the main camera, next to it are a little eclipsed, as if it became a supporting role.
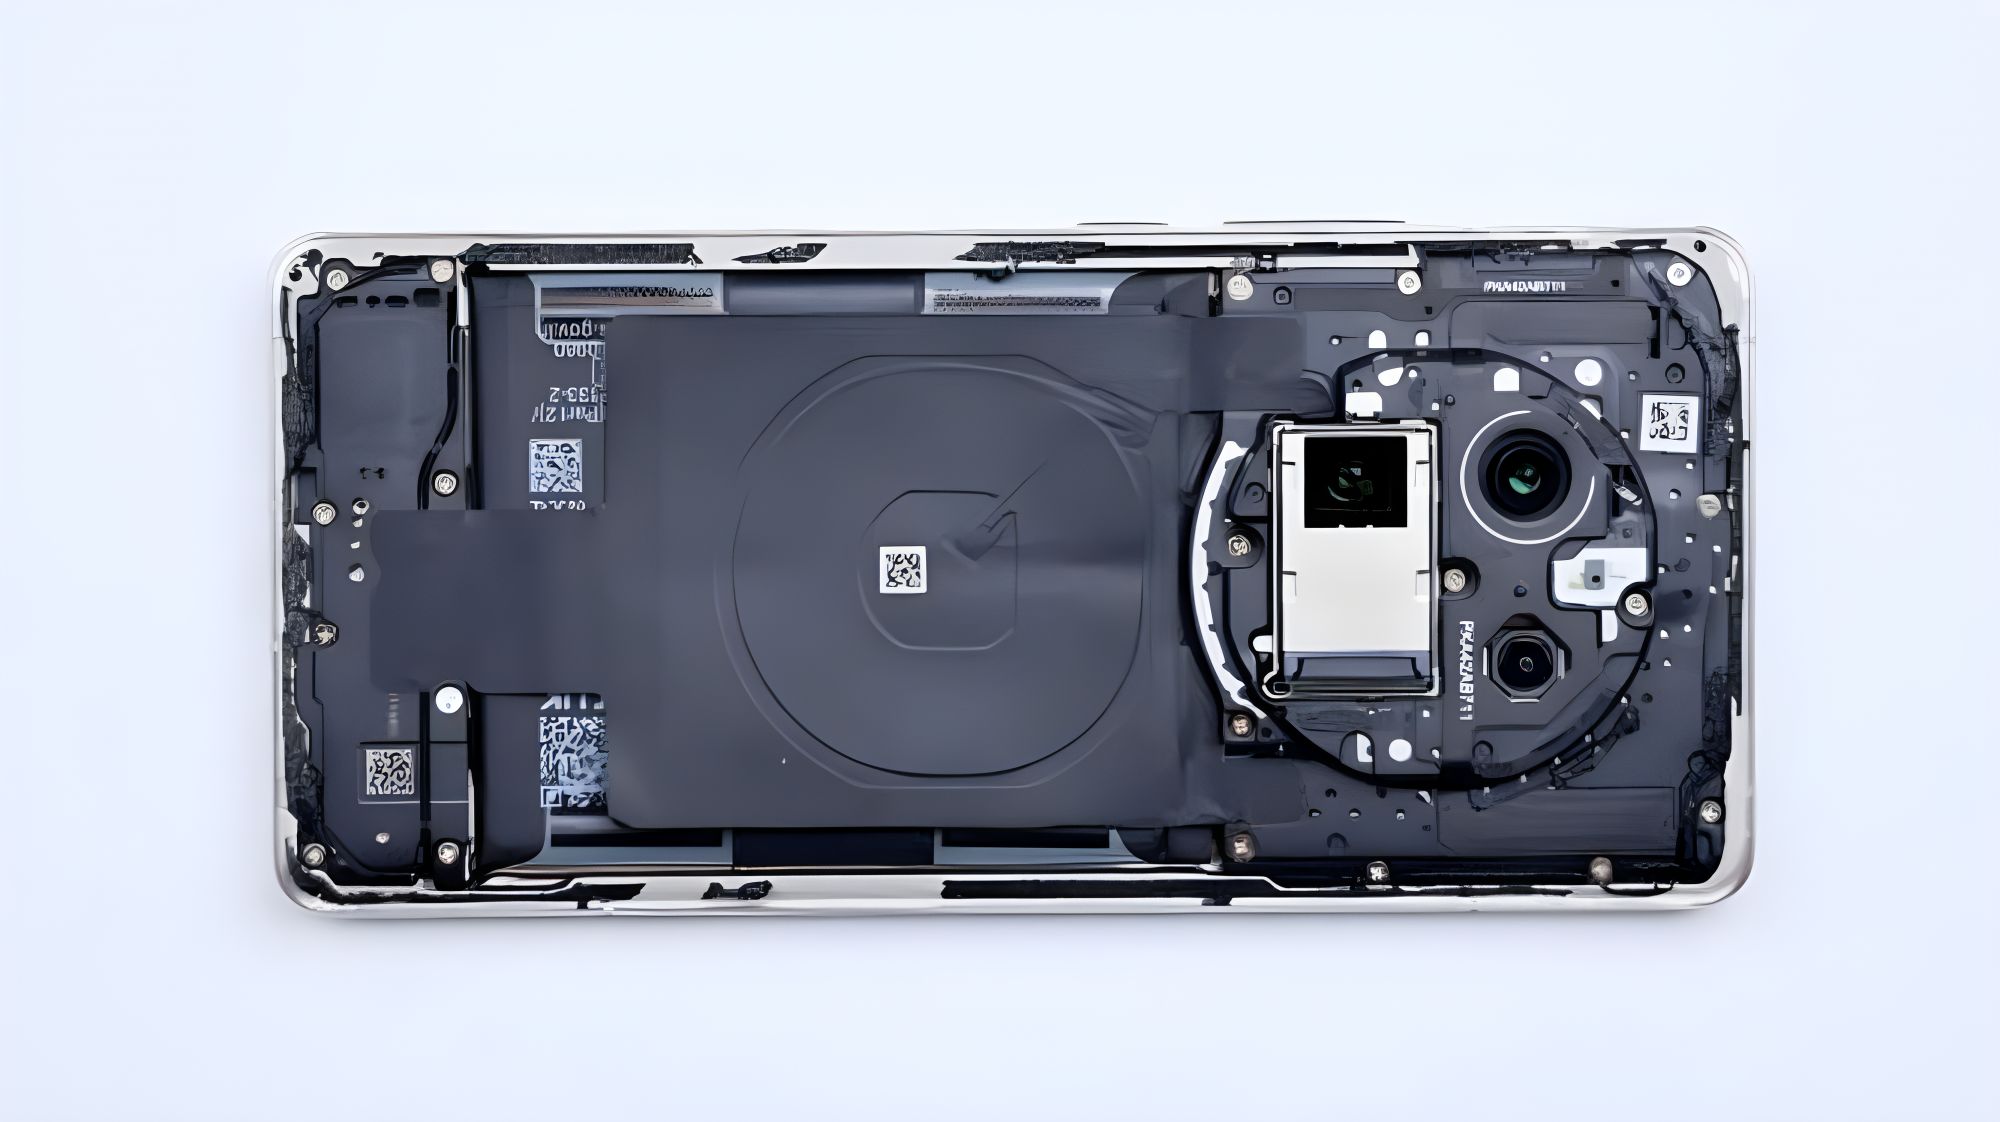
In addition, unlike most common phones, the middle position of the cover has the same bulge in order to cater to the bulge of the lens module, and as you can see from the side, the bulge is quite large, which is one of the reasons why the DECO area on the outside of the back cover protrudes significantly.
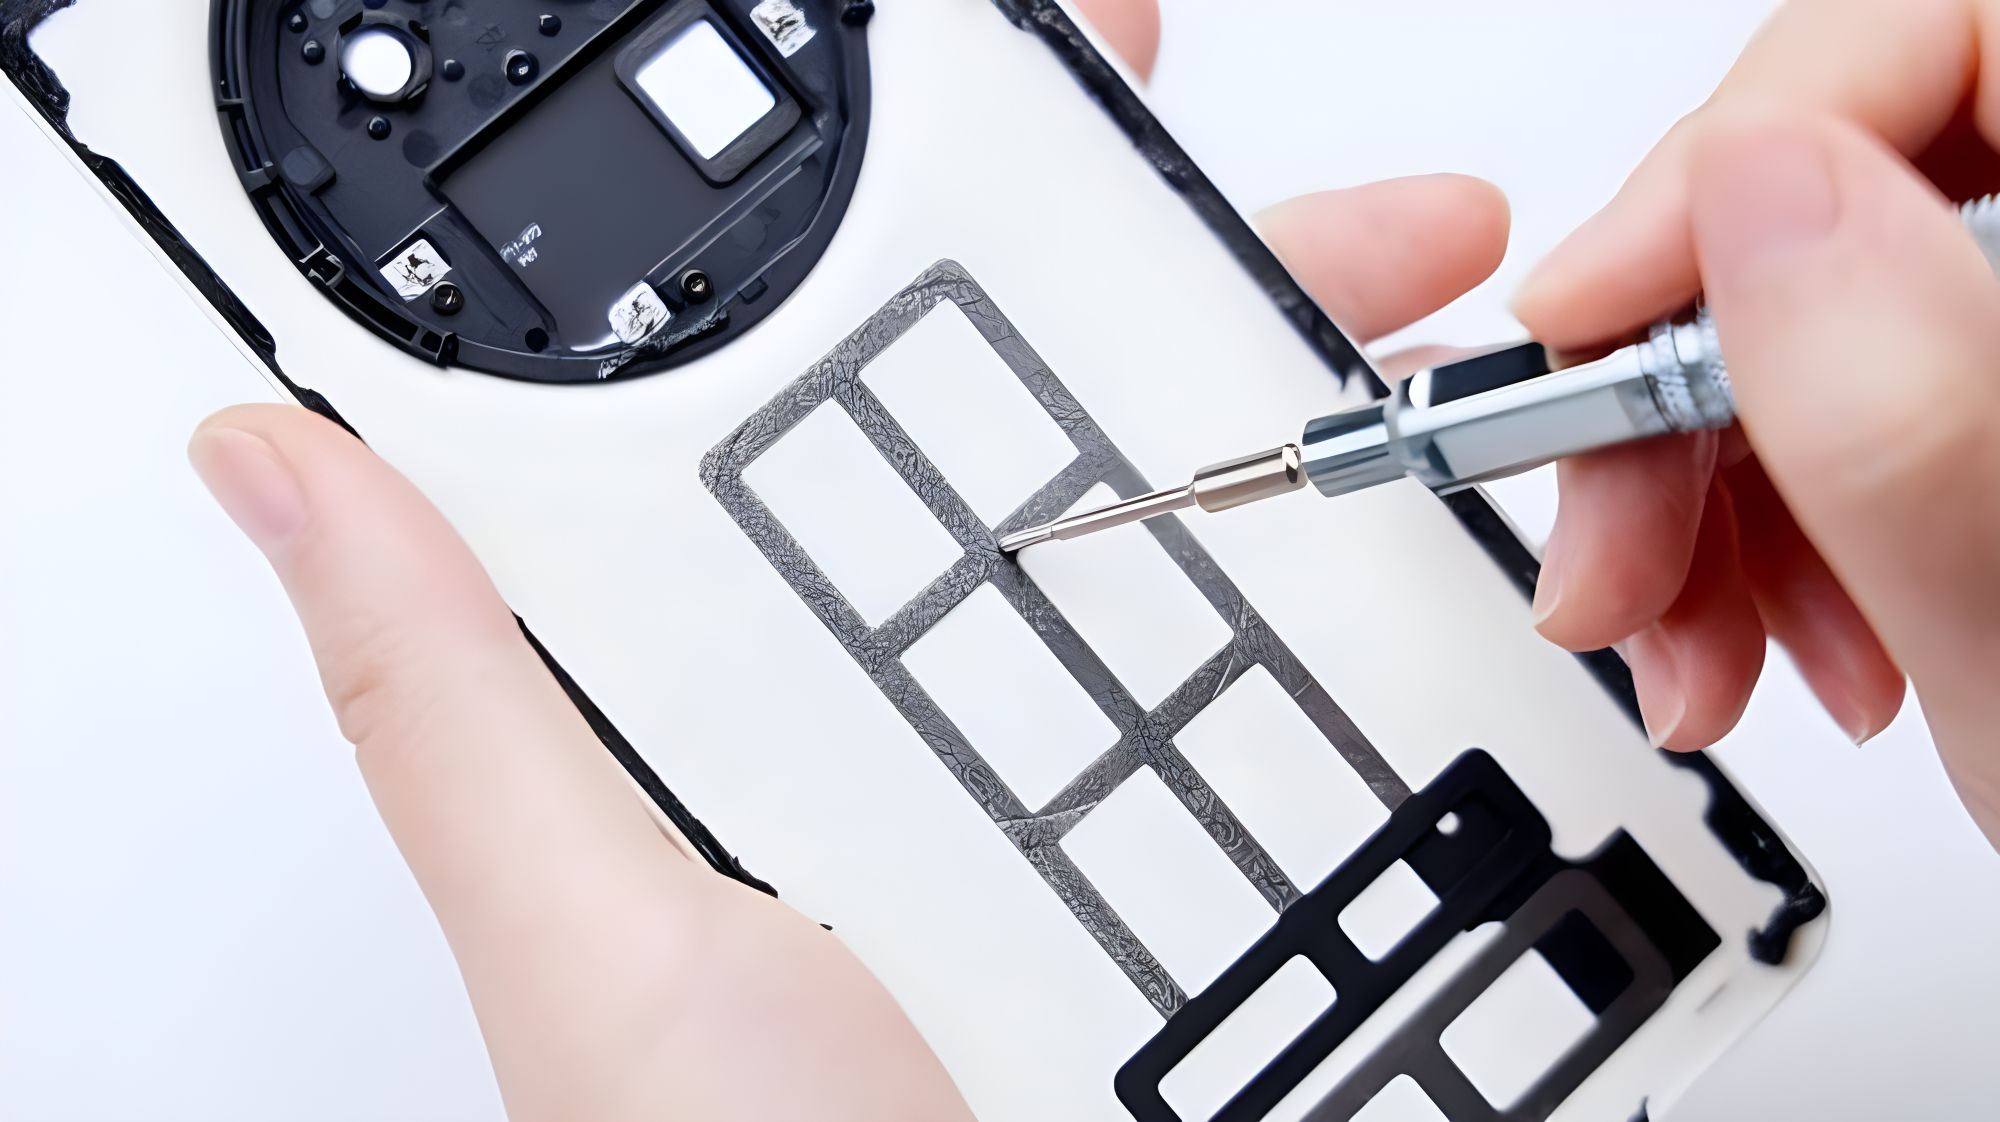
The cover is held in place by 13 screws, and the flash is integrated on top of it, between the main camera and the ultra-wide-angle lens, and along with it is an ambient light sensor, which is connected to the motherboard via a black FPC. Judging by the partially exposed details of the cover plate, it too has a metal sandwich, encased in black plastic.
The long black strip running through the lens module area is the NFC coil, and there's another one with letters printed on the far left, which is the antenna FPC.The GT5 Pro supports 50W wireless charging, and the coil sits on top of the battery, with a total of three fixing bits above and below it, and as you can see from the gap between it and the cover plate, there's a large piece of graphite thermal paste underneath that extends to the upward position on either side of the cover plate.

The long black strip running through the lens module area is the NFC coil, and the leftmost strip with the letters printed on it is the antenna FPC.The GT5 Pro supports 50W wireless charging, and the coil is located above the battery, with a total of three fixing positions above and below it, and there is a large graphite heat sink underneath it that extends to the upward position on both sides of the cover plate as can be seen from the gap between it and the cover plate.


When removing the back cover, the reason why the surrounding sealing glue is so easy to clean is mainly because the circle is made of foam adhesive, the thin warping piece is inserted right into the middle of the foam layer, so there is no obstruction in sweeping the circle, and after opening it, I touched the circle of adhesive around the back cover and the center frame, and there was no adhesion, and that's the reason why.

There was a mention of the vegan leather on the back cover, and in addition to the feel, two small details were found. First, the back cover logo is glued on.
Secondly, the rear cover is very thin, the structure is similar to the rear cover of the Honor 100 Pro, the main body is made of plastic, the surface layer is made of a shallow groove, during the assembly process, the same shape of the vegetal leather material is directly embedded in the groove, fixed by a large adhesive, in order to control the thickness of the fuselage, the vegetal leather itself is only a thin layer. Twisting the back cover by hand easily deforms it, with the benefit of bringing higher ductility and fit to strengthen the back cover sealing effect.
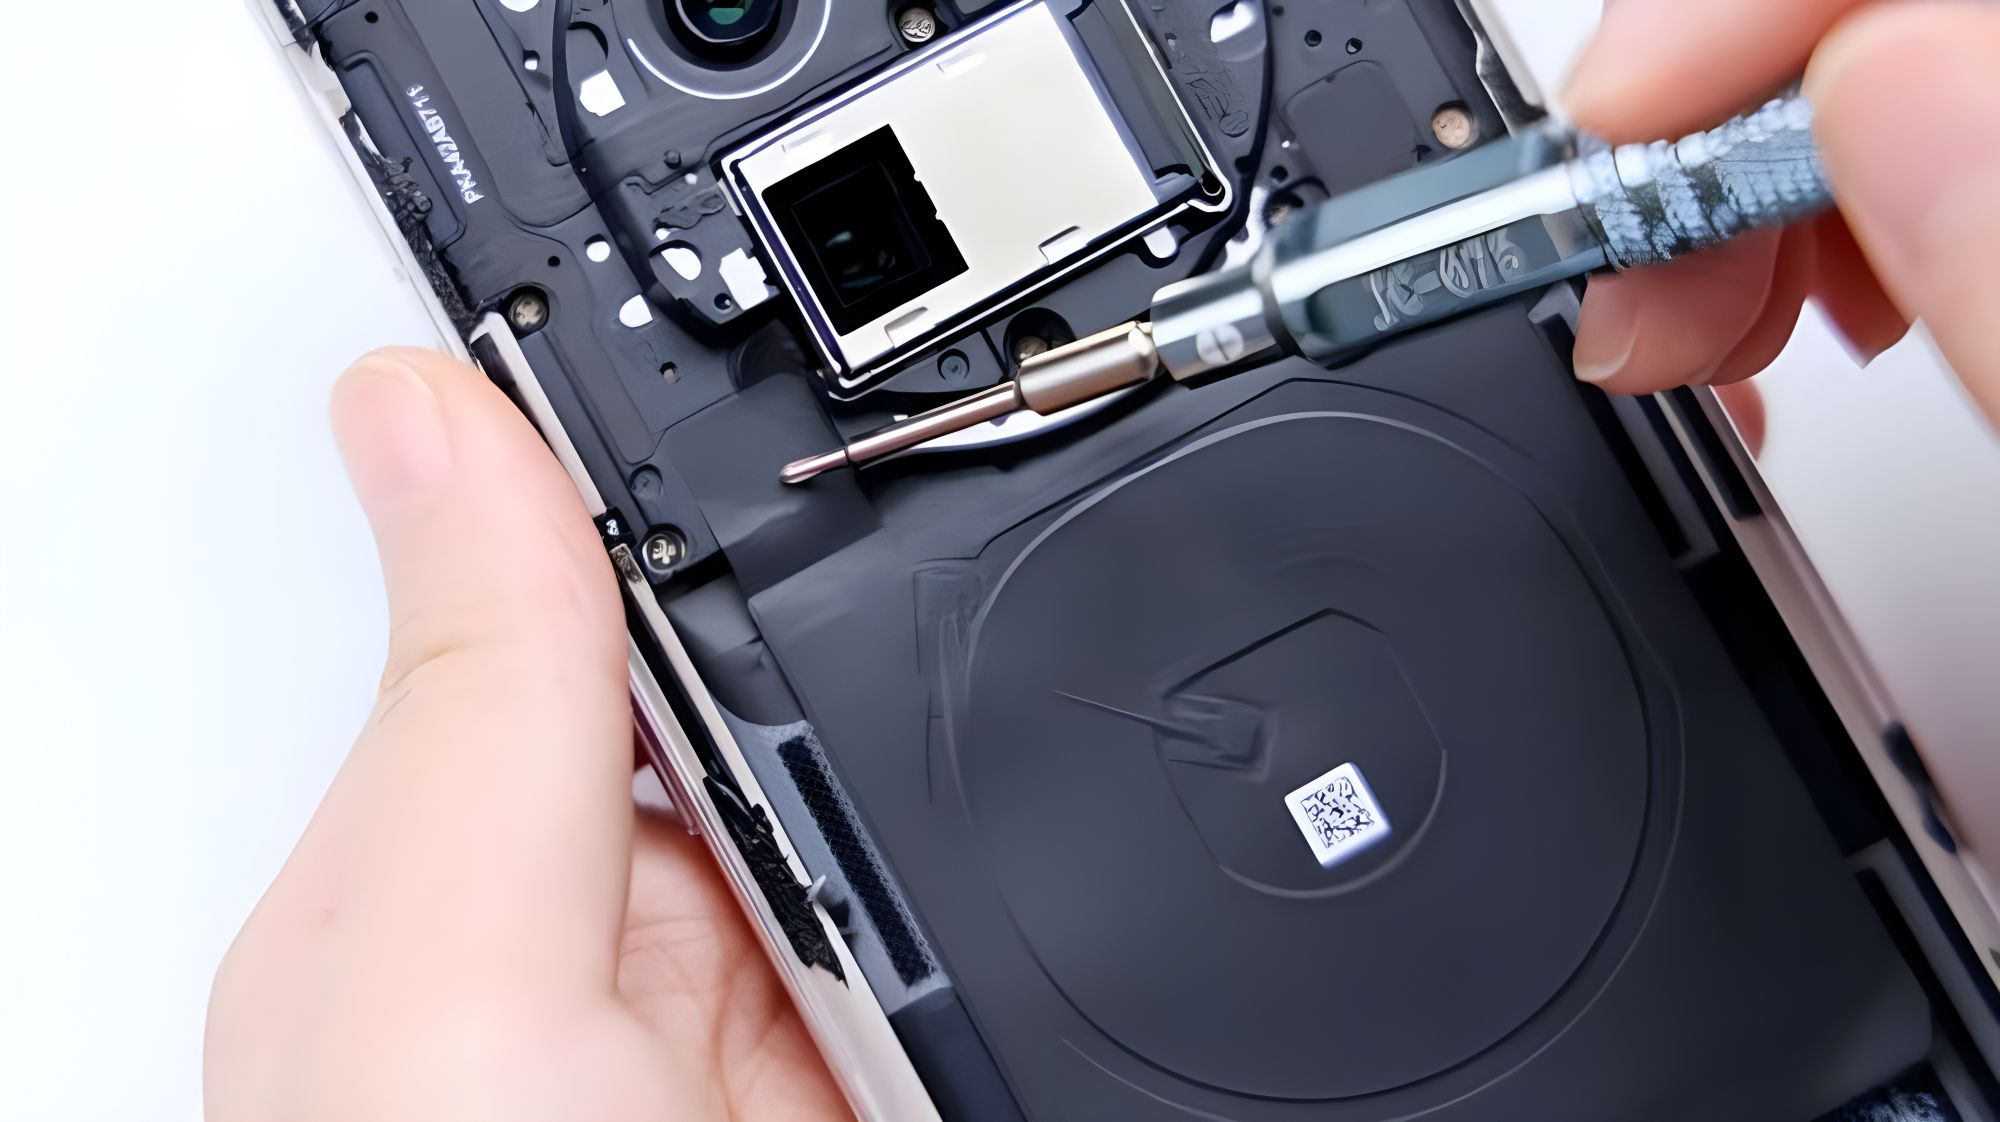
Inside the back cover, there are three pieces of hollow foam of different sizes in the middle and lower part of the back cover, which serves as padding and cushioning protection. There is also a black graphite heat sink in the lower right corner corresponding to the speaker.
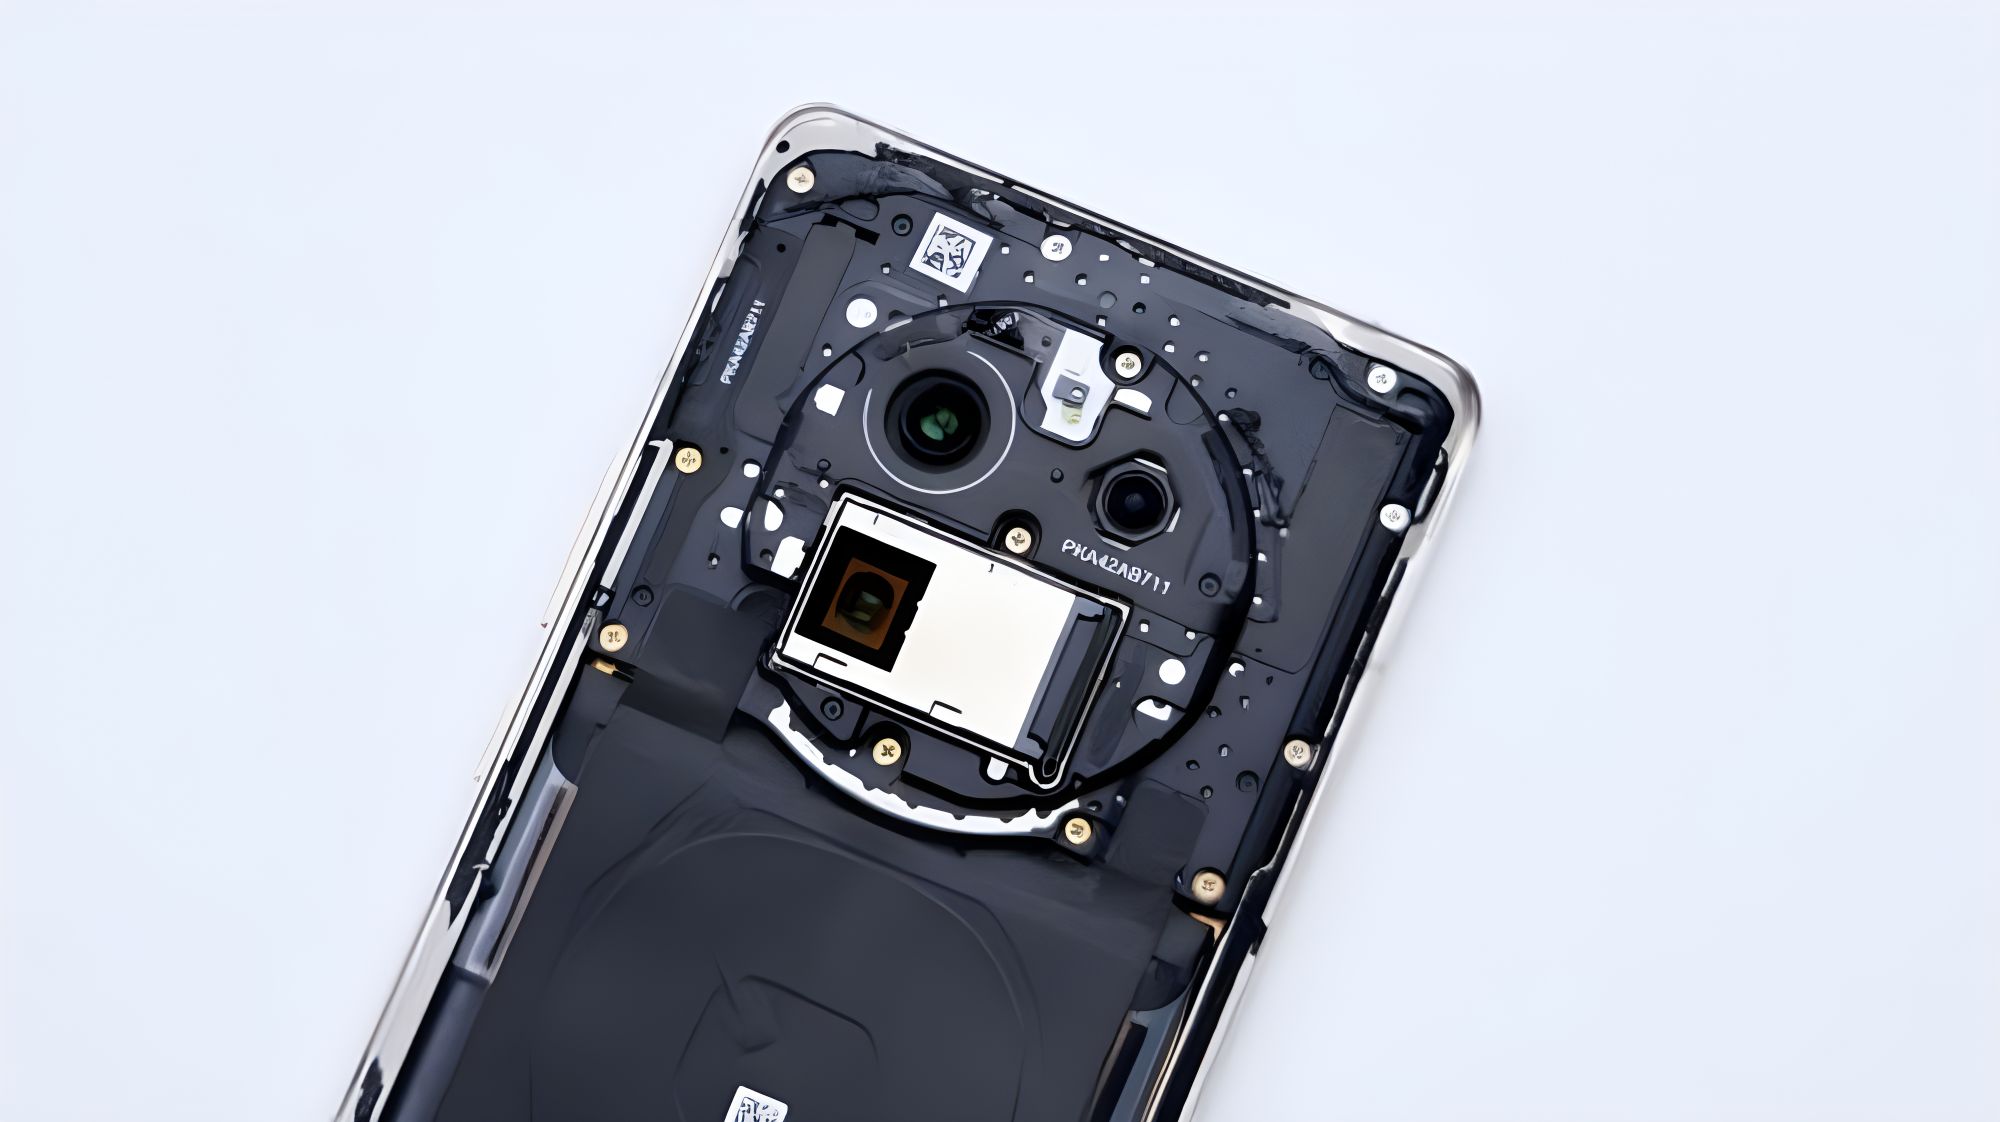
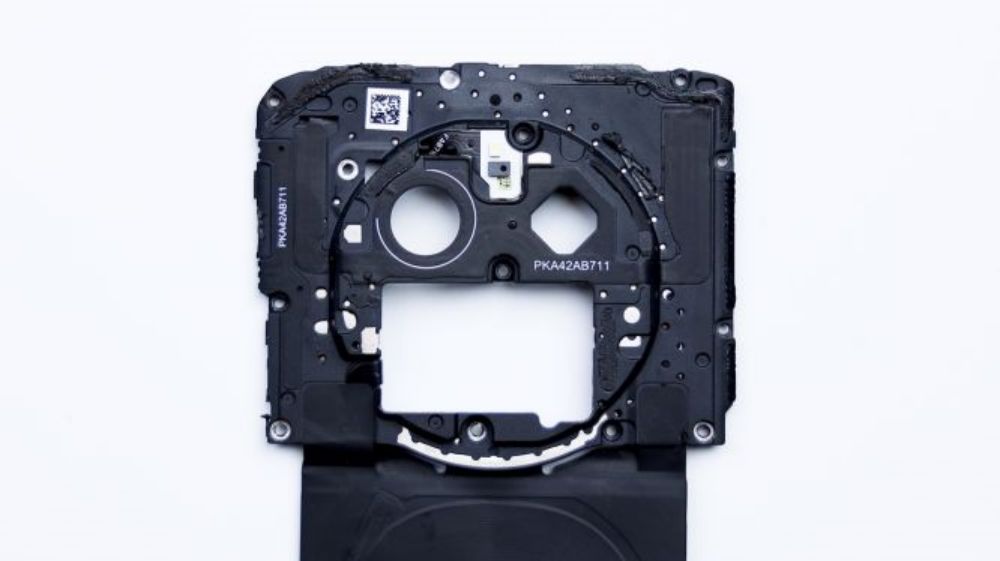
There is a black circular plastic liner on the inside of the DECO, and as you can see from the exposed portion around the contacts, the main body of the DECO is made of metal. The assembly method is similar to that of the Honor 100 Pro, with the diameter of the DECO and the plastic liner's outer extension being larger than that of the rear cover's aperture, and the liner nesting in the recessed metal DECO, sandwiched in the center of the rear cover, which is then doubly secured by five screws and adhesive. The topmost oval hole corresponds to the flash, and all the openings, including it, are protected by a foam ring cushion.
The 5 metal shrapnel, corresponding to the metal sandwich attached to the cover, are guessed to be for antenna signal overflow. Residual sealant can be seen on the outer edge of the inner liner, and when you press your finger on it, you can still feel the strong adhesion. Corresponding area of the cover plate, there are also some traces of residual adhesive, the inlay structure plus sealant glued together to avoid problems such as loosening, denting and rattling.
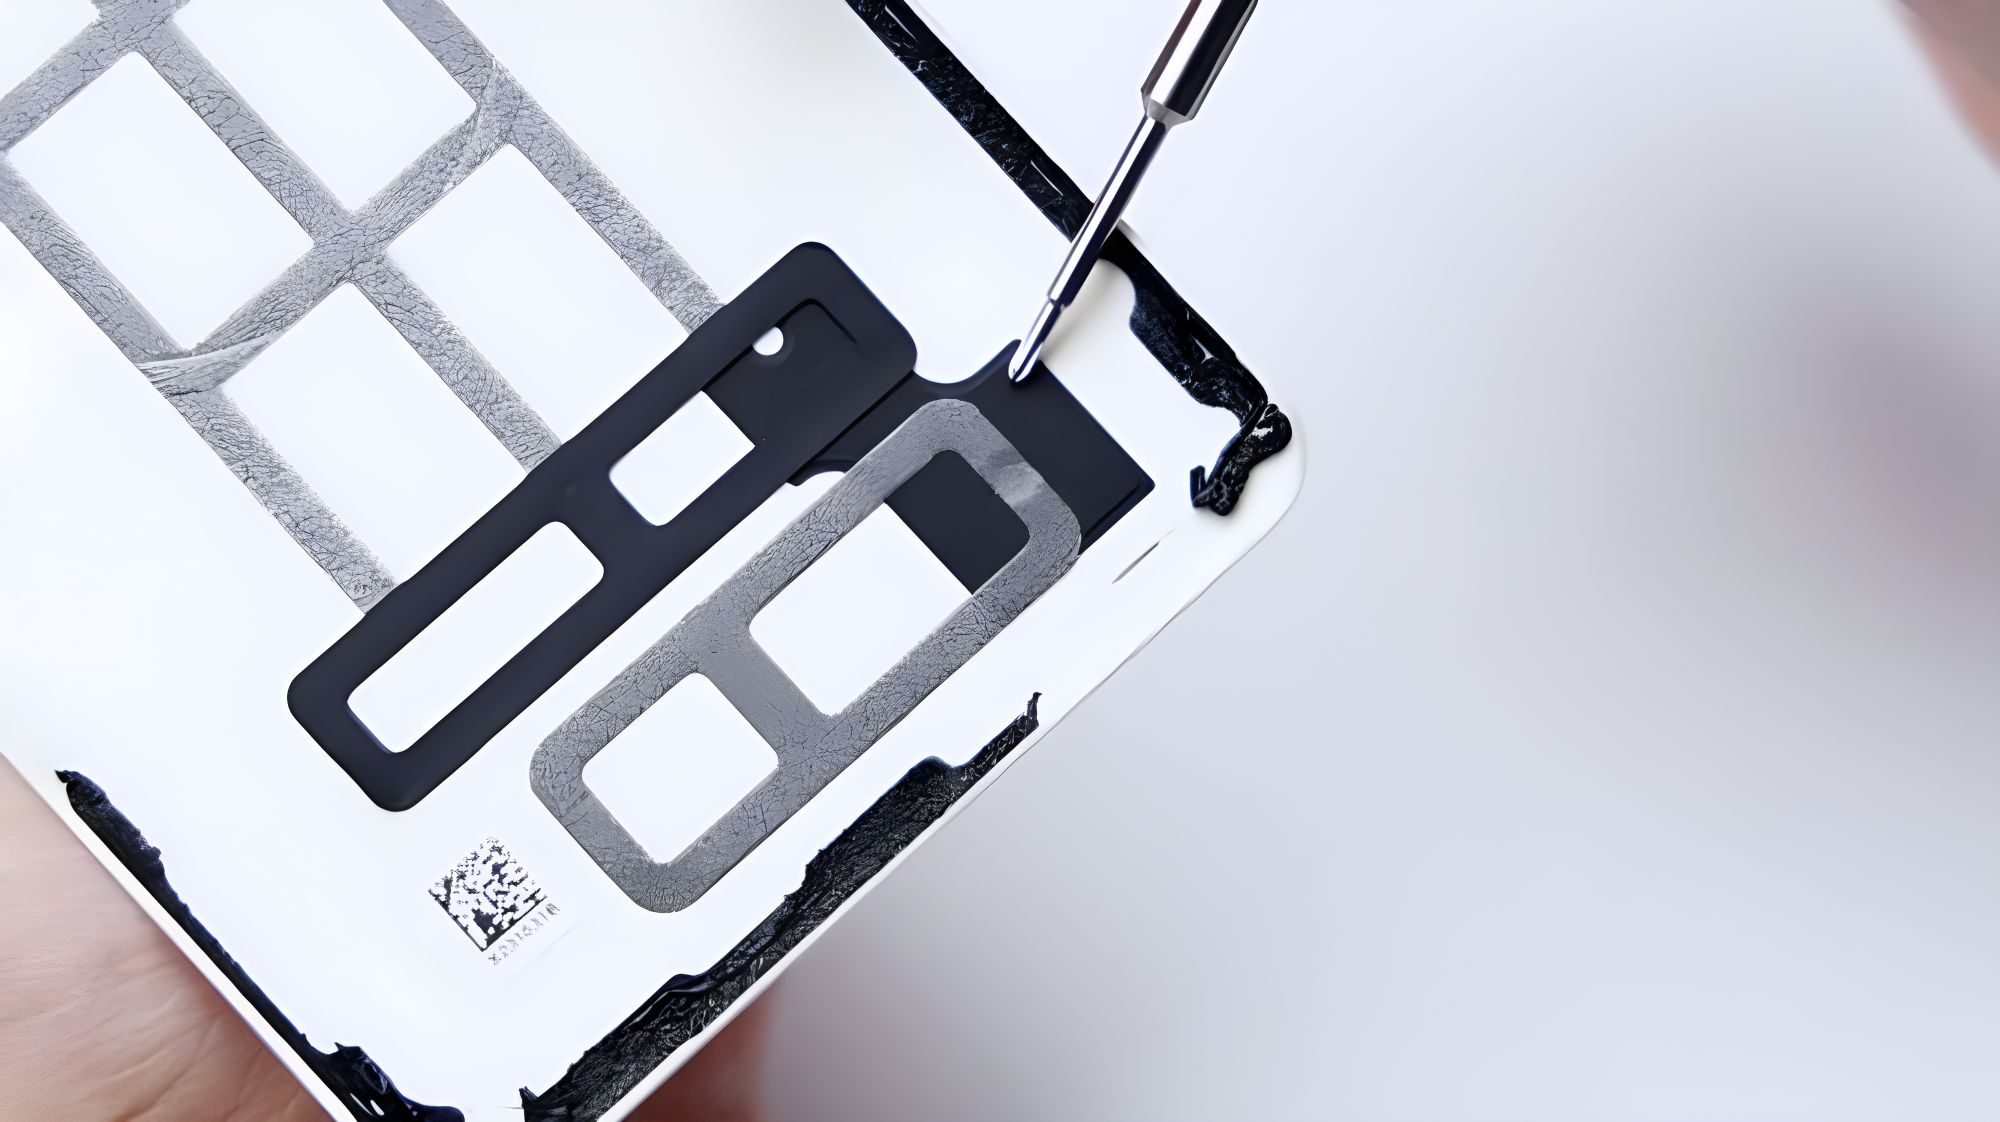
Here is also a small detail, DECO outside the design of four rings, looks like four lenses, but only three transparent openings inside, that is to say, the outer lower-right corner of the ring is just a decoration, the inner corresponding position to pick up no lenses, and no components.

This is actually very good to understand, is for the sake of aesthetics, some users have suggested that the flash can be moved to this position, both beautiful, but also has a certain practicality. In fact, we can think of, structural engineers can basically think of, the reason why the flash is not placed here, there are three main reasons, the first is no place to put, periscope telephoto accounted for the location of the two lenses, right below the circle is the lens roll cage, and can not be directly in contact with the PCB, which brings difficulties in connecting and assembling, can only be connected individually to a FPC up, the line and the layout and become more complex! The wiring and layout will become a little more complicated. Second, the existing program's flash position is not only its own, there is an ambient light sensor integrated together, if you stick them both directly on the telephoto anti-roll bar, it may affect or interfere with the lens, in order to avoid this problem, and even have to get a plastic bracket or base or so on. Third, if the design is really like the previous two said, the lens area will be followed by another rise, DECO overall will also be more protruding, then it really becomes top-heavy. Therefore, a combination of these aspects, the existing program may be the optimal solution, at least the benefits outweigh the disadvantages, and there is no pain point, and will not increase the cost too much, after all, the final bill is the consumer. Moreover, the cost is fixed, in this piece does not affect the function and use of the place to invest too much, it does not make much sense, but will lead to other places to tighten the budget and reduce the allocation, then it seems to be a little bit more than worth it. In fact, from here you'll see that the impact of this oversized periscope telephoto lens on the entire internal structure of the phone, ID design, and component assembly has already begun.
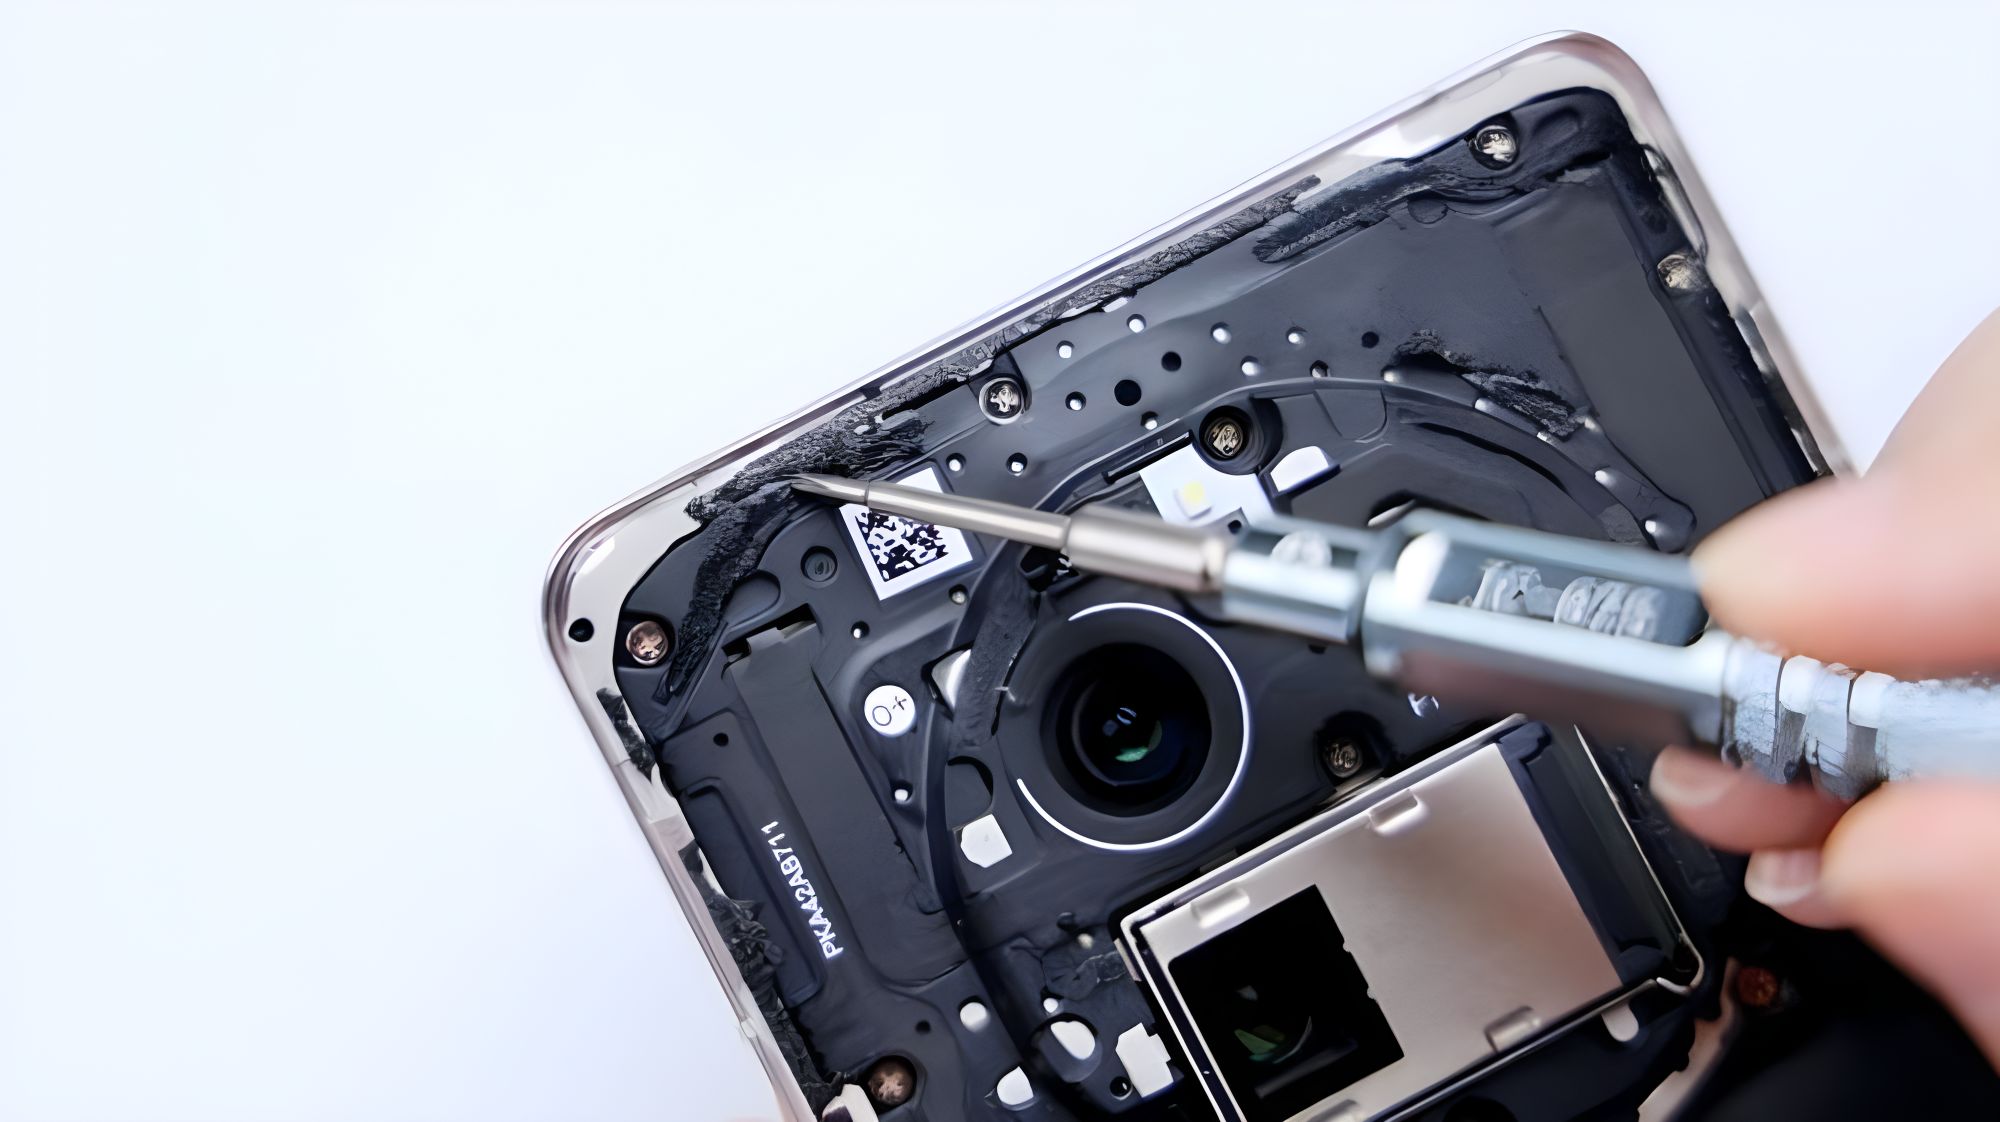
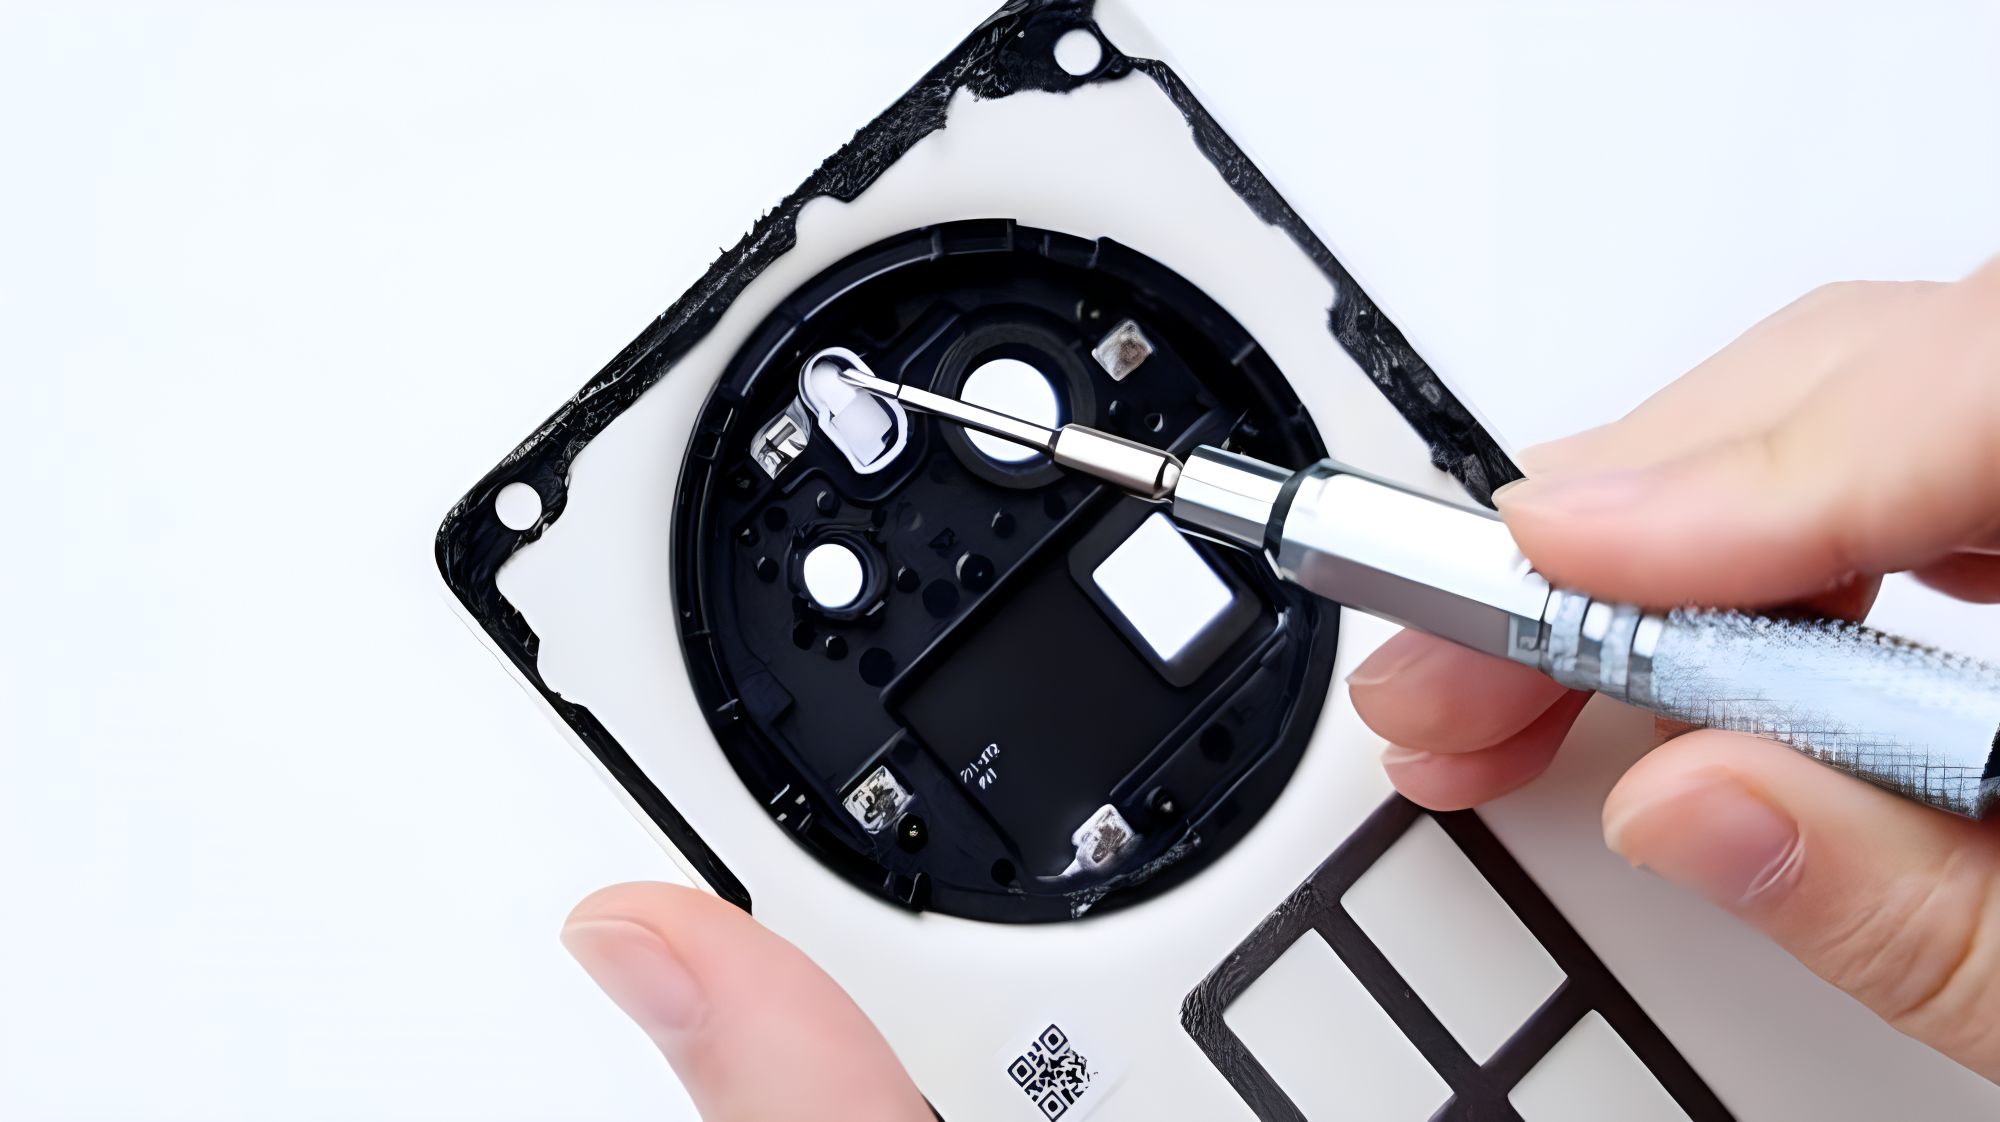
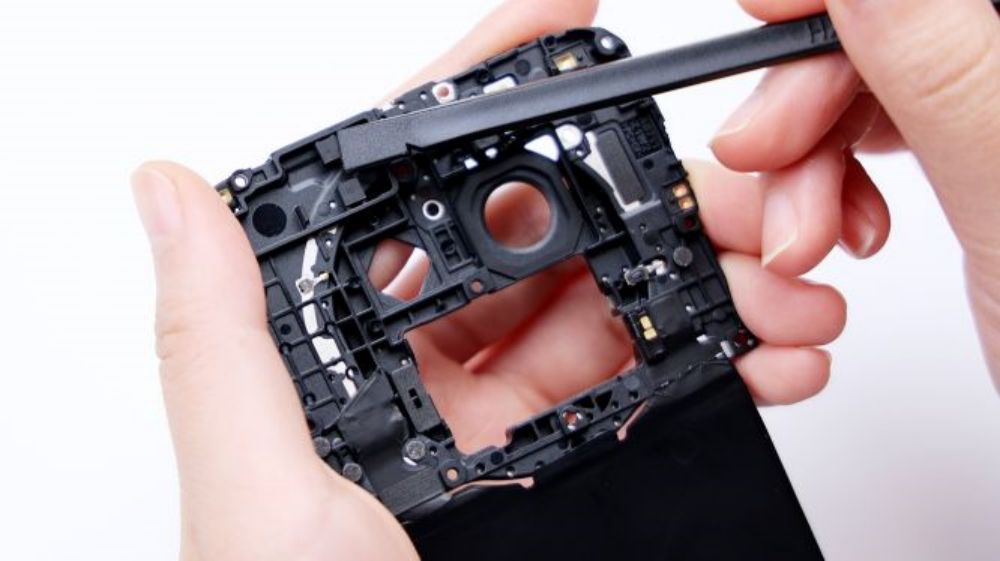
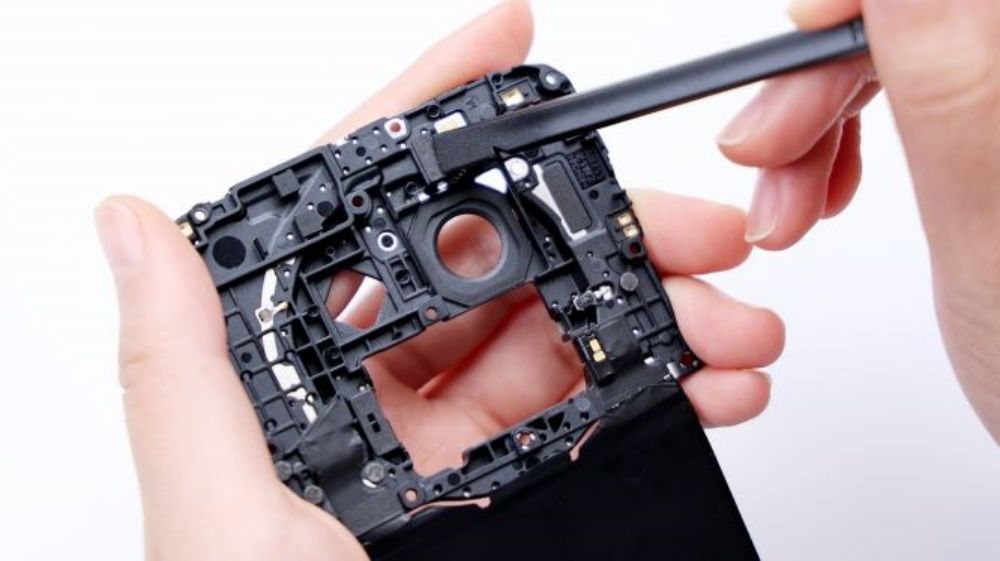
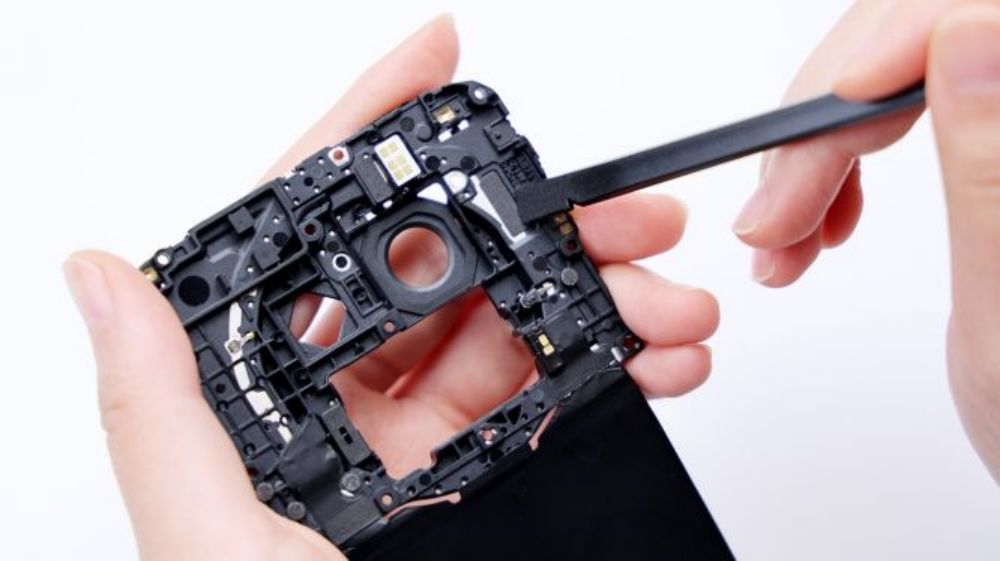
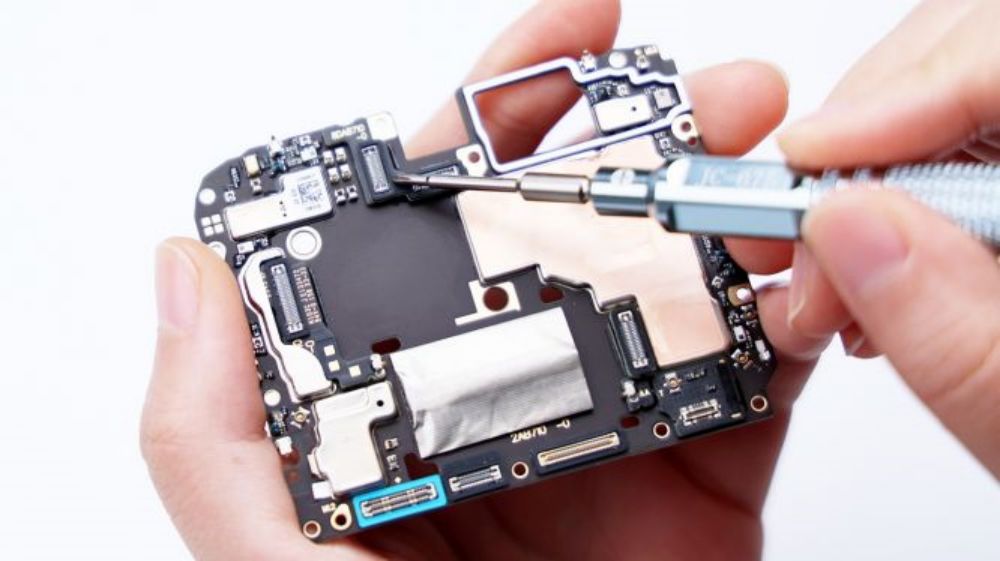
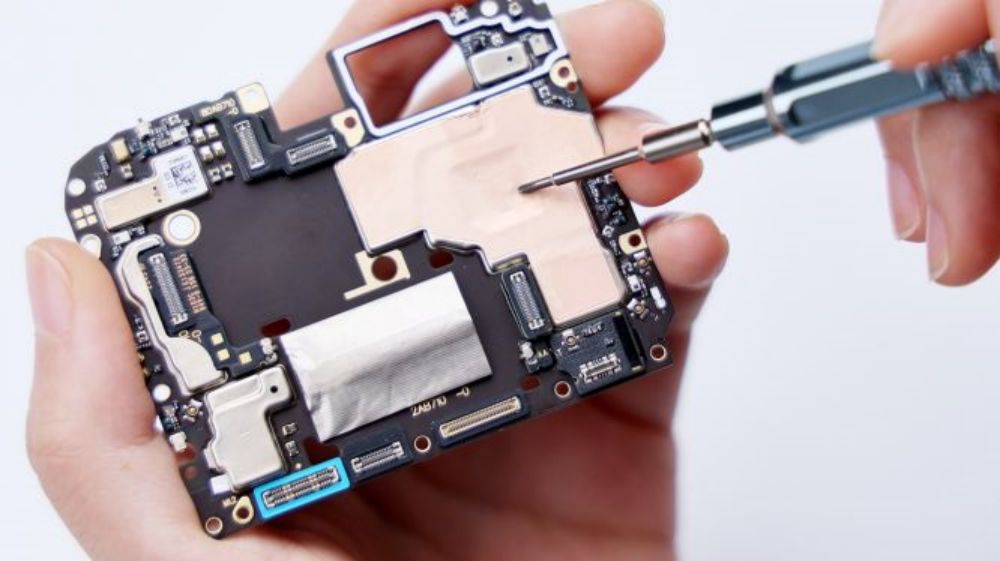
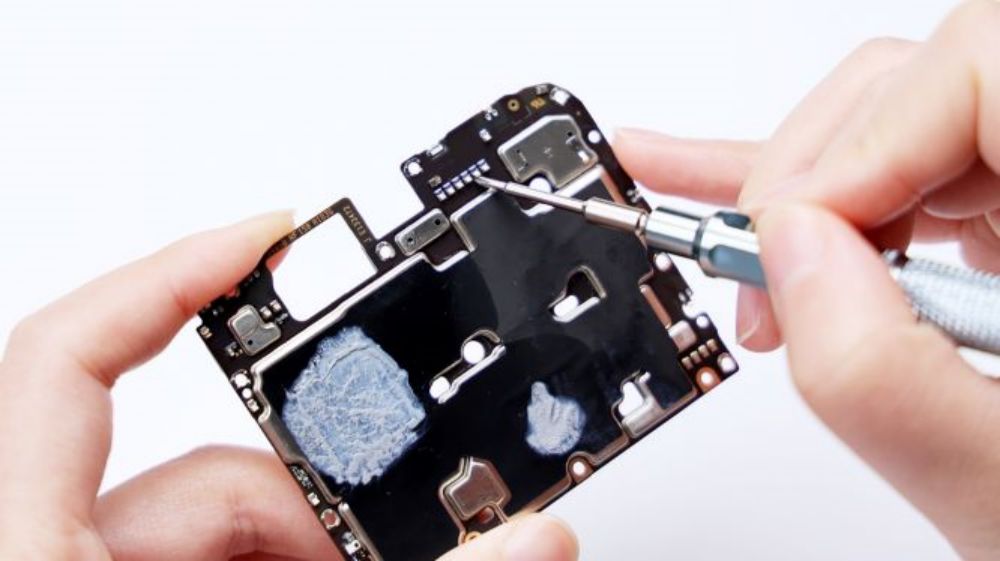
Tear off the fixing adhesive on the bottom of the wireless charging coil, unscrew all the fixing screws of the cover, and pry up to remove the cover.
The structural layout of the main board area is already visible, the most eye-catching is still the camera module, and this time the limelight is stolen by the more massive metal anti-roll bar, a long time I have not seen such a design of the phone, realme in order to cooperate with this oversized bottom telephoto lens, can be said to be a lot of effort and money. Metal anti-roll frame and rear three cameras and front lens are closely linked, intuitively, one of its role is to hold up the main camera and ultra-wide-angle lens, to avoid the three cameras appear too large a height difference, and, in order to ensure the convenience and stability of the connection, the three lenses BTB base below the PCB have done a stacked layer of padding processing, that is, what we often say double motherboard, except that this time, corresponding to the location of not only the Simple double layer, and even appeared three and more layers, just to make up for this height difference, which is also the impact of large telephoto lens.
It also has a piece that extends above it, pressing against the front lens for support and protection. From a macro point of view, the metal roll cage also affects the entire front of the motherboard, and even the back of the motherboard is associated with it, invariably playing the role of a bridge and channel, which is saved for a detailed discussion later when it is removed.
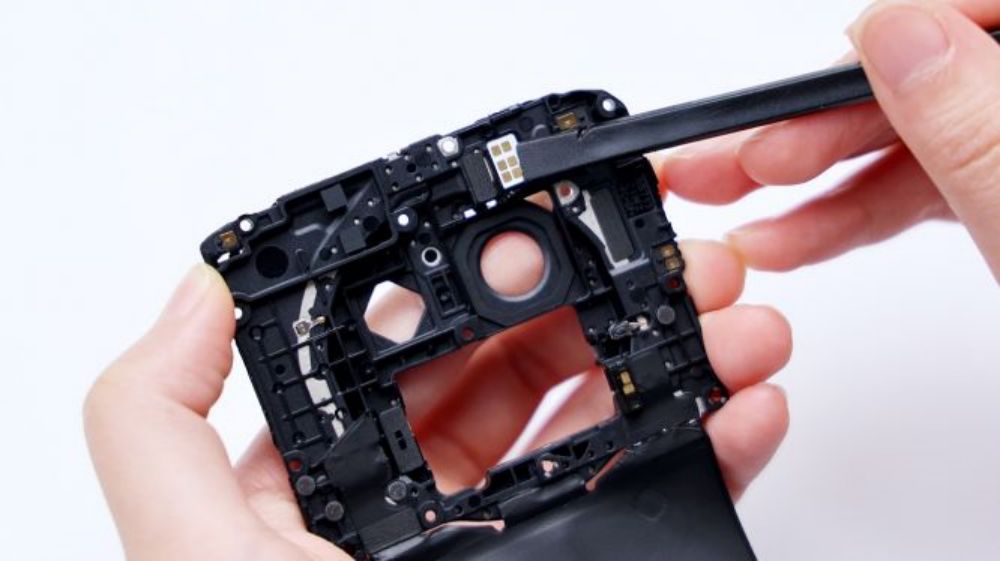
The noise-canceling microphone is located in the upper left corner, with the infrared sensor closest to it, and in the upper right corner, the speaker is combined with the earpiece, which is surrounded by the corresponding hollowed-out motherboard, where you can also see a ring of foam used for sealing. There's copper foil exposed in the center right and lower right, and extending inward to cover the core area.
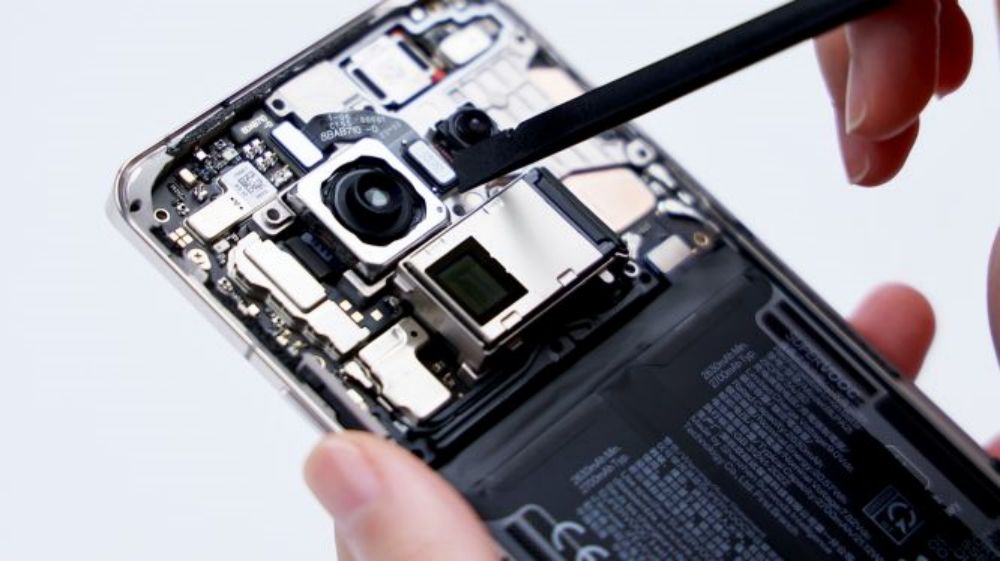
Battery BTB in the lower right corner, only one interface, the battery adopts a dual-cell single interface scheme, the PCB below the BTB base, also made a padded treatment, the same way as the three cameras. On the right side, there are two coaxial cables connecting the main and secondary boards, and there is a black coaxial cable next to it, which crosses the left and right ends of the motherboard, and a cable slot bracket is specially designed for it below, and the other BTBs connected to the motherboard are pressed underneath.
Looking at the cover plate, the bulging arc corresponds to the lens module, the diameter is smaller than the DECO liner, it is a kind of protection for the three cameras, but also indirectly play a certain role in connection and heat dissipation.

The six contacts on the inside of the cover at the top right correspond to the flash and ambient light sensor, the contacts at the top right and top left connect to the NFC coils, the two positions on the right side in the center correspond to the antenna FPC, and the two contacts at the bottom of the diagonal are used to connect to the wireless charging coils.

On the lower left and right sides, graphite thermal paste can be seen extending upwards, but the area is not large. The entire inside of the cover, corresponding to the various interfaces of the protection measures are still in place, the battery, the BTB of the rear three cameras, as well as the speakers have foam padding padding to protect, even the main camera and ultra-wide-angle lens module cushioning foam has not been left behind.

As for the metal shrapnel on the lower right and upper left, they are used to connect the positive and negative terminals for the cover's metal sandwich.
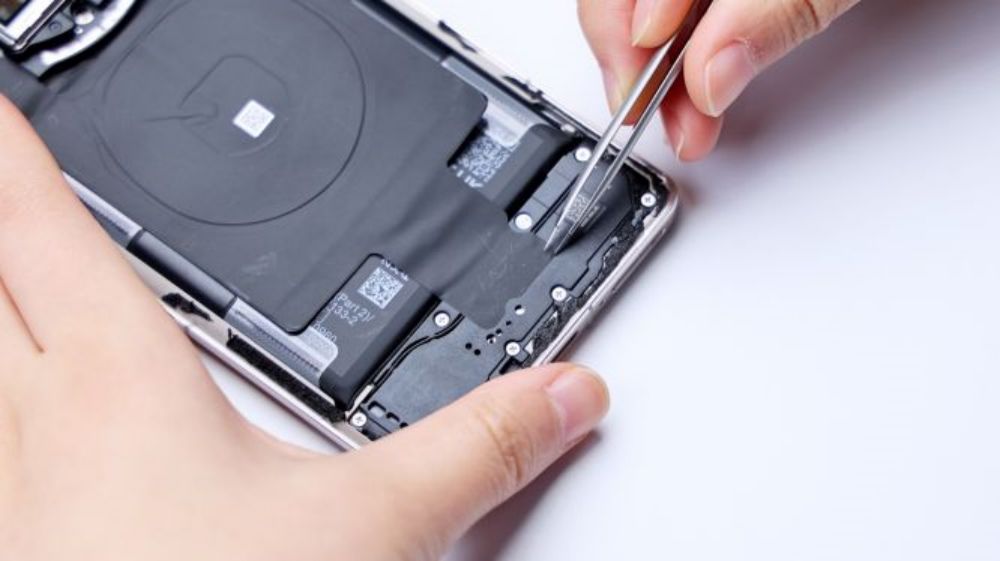
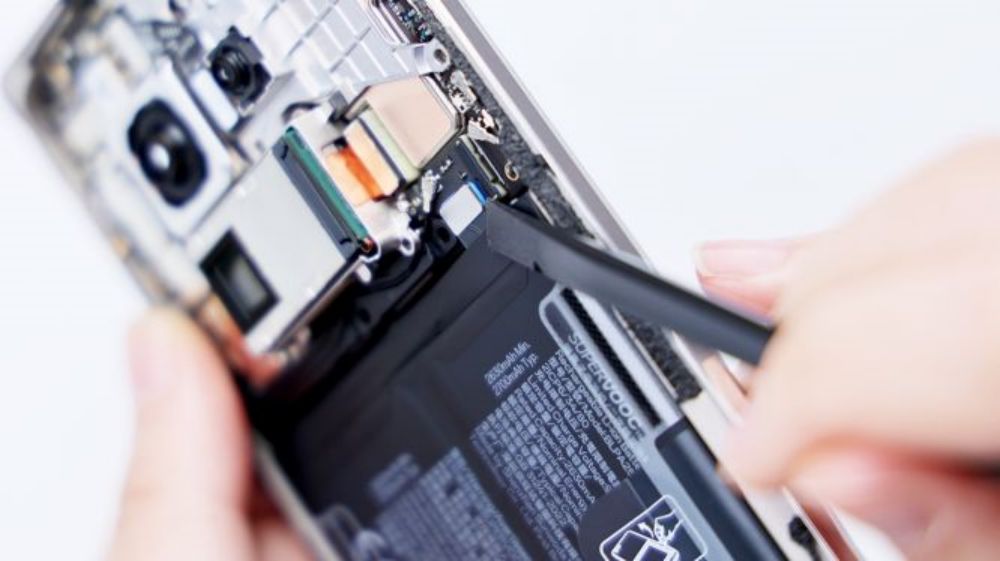
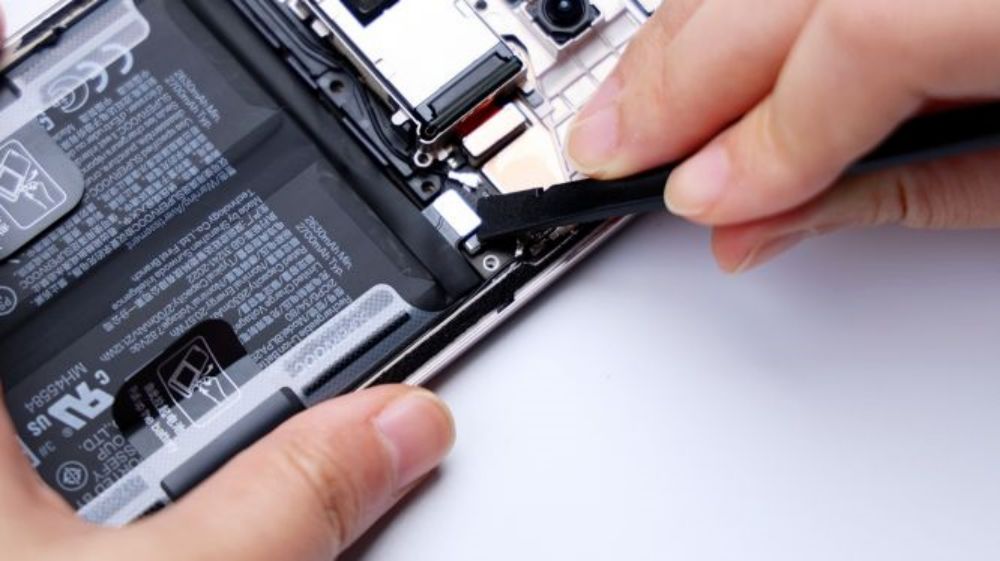
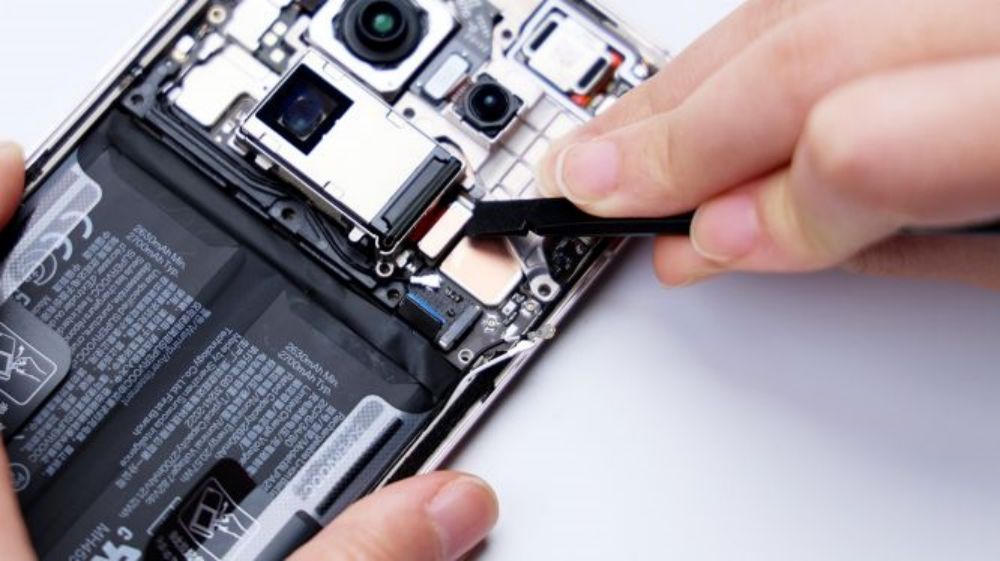
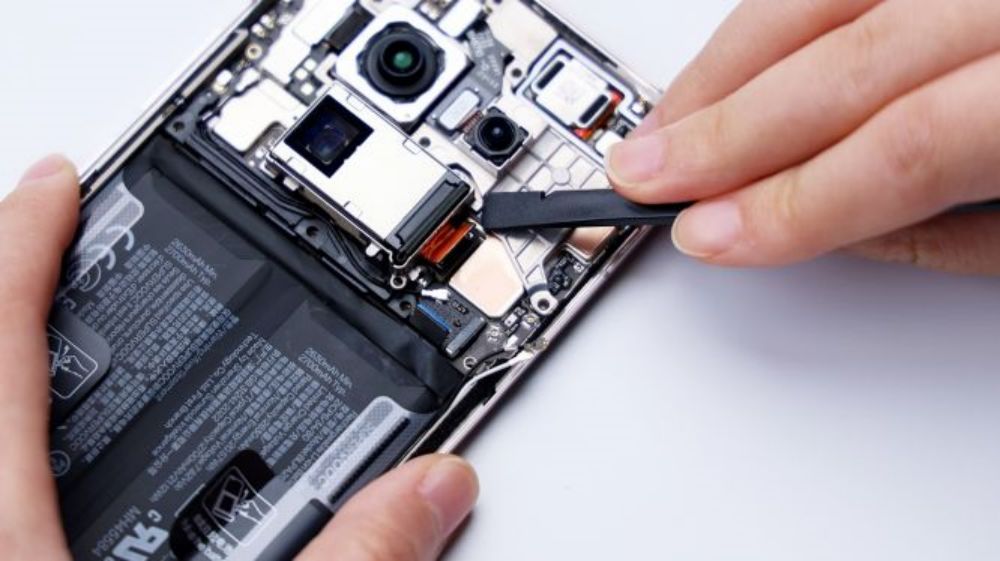
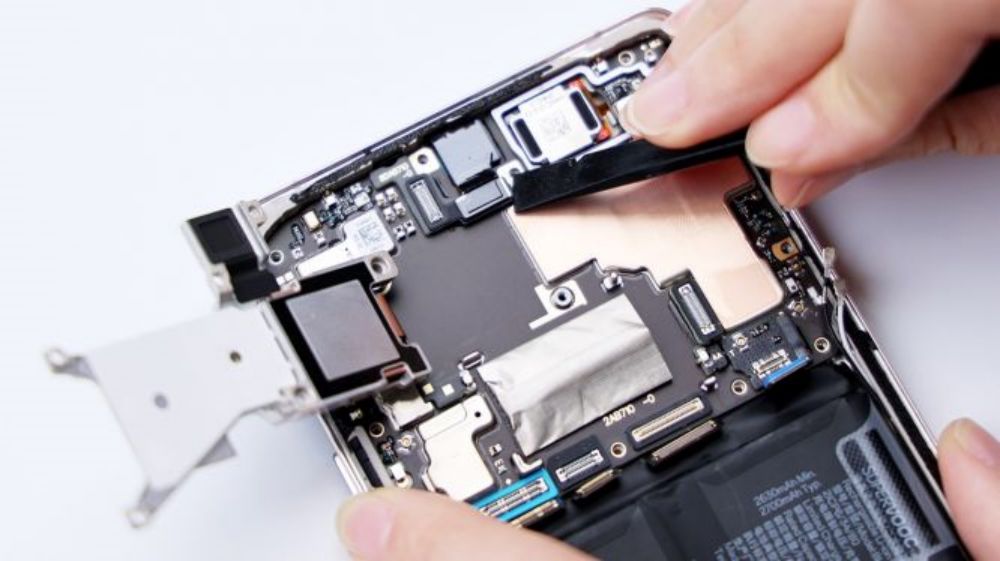
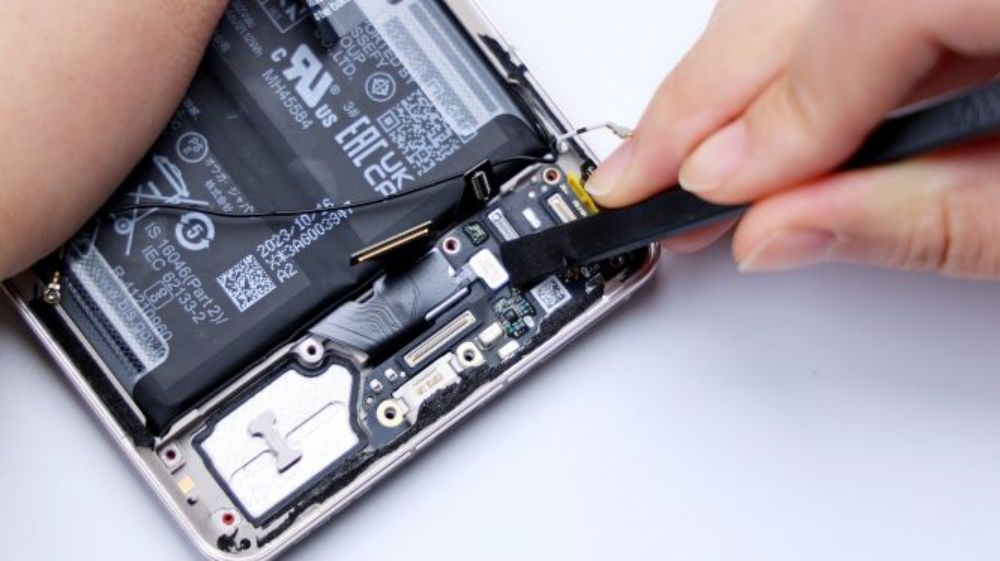
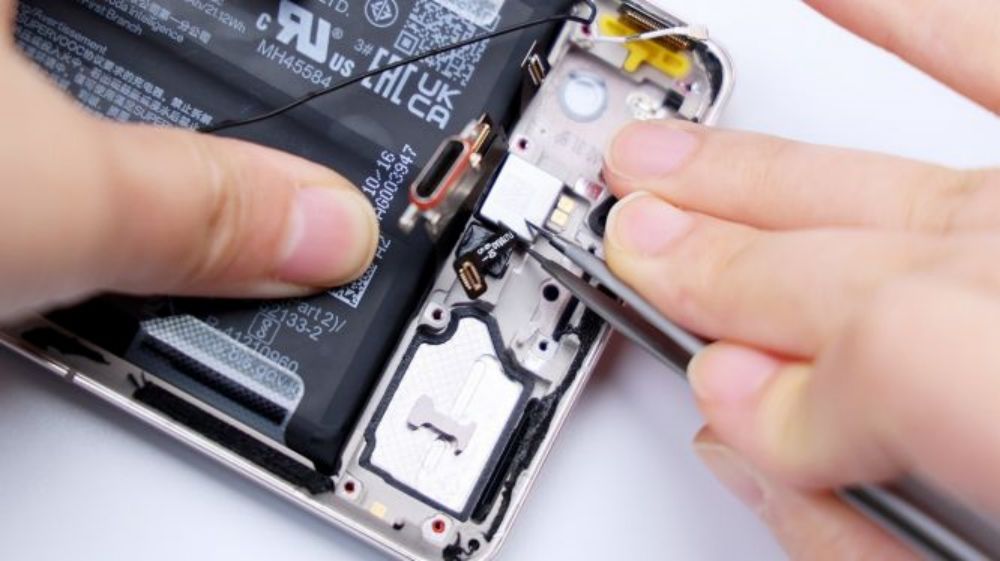
The disassembly continues by disconnecting the battery's BTB connector, and on the port of the connector, there is a blue rubber ring that serves to protect the interface.
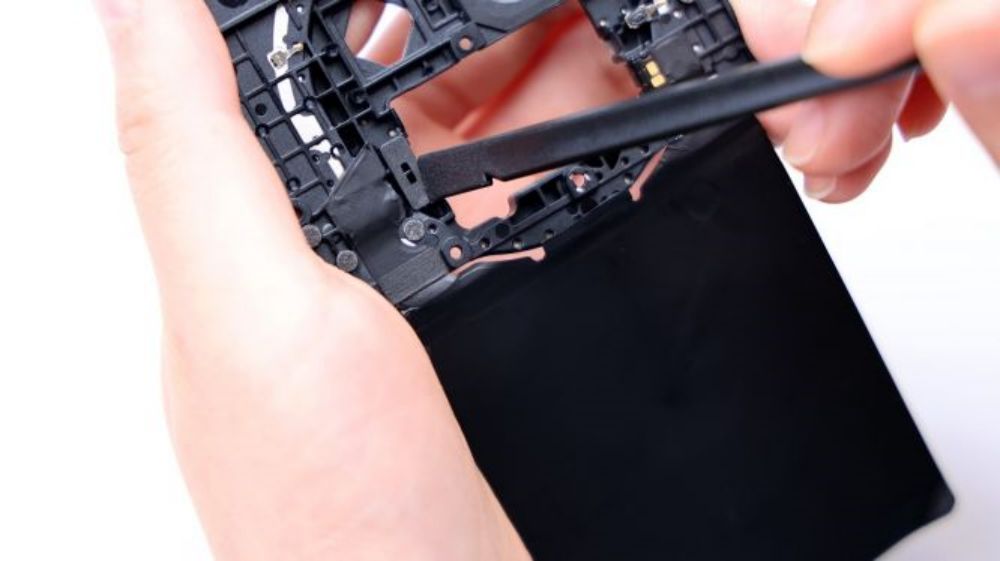
Followed by disconnecting the two coaxial cables on the right side and the BTB for the telephoto lens, which still has adhesive underneath and can be pried up and removed with a little force.
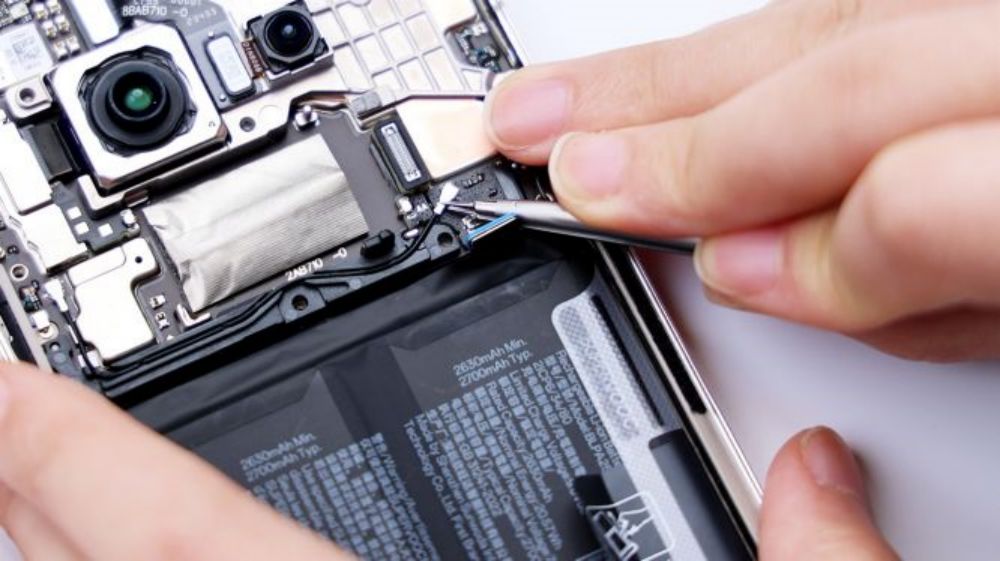
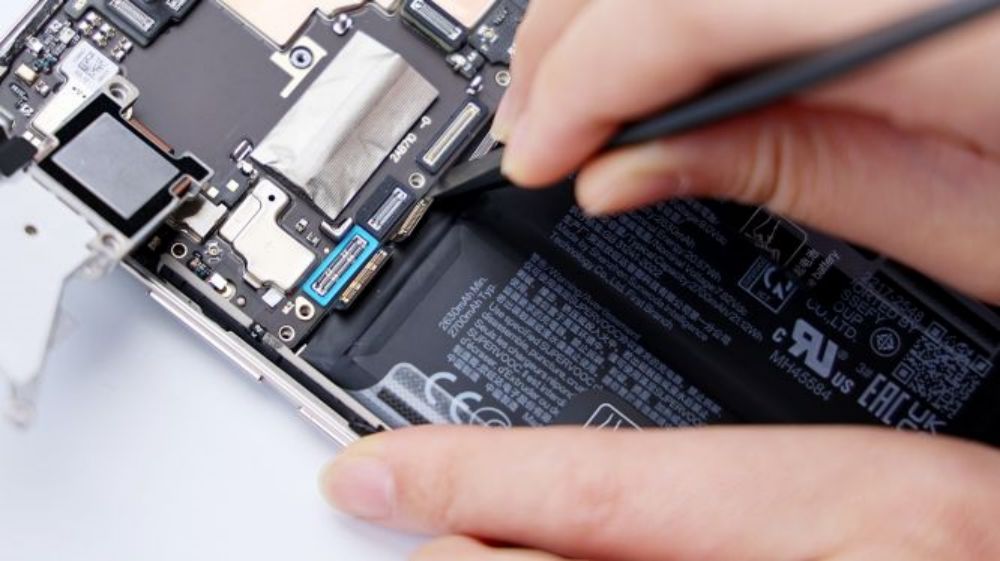
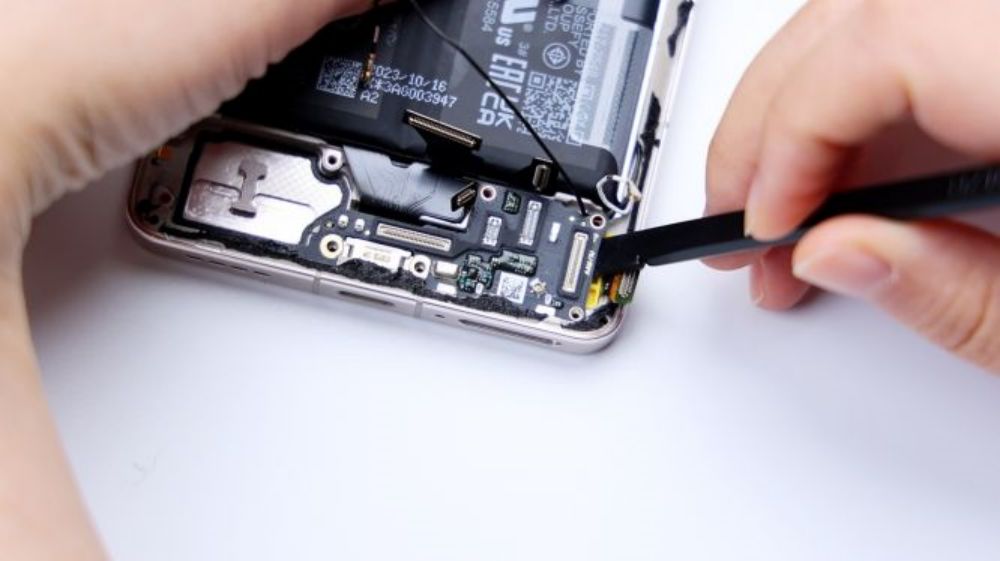
Disconnect the black coax running left and right, pry up to remove the cable slot bracket, the remaining BTBs are pressed underneath, just disconnect them in turn.
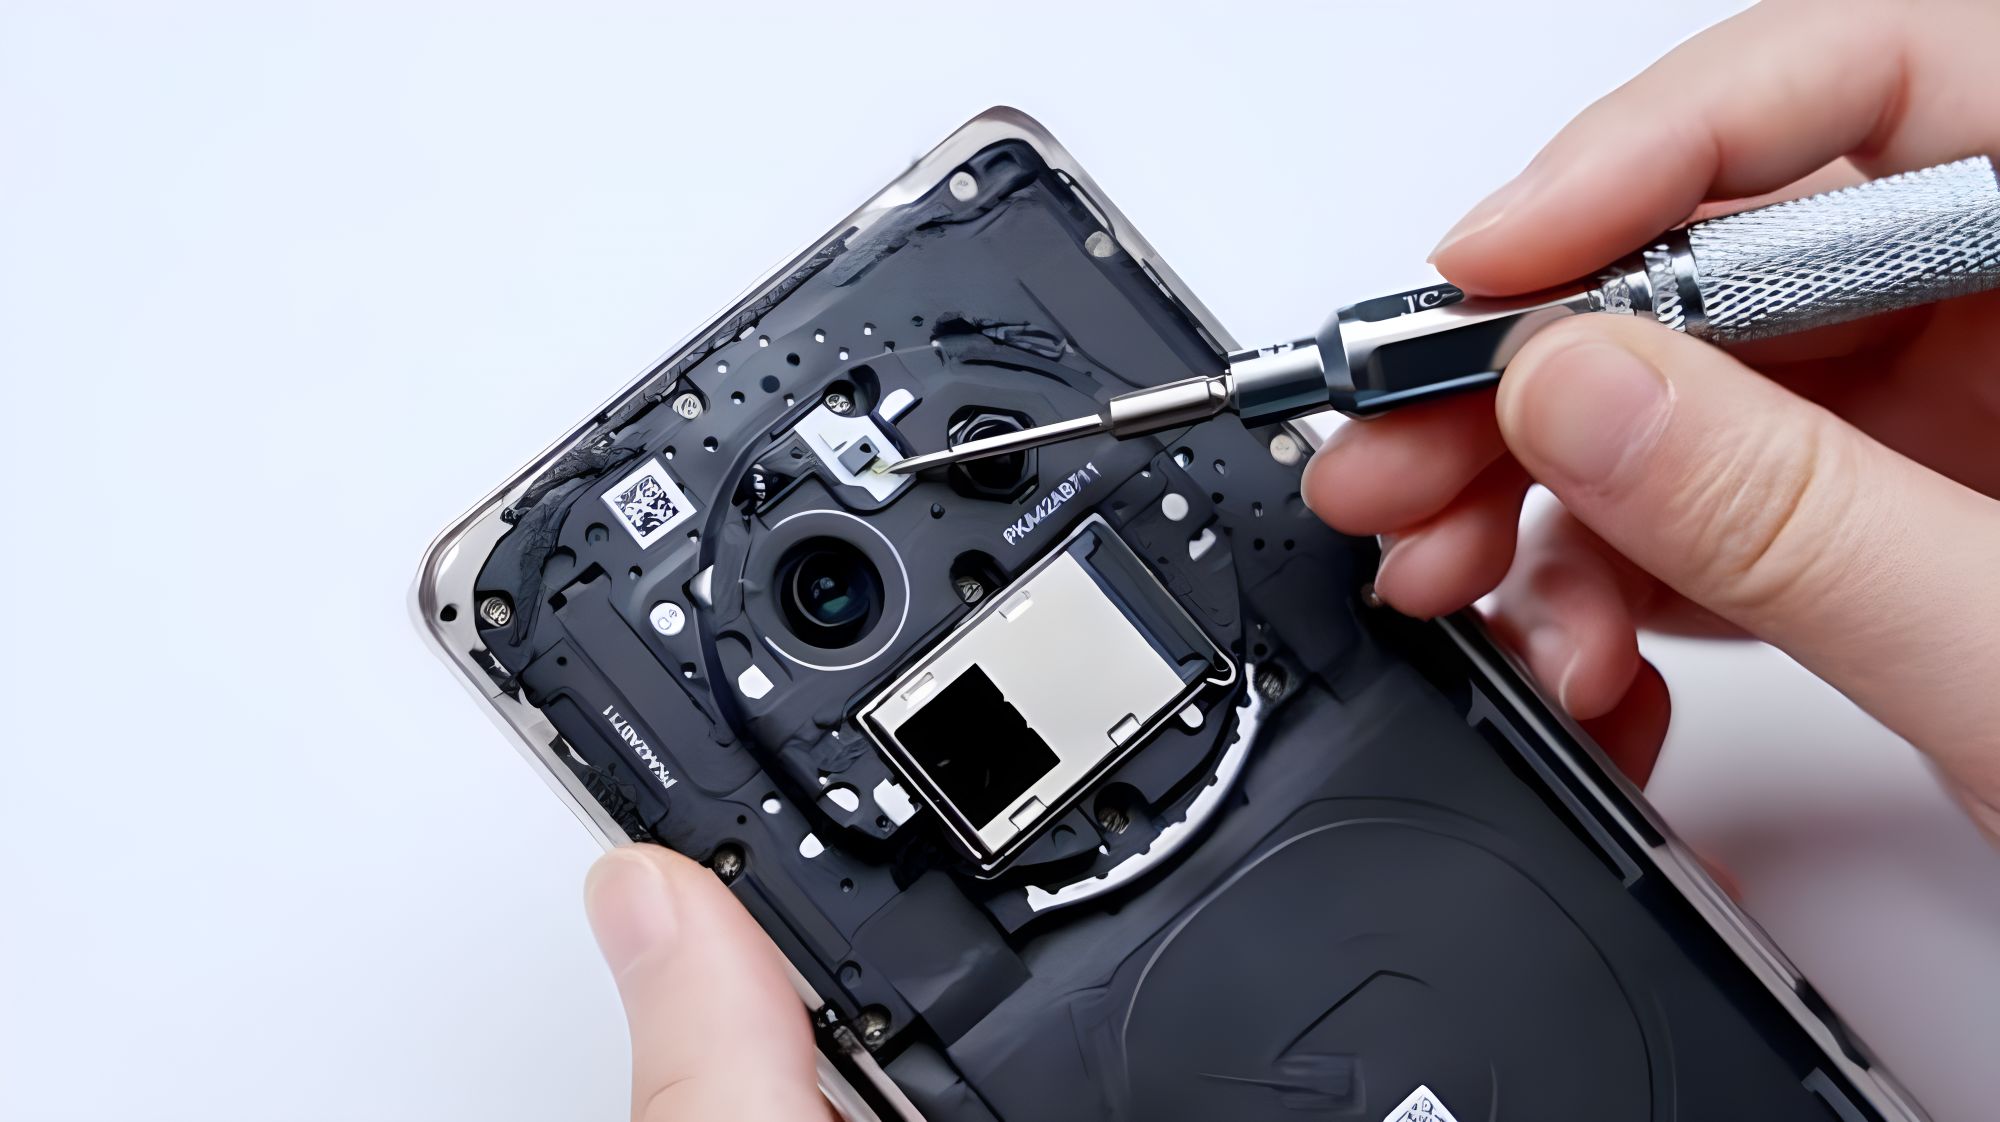
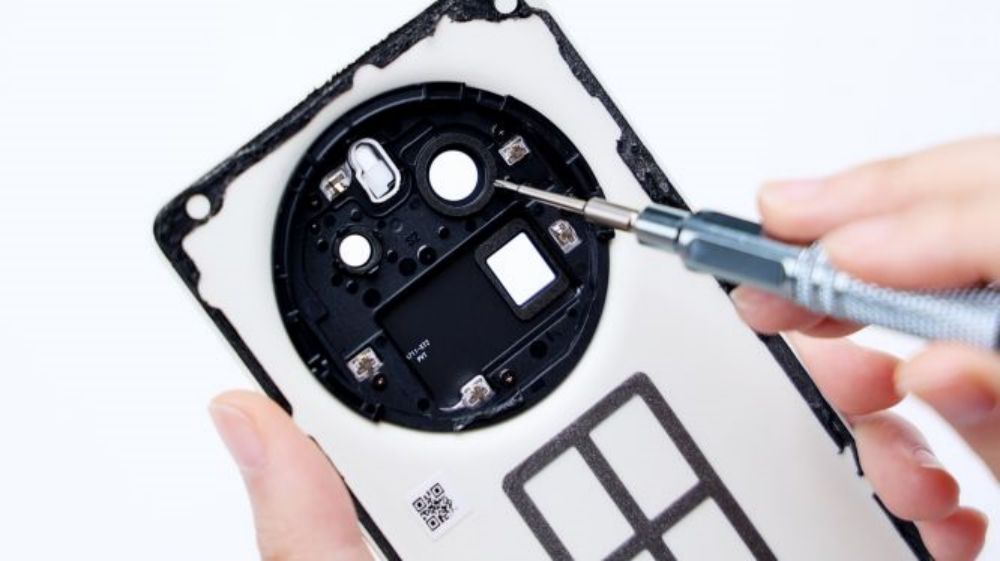
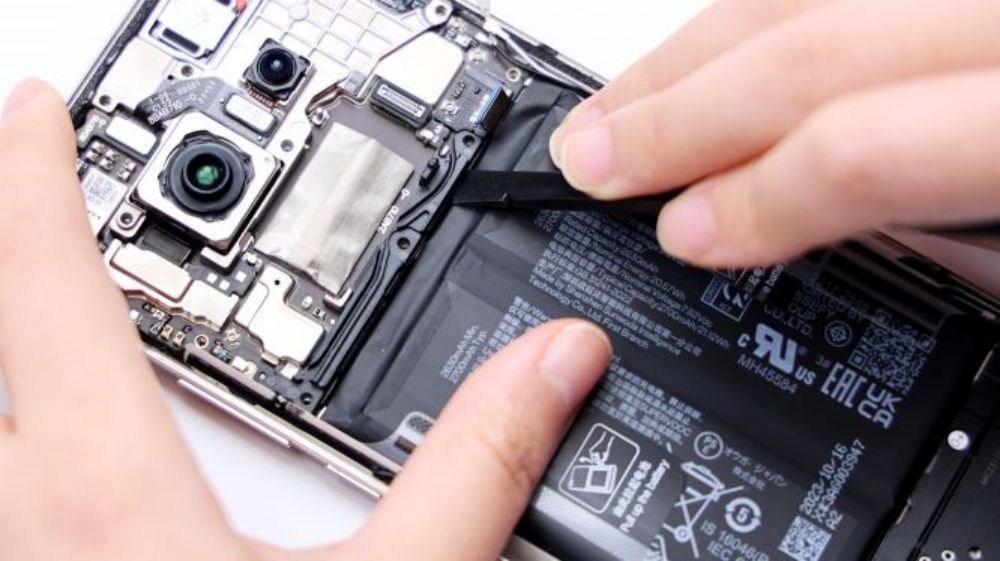
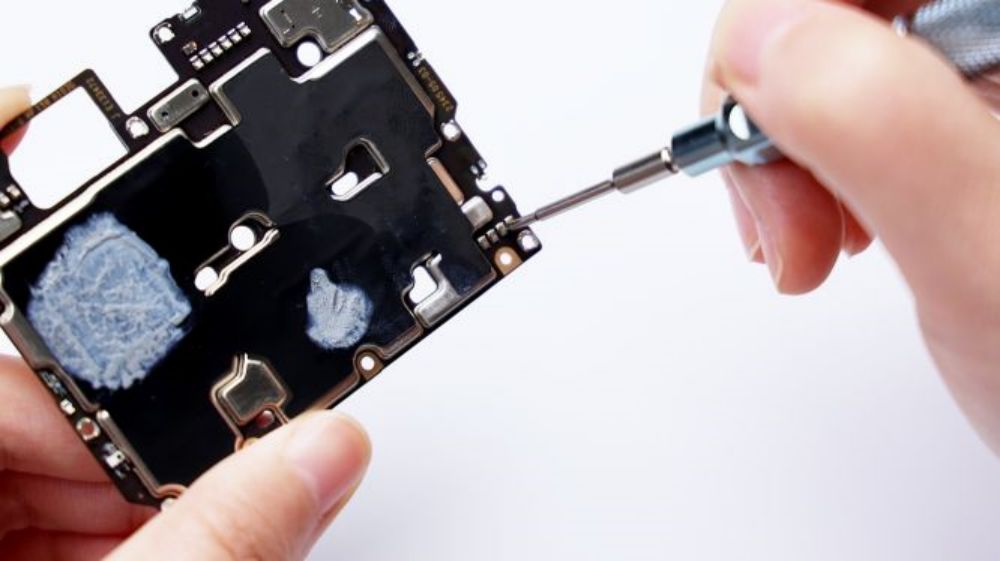
At this point, you can see that there are 2 separate retaining screws on the main board, unscrew them, disconnect the BTB for the ultra wide-angle lens, and pry up the entire metal roll cage in the direction of the main camera BTB.
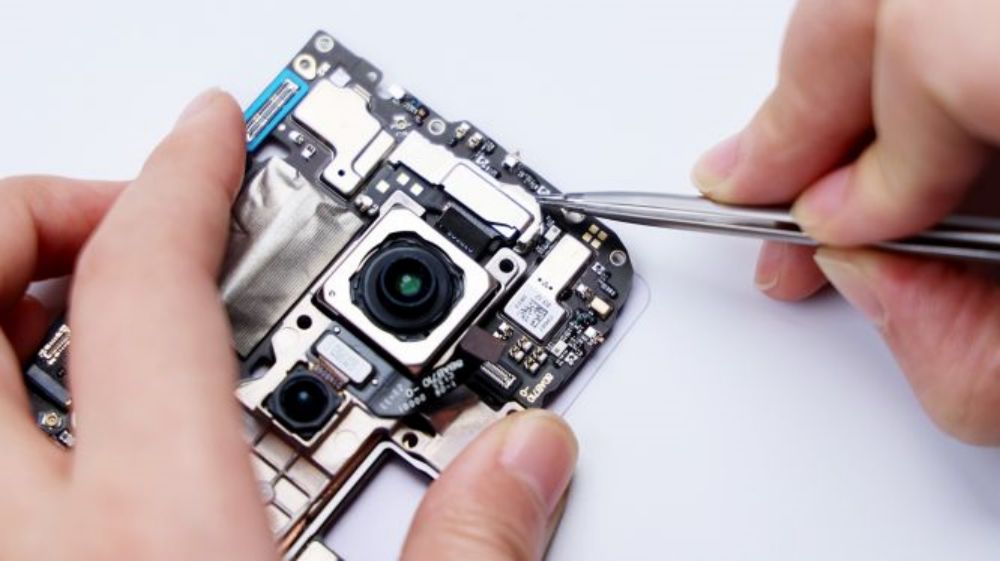
The front lens is also exposed, disconnect its BTB connector.

At this point, the main board has been released from all its restraints, gently pry it up with a pry bar, paying attention to the center limiting post, and take it out a little bit.

Pry off the metal shield next to the main camera, and after disconnecting the BTB, the metal roll cage is officially detached.
This guy is really thick and feels like aluminum. As mentioned earlier, the metal anti-roll bar in addition to lens-related, there are other roles, the answer is on the back, clang clang clang ...... most of its "body" are pressed on the core area of the motherboard, and the front of the motherboard in close contact with the location of the copper foil, but also paste a layer of heat-conductive silicone sheet, including the middle of the heat-conductive silicone sheet. Thermal conductive silicone film, including the middle of the square area, the role of the motherboard front and back processor area of the heat conduction dispersed out to further enhance the thermal performance, and to maximize the use of internal space. The black area is covered with adhesive to hold the roll cage in place. The front lens and BTB are protected not only by a thermal film, but also by a foam cushion.
The front of the motherboard is very well protected, except for the battery, all BTB bases are protected by rubber rings, as for the battery, as I mentioned earlier, there is a rubber ring on the end of the connector.
In addition, the surrounding capacitors and related components, have done a spot glue treatment, the relevant interface of the laminated PCB can also be seen more clearly.
Copper foil covers the largest piece of metal shield on the front of the motherboard, and most of the shield on the back is covered by a graphite thermal paste, with key areas coated with silicone grease to assist with heat dissipation.
The 2 metal tabs on the top left connect to the top speaker, the 6 on the top right connect to the front ambient light sensor, and the 4 on the bottom right connect to the side buttons.

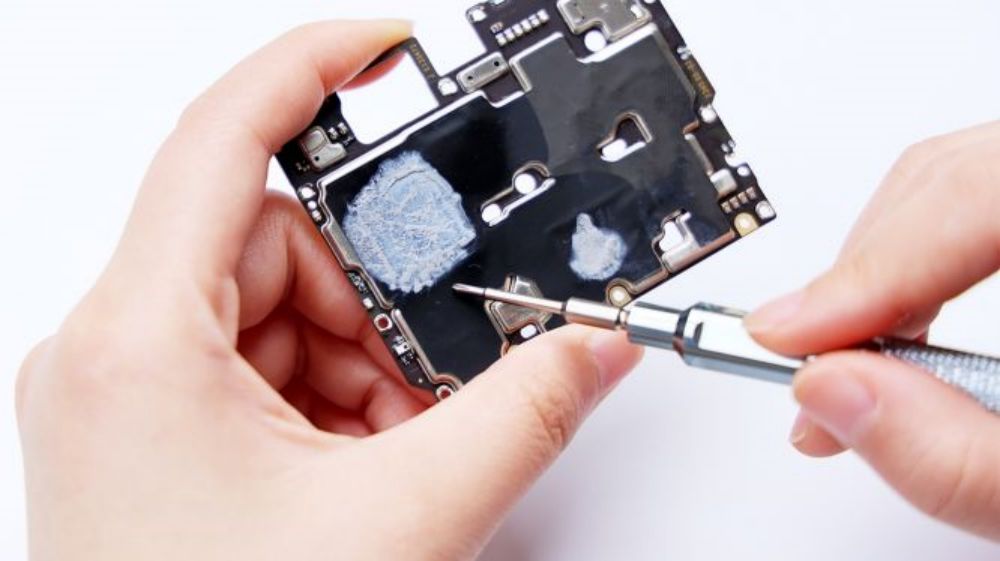
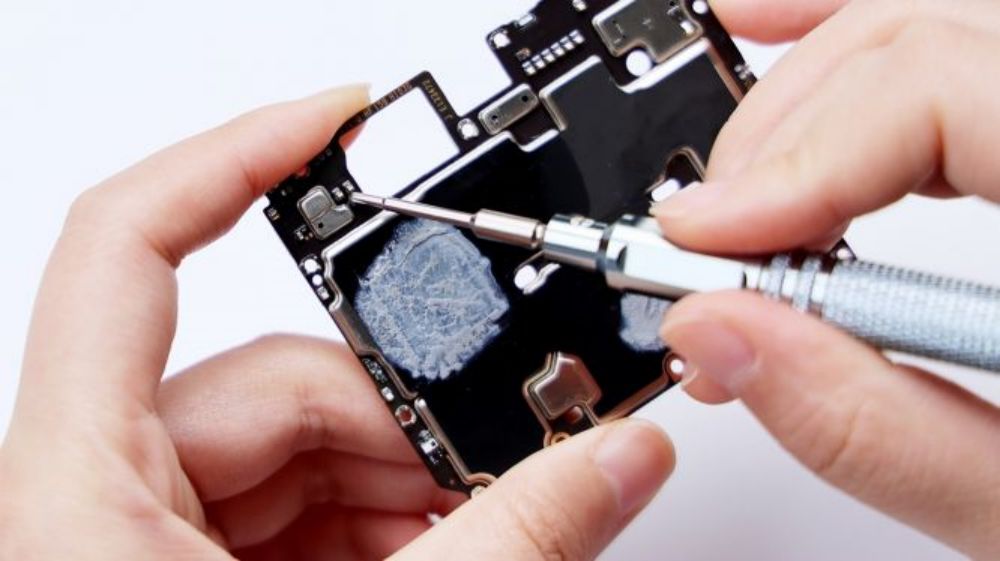
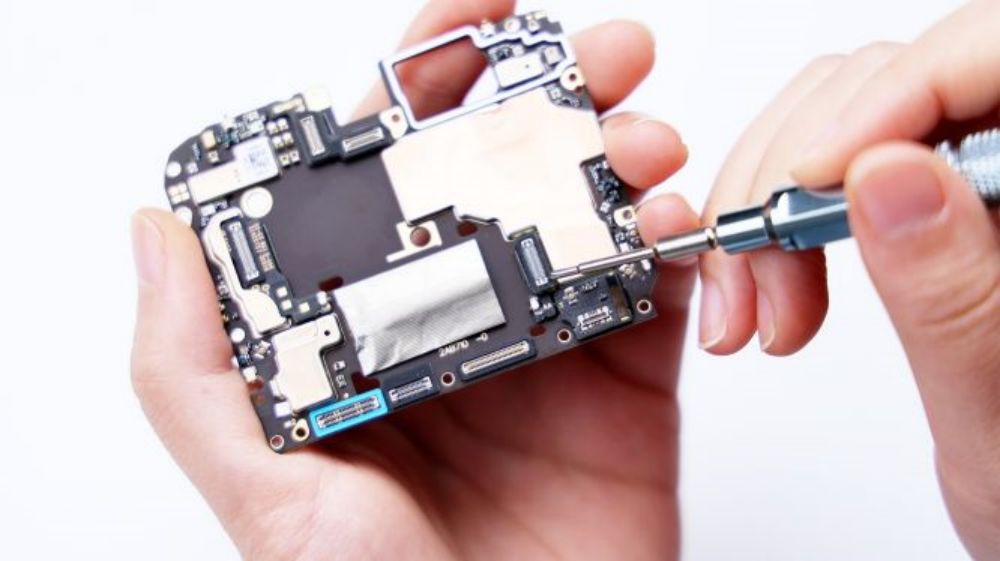
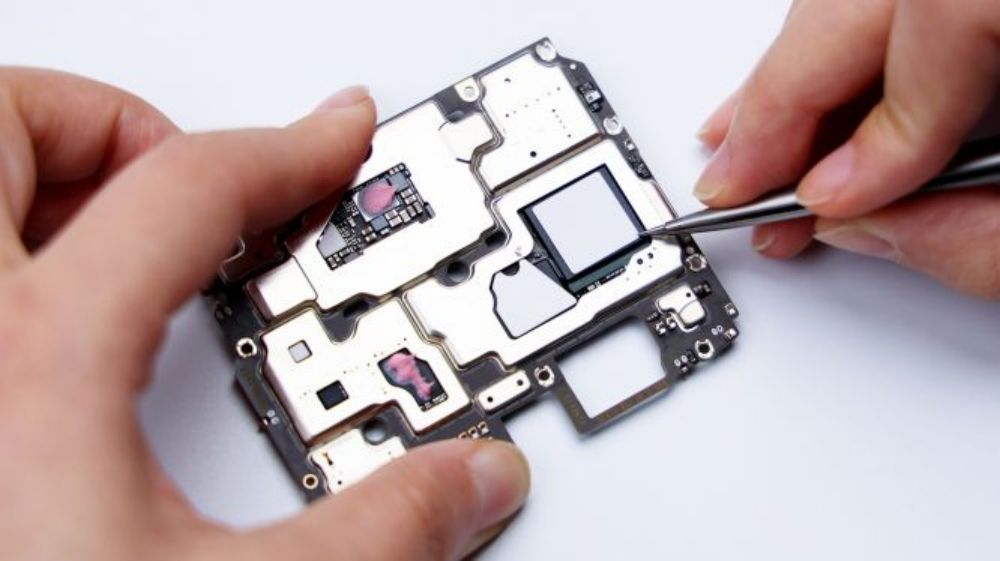
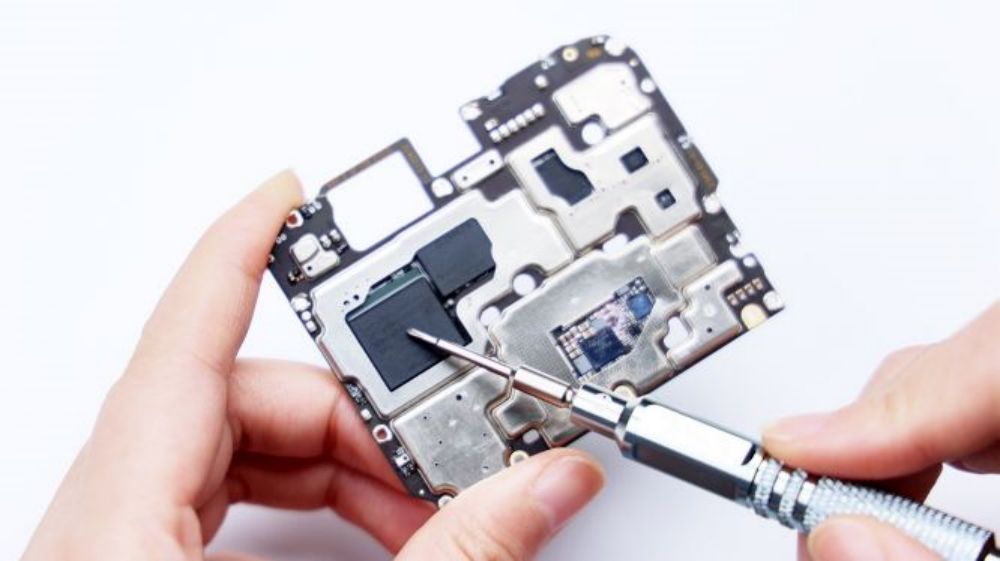
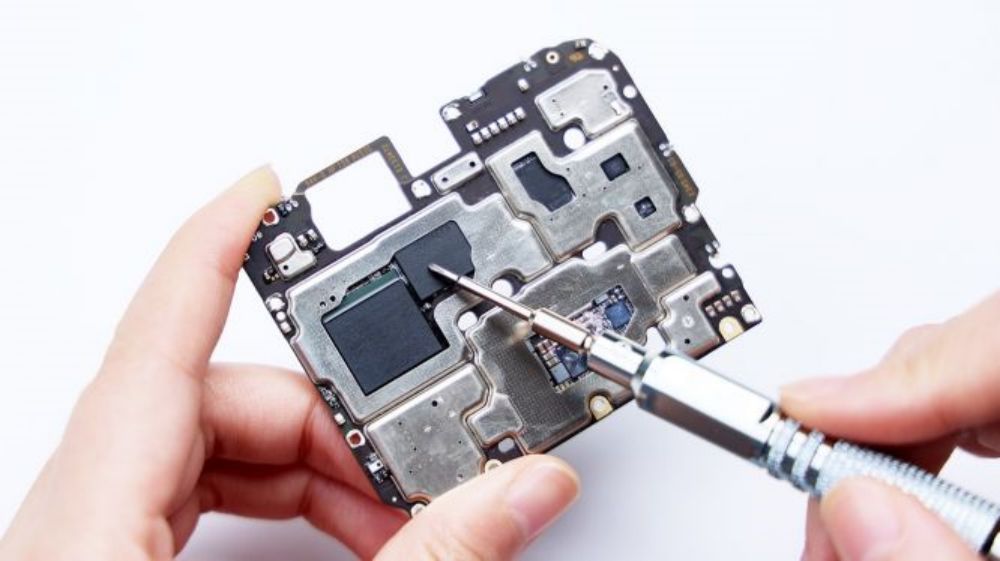
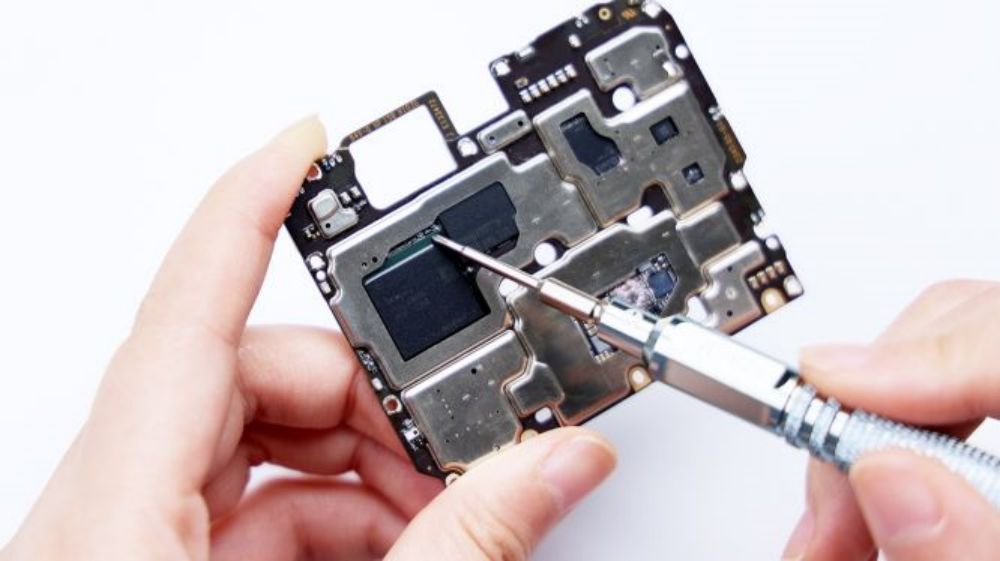
Tear off the copper foil on the front of the motherboard and the graphite thermal paste on the back, they cover the chips and components, there is also a layer of auxiliary cooling material, the motherboard adopts a single-layer PCB, which is more conducive to heat dissipation.
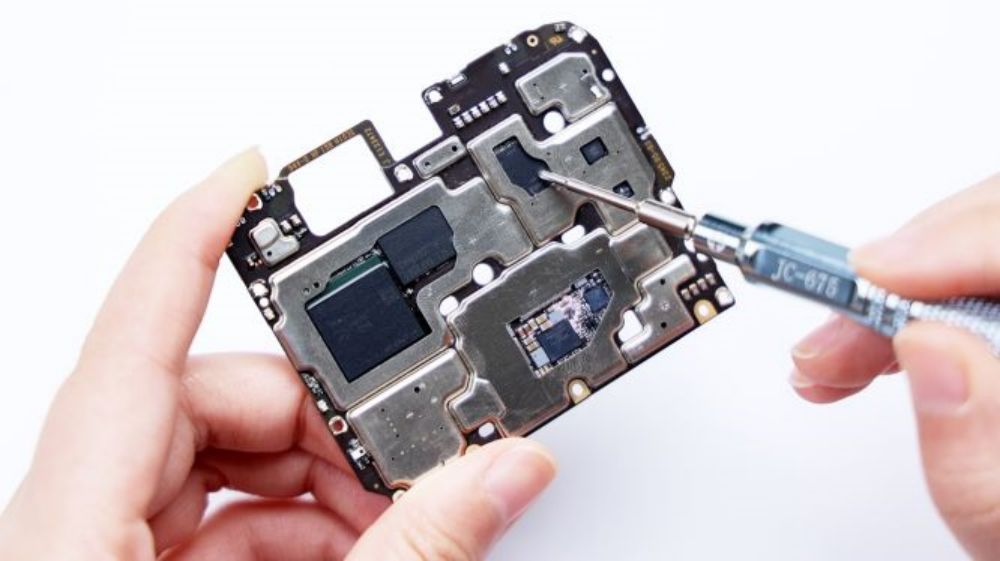
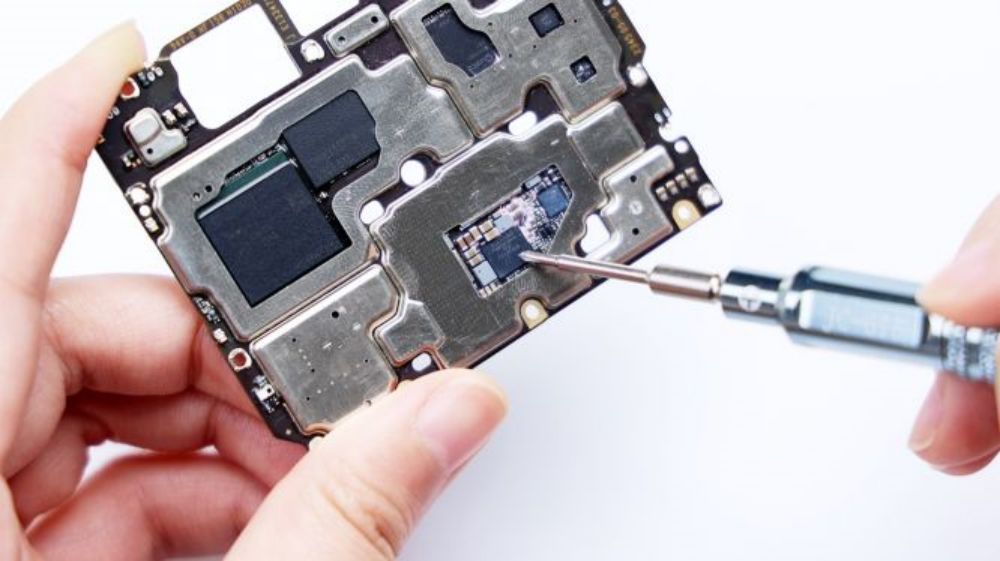
The core chips are all centered on the back of the motherboard, and they're all done with a dot-glue finish. The biggest one on the left, is the 16GB LPDDR5X RAM chip from Hynix, the green chip pressed underneath is the new Qualcomm Snapdragon 8 Gen 3 processor, and the slightly smaller one on the right side, is the 1TB UFS 4.0 flash memory chip from Samsung. To the immediate right, with the Qualcomm logo, is the WCN7851 WiFi/Bluetooth chip. Slightly more reflective down the center is the Qualcomm PM8550 power IC.
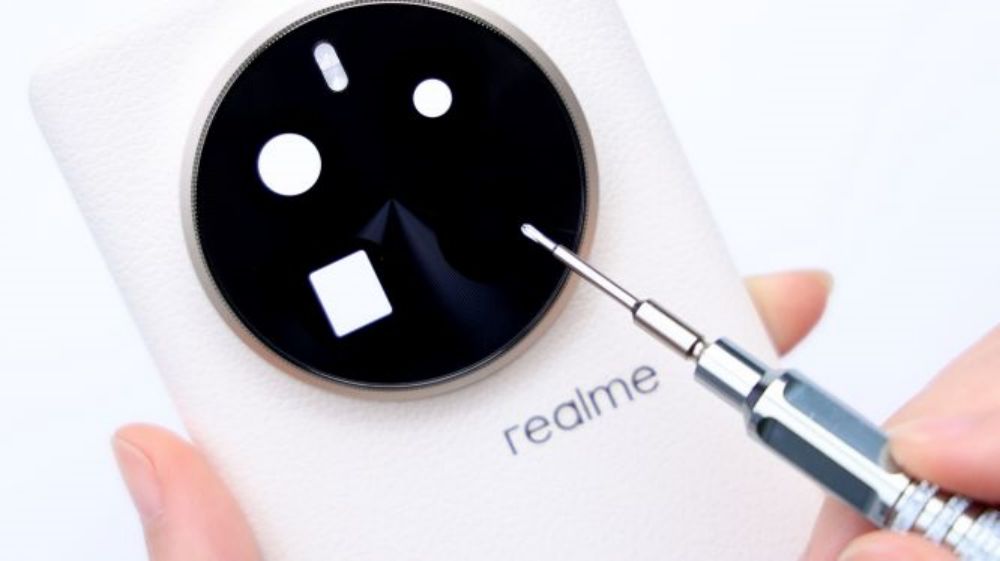
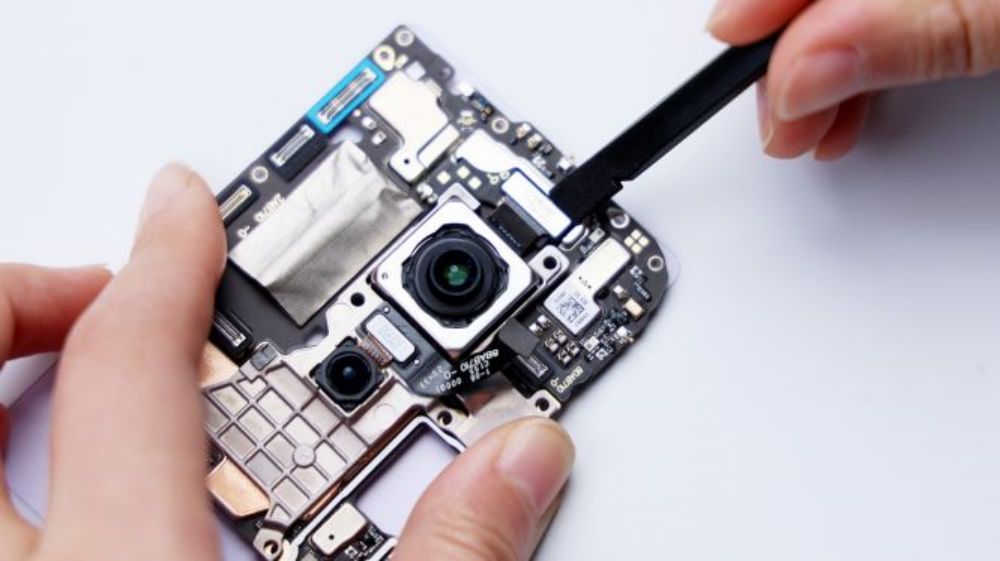
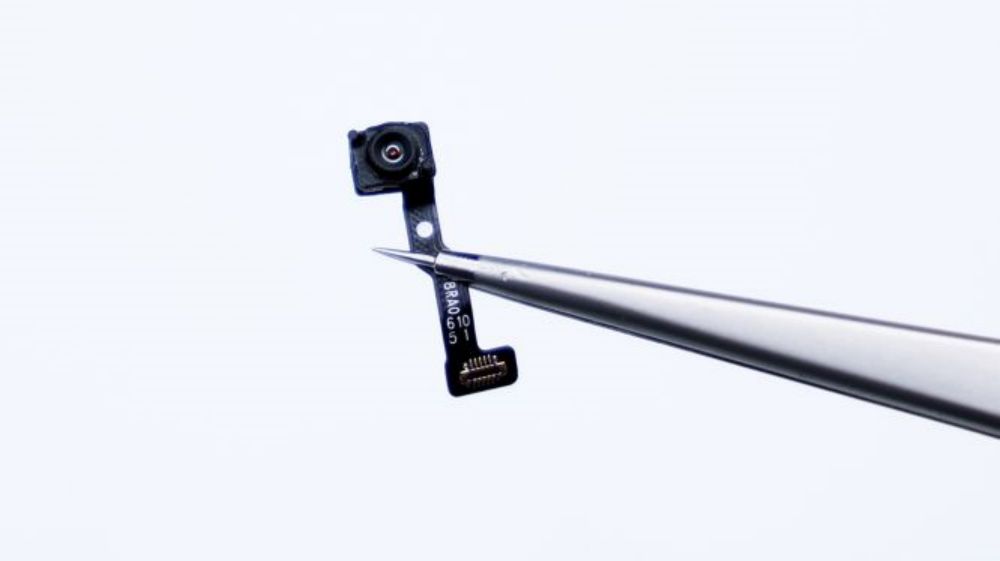
Moving on to deal with the remaining components of the screen assembly frame, take out the front camera, and the four front and rear cameras come together.
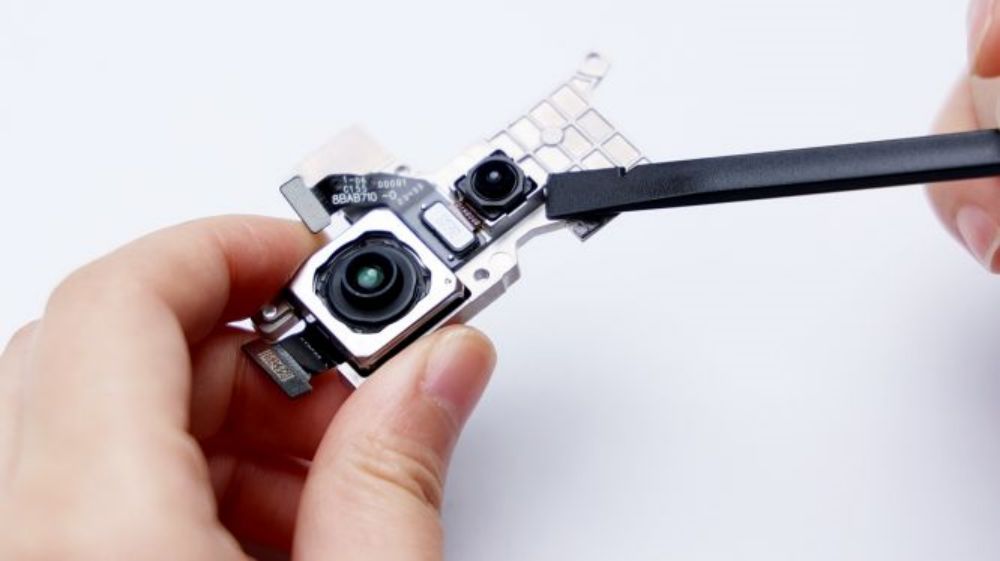
The imaging system is the focus of the GT5 Pro upgrade, 50-megapixel Sony LYT-808 main camera, the same as the main camera of the OnePlus 12, 7P lens, 1/1.4-inch large bottom, support for OIS optical stabilization, equivalent focal length of 23mm, aperture of f/1.69. 50-megapixel Sony IMX890 periscope telephoto lens, 1/1.56-inch large bottom, also the largest telephoto lens among the models on sale. The largest telephoto lens in the bottom, with an equivalent focal length of 65mm and an aperture of f/2.6. 8-megapixel Sony IMX355 ultra-wide-angle lens, with an equivalent focal length of 16mm and an aperture of f/2.2. Sony IMX615 front-facing lens, the same model as the OnePlus 12, with an aperture of f/2.45.
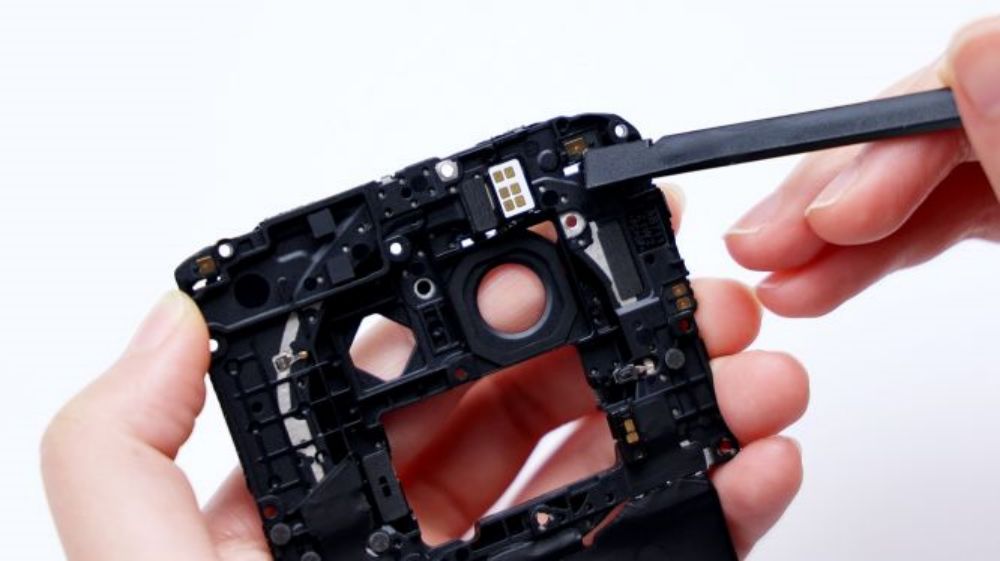
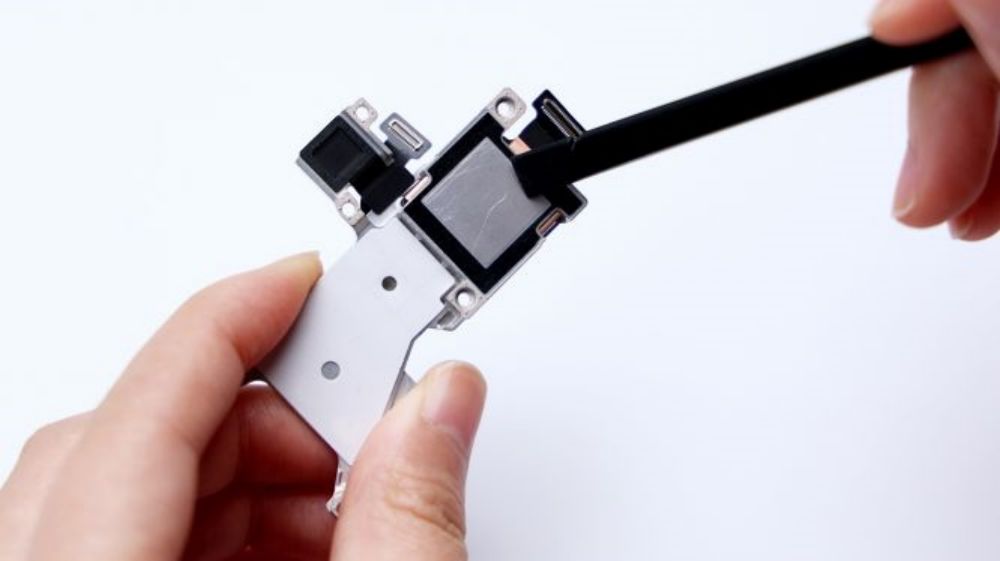
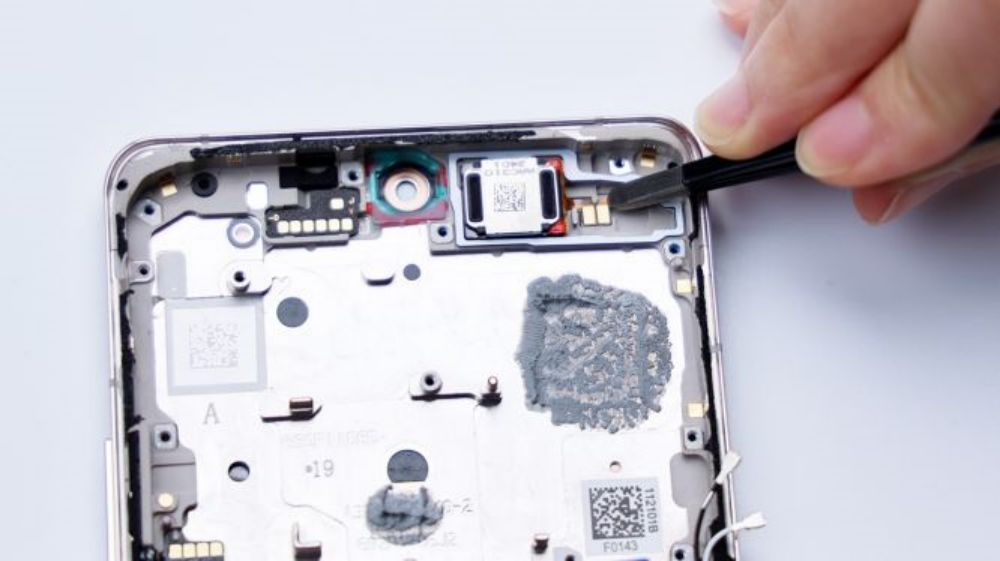
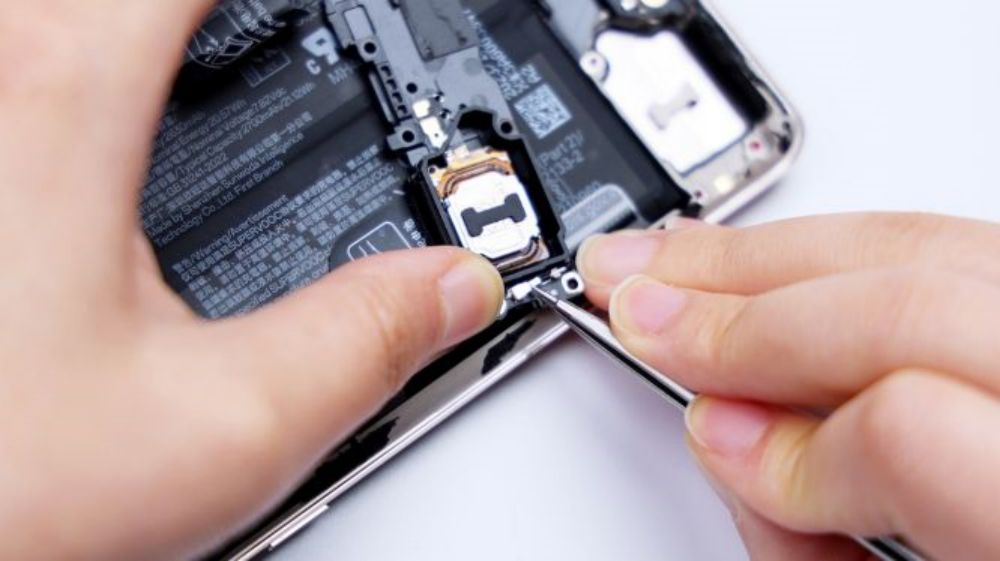
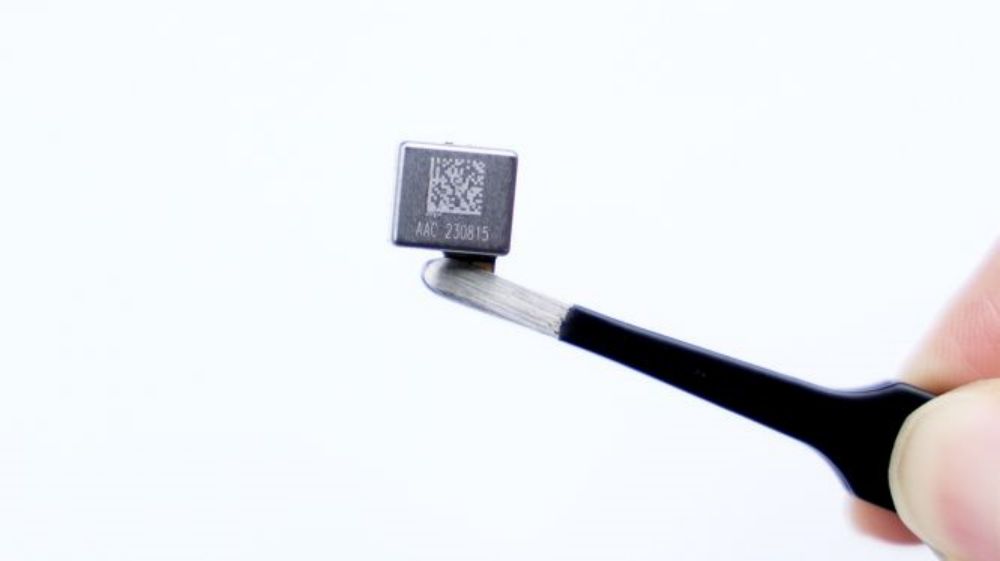
Use tweezers to pry up and remove the speaker on the right side, supplier Ruixing Technology. There is also a front ambient light sensor on the left side, which connects to the motherboard via contacts, and the one next to the flash, forming a 360-degree front and rear dual light sensor.
There are a couple of separate contacts spread across the top left and right corners for antenna signal overflow. The noise-canceling microphone, IR, front lens, and speaker correspondingly are protected by foam cushioning, with a separate ring of white foam along the outer edge of the speaker that matches the styling on the motherboard - this is really well-done and detailed. The left side of the lower position of the four contacts, corresponding to the power button and volume keys. In the middle of the assembly frame, there are multiple limit posts in the downward position, and they are all very long, which is rare in previous phones, also affected by the size of the telephoto lens, facing the padded PCB and components, the regular height can not play a role in limiting the position.


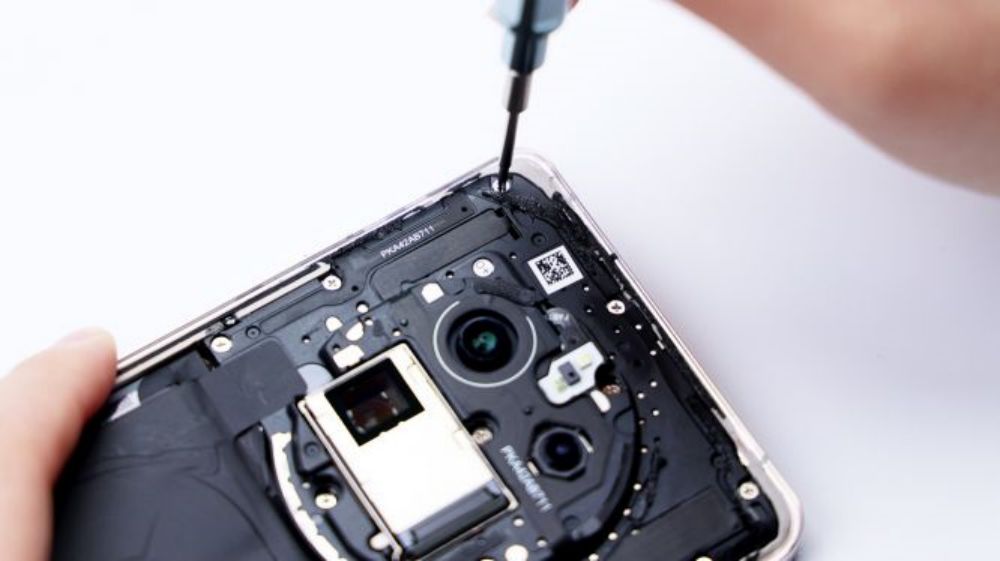
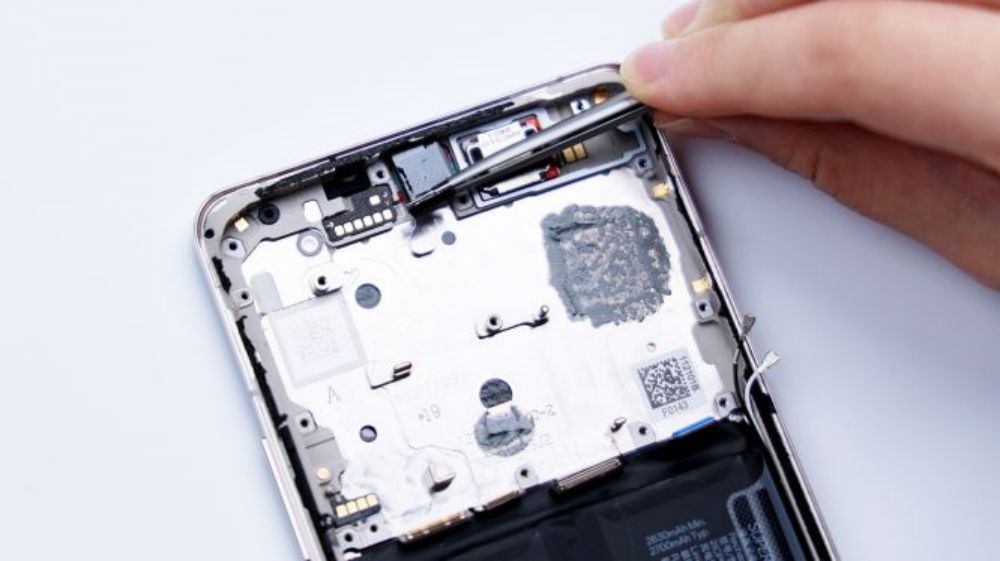
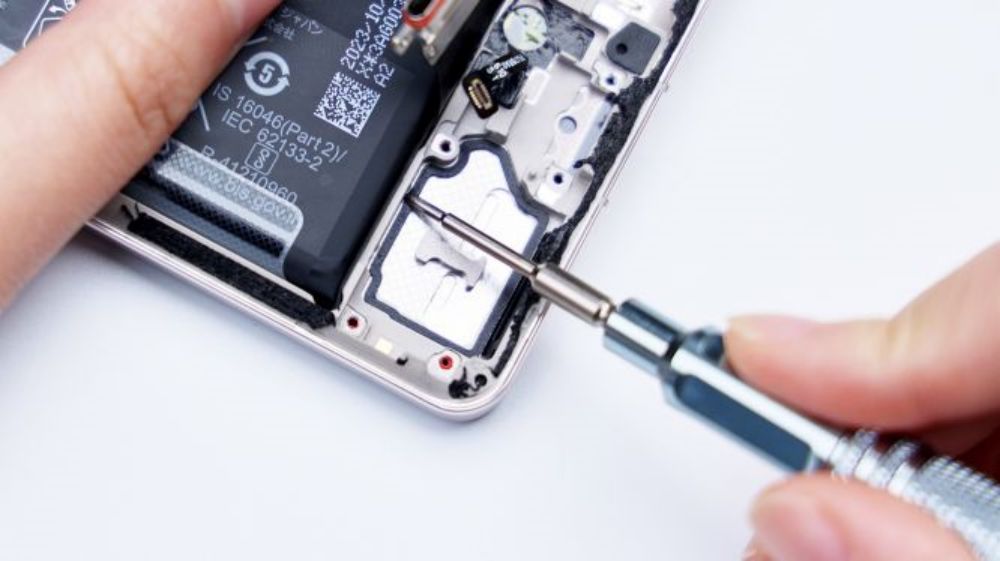
Turning to the bottom of the phone, unscrew all the fixing screws of the sound chamber, pry up the sound chamber in the direction of the battery, control the strength, there is still a black coaxial cable attached to it, don't break it. This is the same as the last time I removed the K70E, the connector is also on the small plate next to the sound chamber, disconnect, pull out the coaxial cable, the sound chamber is removed.
Unlike the common bottom speaker, the GT5 Pro seems to be a semi-finished product, and the speaker BOX is not fully enclosed. Although the main body is the same as the OnePlus 12, which is a Ruixing Technology 1115E, this absence results in a significantly worse sound effect.
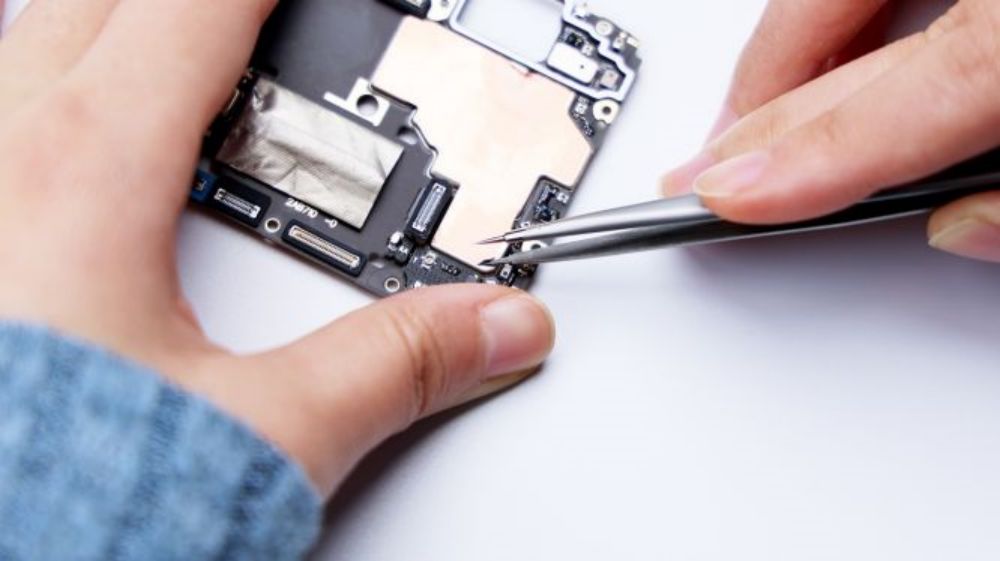
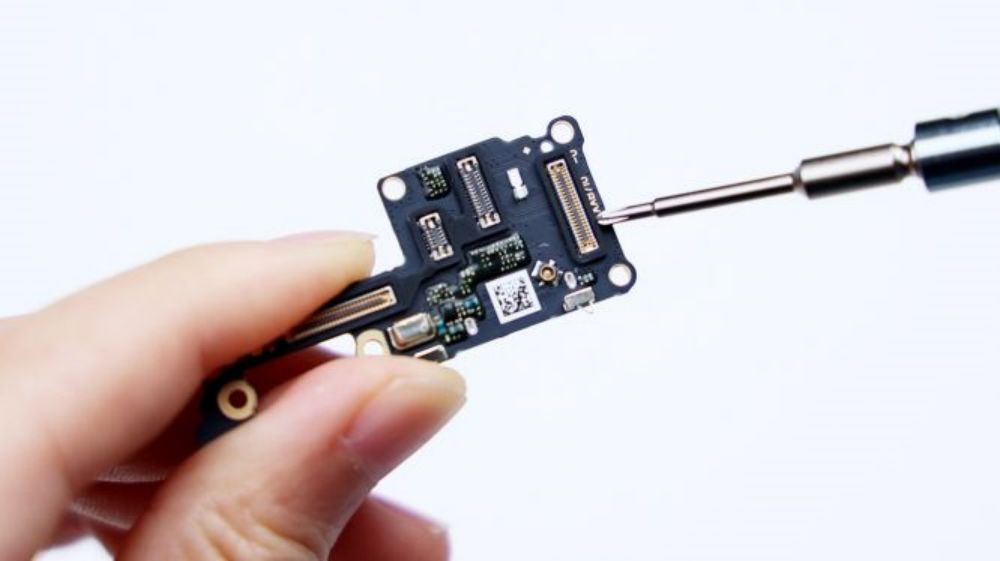
Disconnect the white coaxial cable, the screen, the main and secondary FPCs and the BTB for fingerprint recognition in turn, and pry up to remove the secondary board.
Although the area of the secondary board is not large, but the various protective measures are not ambiguous at all, all BTB bases are protected by rubber rings, all kinds of components are also done with spot glue treatment, the corresponding position of the USB interface has a metal plate to strengthen, the microphone is wrapped with a metal cover to avoid damage caused by inserting the wrong card pin.
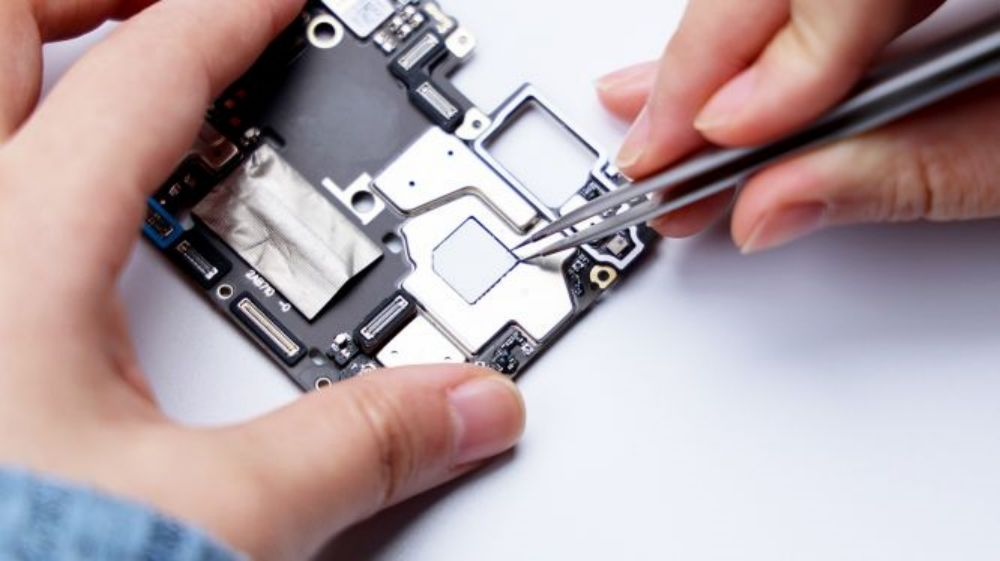
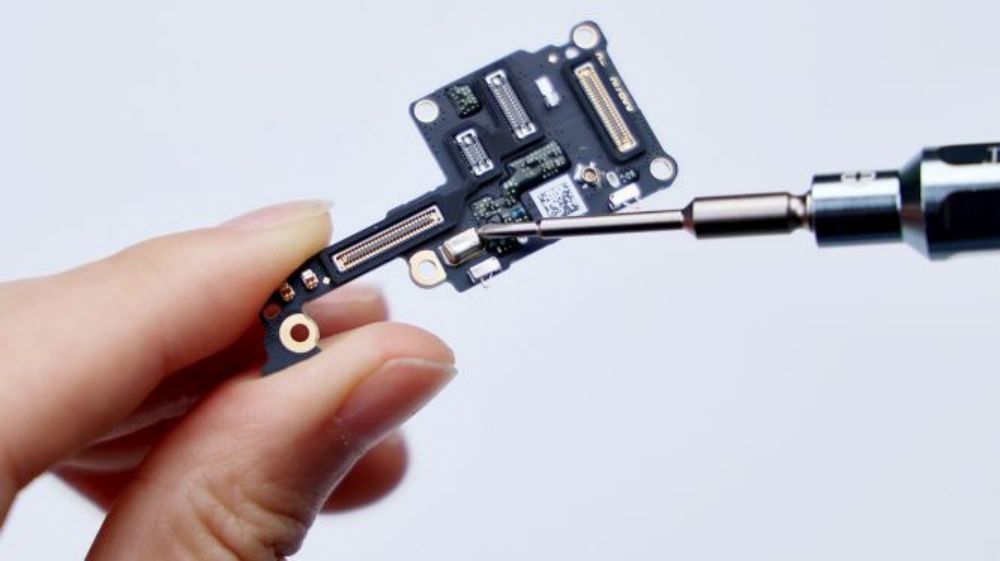
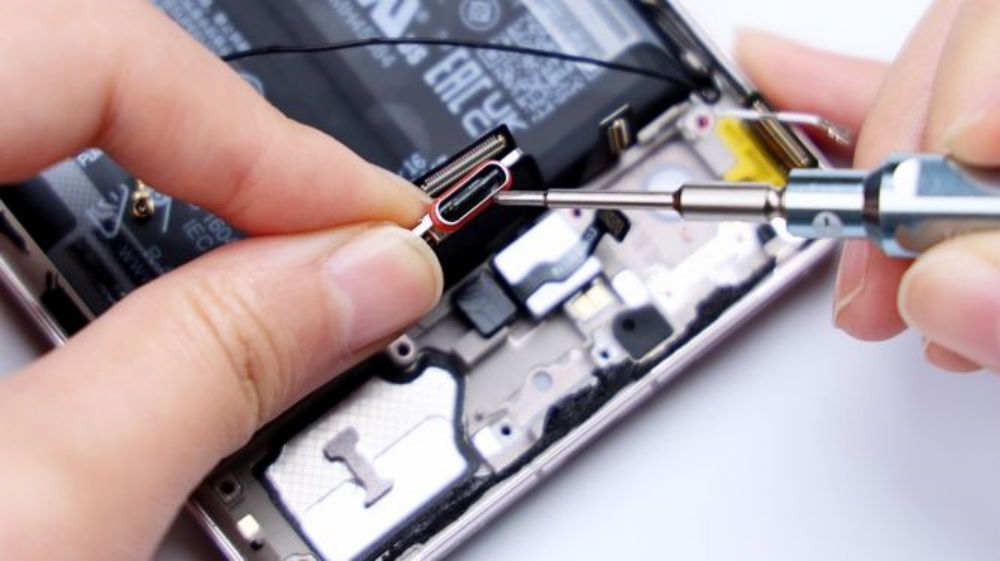
Type-C interface is not integrated in the secondary board, but through a FPC through the motherboard, the interface adopts the USB 3.2 standard, the edge of the red rubber ring, play a role in dustproof sealing.
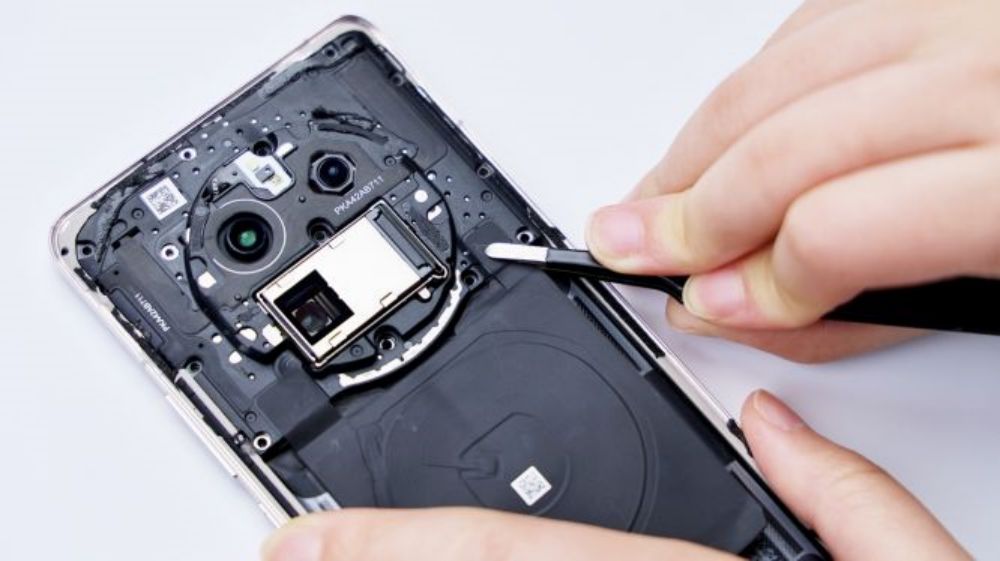
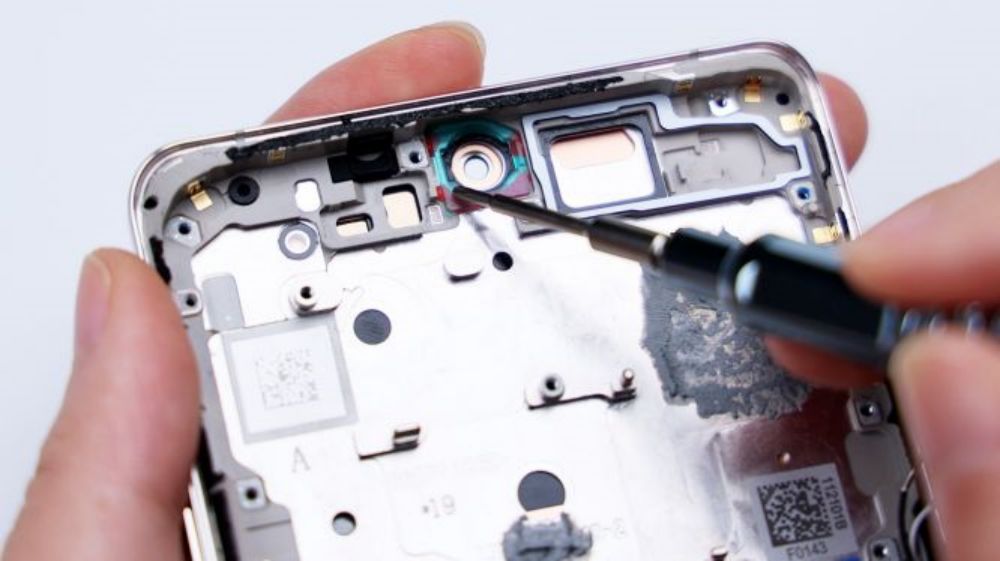
The fingerprint recognition module pressed underneath can also be removed, pry up with tweezers to take it out, and the GT5 Pro uses a short-focus lens solution.
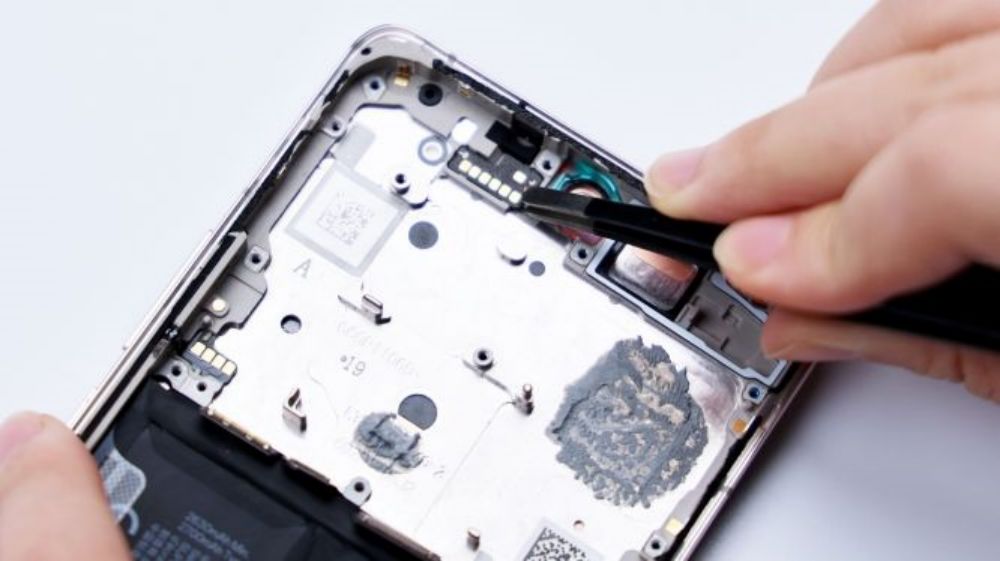
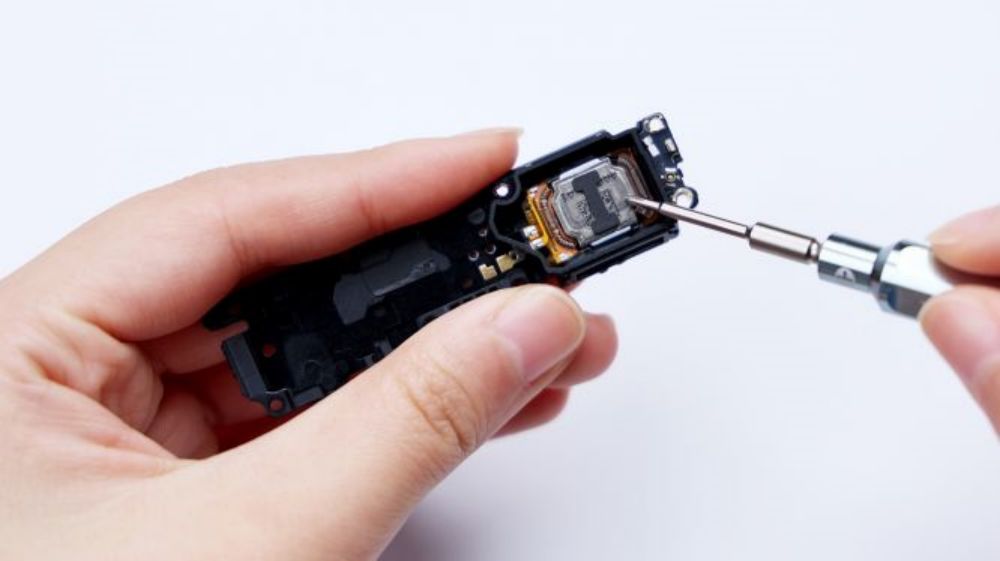
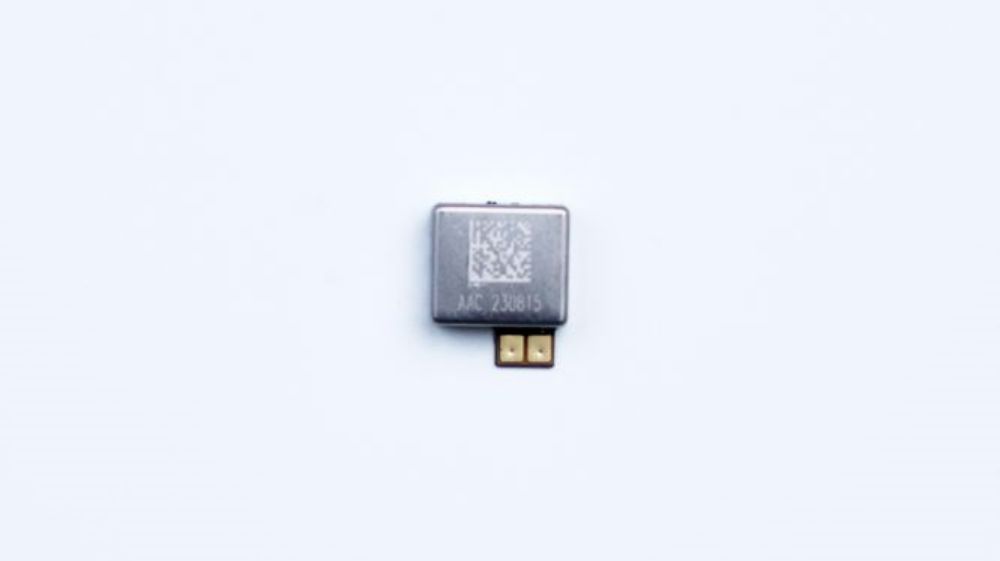
Right next to it is the vibration unit, fixed by adhesive, its supplier is Ruixing Technology, model number ELA0809, Xiaomi 13, Redmi K60 Pro, Honor Magic5 Pro, Yiga Ace 2, and True Me GT5 use this motor.
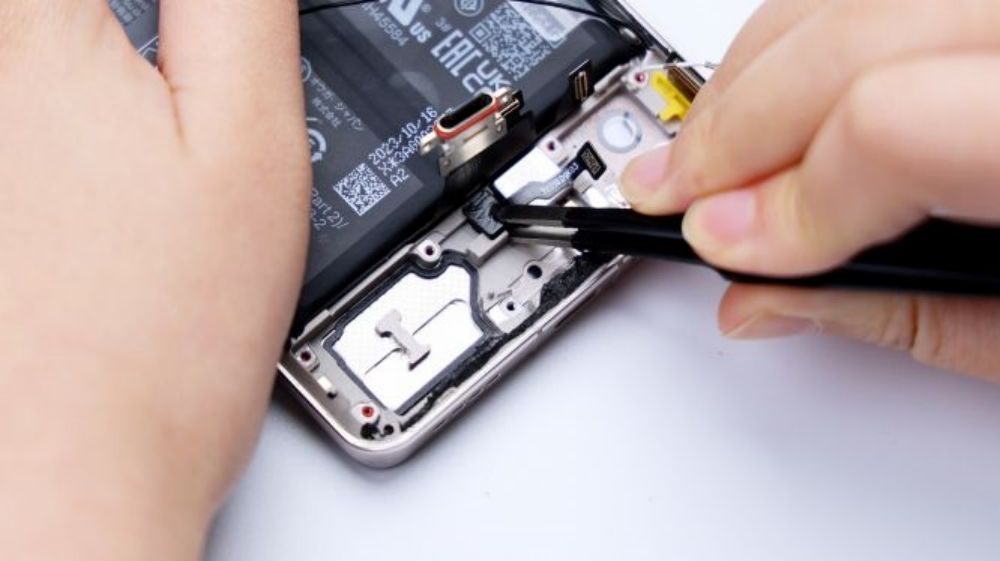
The bottom of the screen assembly frame has been empty, and the corresponding position of the speaker BOX, there is a circle of foam with the same shape, which serves to close the sound cavity. The microphone also has a foam pad in the corresponding position, and also features an anti-dumbing design.
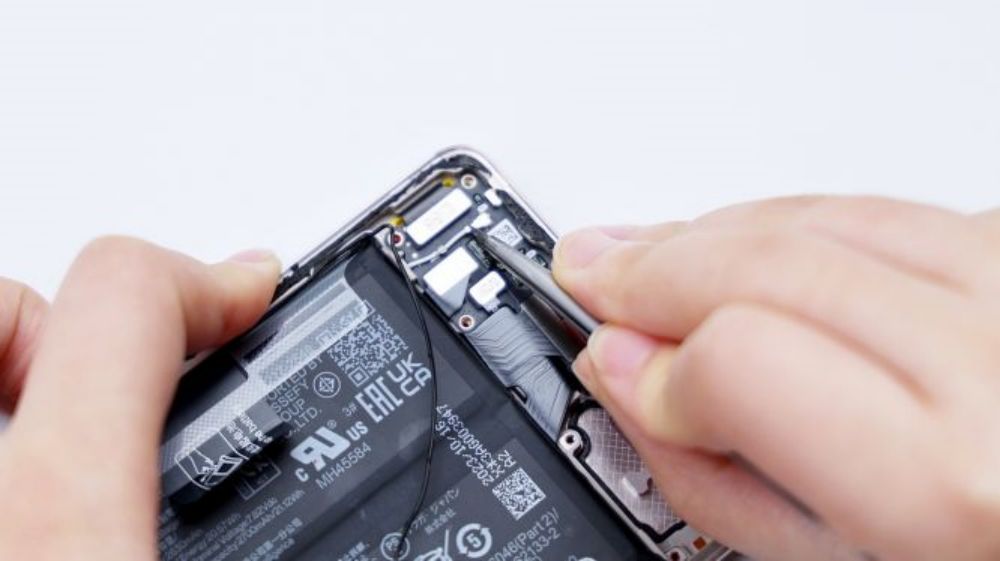
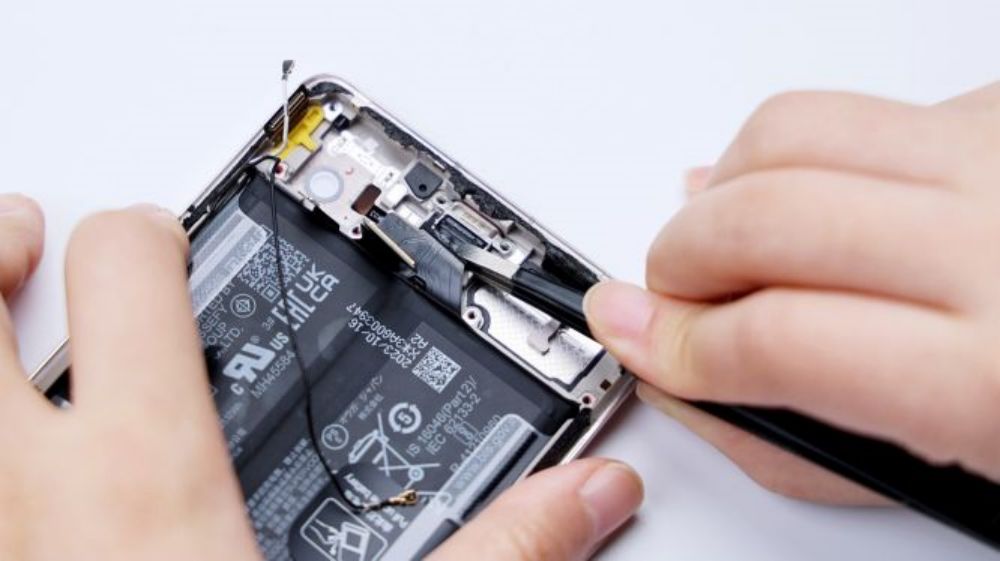
Remember the rubber ring on the SIM tray, as I said before, there will be a place that echoes it, the rubber pad under this FPC on the right side, both are the same color.
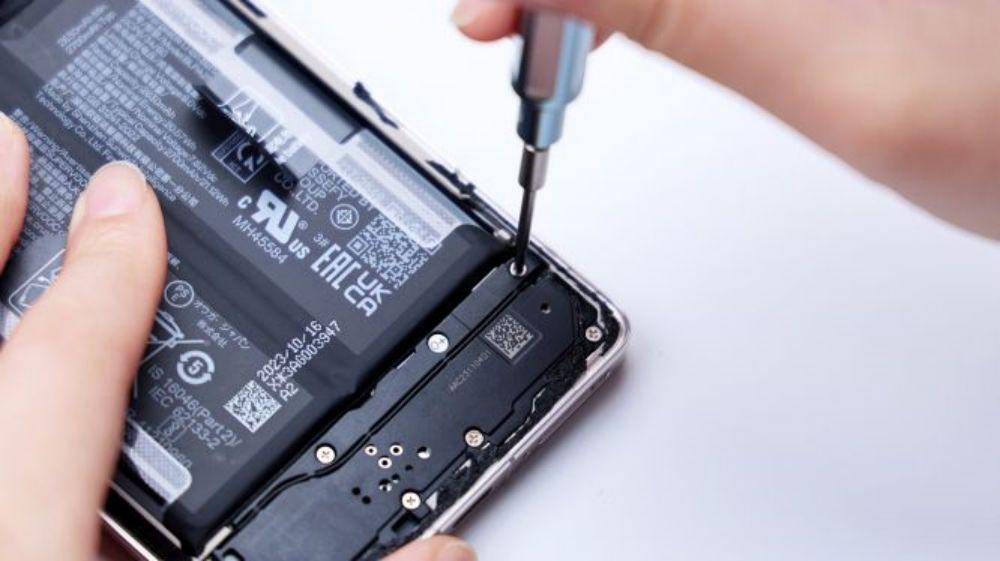
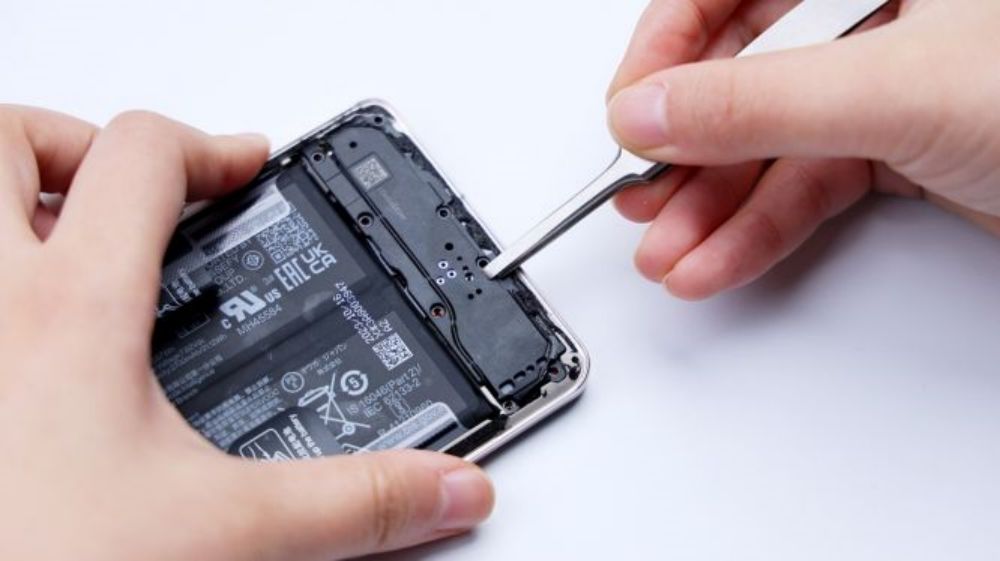
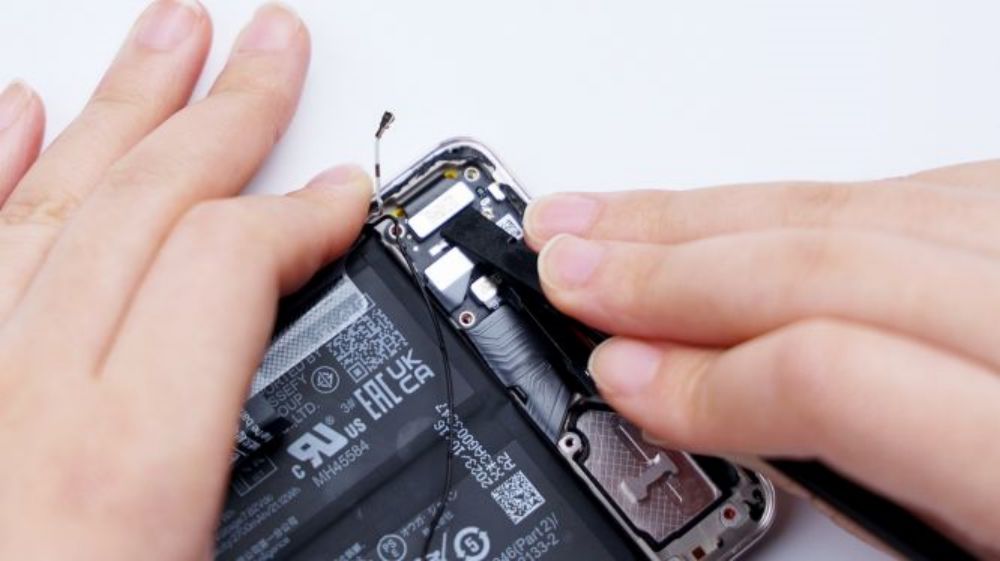
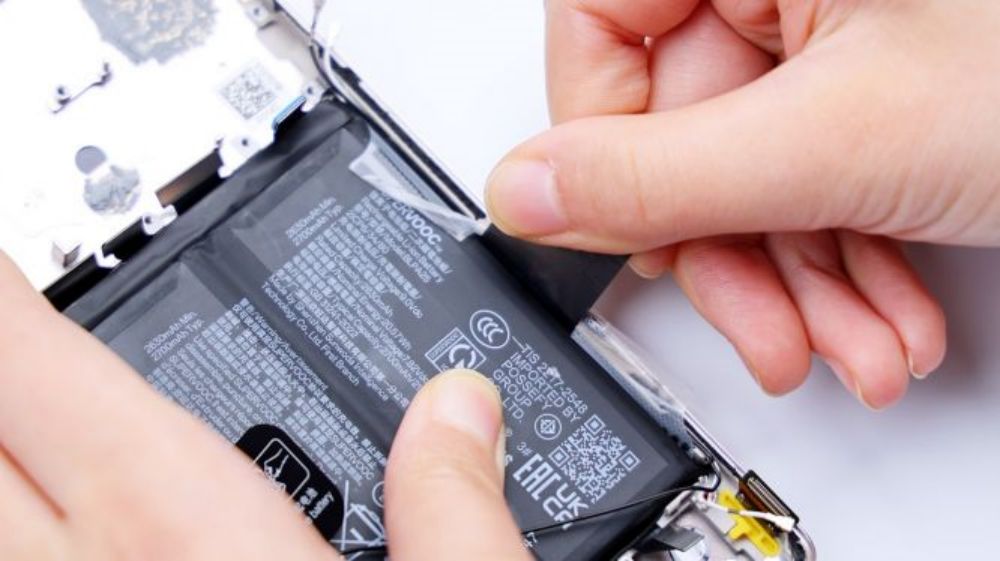
The battery is designed with easy-pull quick release, tear off the clear adhesive on both sides and lift it upwards, it's easy to remove the battery.
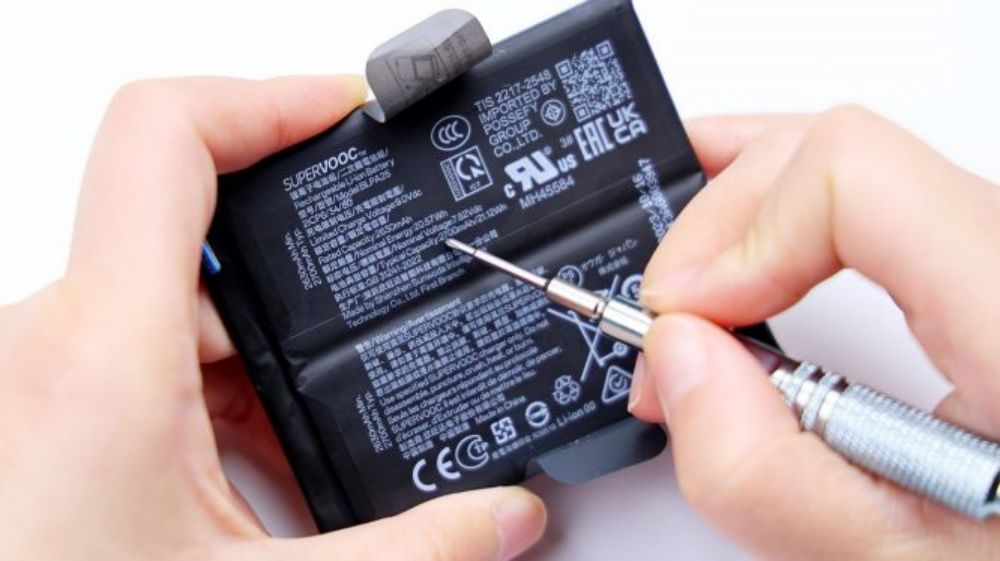
The GT5 Pro battery adopts a dual-cell design with an equivalent capacity of 5400mAh, and the manufacturer is Xinda Electronics Co. From the back labeling, its cell supplier is ATL, which is also known as Ningde New Energy.
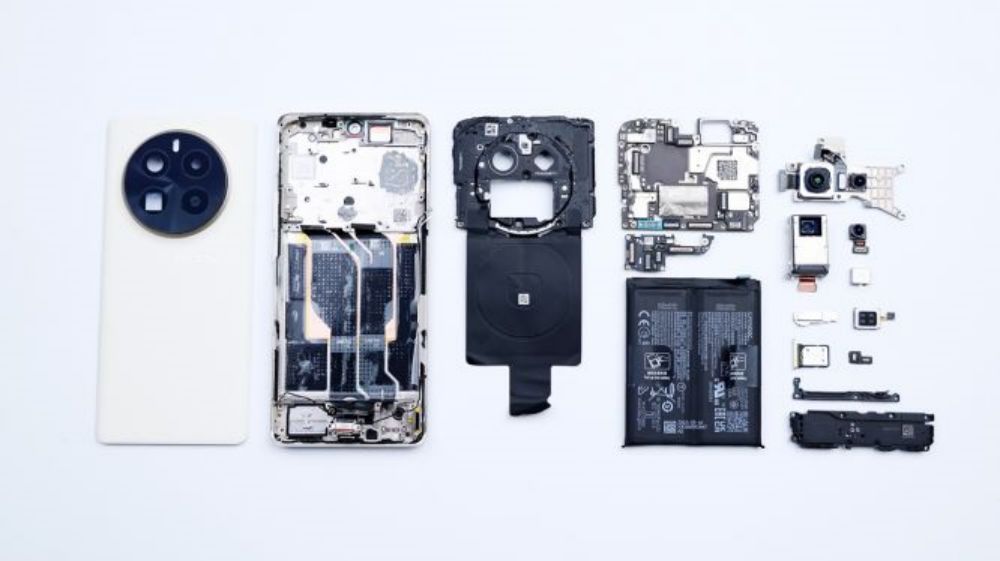
By this point, the disassembly of the Realme GT5 Pro is basically complete. Compared with the Zenith GT5 released a few months ago, it can be said to be an all-round improvement, more prominent is the core performance, imaging system, battery life and screen in several aspects, all of which have reached the level of the new year's high-end flagship. Moreover, in terms of design and material matching, it is also more in line with the mainstream trend, taking into account the texture and sense of premium. Through the disassembly can reflect the GT5 Pro two very important characteristics, the first is fine workmanship, materials, and all the protective measures in place, such as all BTB with a rubber ring protection, the motherboard and the secondary board of the chip, components have done a spot glue treatment, and a large number of internal use of cushioning foam protection. Its handling of details shows us what a flagship should look like. The second is that most of the internal ID structure, layout, and space utilization is designed around that oversized bottom periscope telephoto lens, and a lot of customized components are used to meet the aforementioned needs. So, a big span upgrade of a core component will inevitably trigger a chain reaction, requiring the whole to be optimized to match it, which can be said to affect the whole body, not just as simple as stuffing it in. This also explains why no phone has ever used a periscope telephoto with such a large base before.
As for what doesn't work, that's the bottom speaker, which does almost look good without being fully enclosed. In addition, there are two other areas that need to be upgraded, namely the fingerprint recognition and vibration unit. It would be perfect if the former was replaced with an ultra-thin fingerprint module, reserving more space for the latter and replacing it with a bigger motor.
Taking the opportunity of this disassembly, I'd like to talk to you about some disassembly-related things. Some of you have asked me why I don't just use the metal warps to remove the back cover every time? Why do you always use the thin, flimsy, plastic warps? Because the material is soft and the edges are not as sharp as metal warps, so it's not easy to hurt the wires or parts inside. Especially some novice and white users, no matter what cell phone, if there is a need to dismantle the phone, such as replacing the battery, it is recommended to look for dismantling videos or internal structure of the relevant information in advance, probably to understand what is the structure of the back cover, preferred to recommend the use of plastic warps to open the back cover, even if you want to use the metal warps, try to choose a thinner, softer, to open the gap or plastic warps are stable, and the plastic warps. If the metal warps are particularly thick and hard, they may not only hurt the wires on the inner edge, but also break the glass back cover or leave a few dents on the edge of the center frame. In addition, the metal warps should not be inserted too deeply, just slightly beyond the width of the sealant.
There is also a small partner private message to ask why my disassembly are longer? For some of the details, operation techniques are particularly fine? In fact, I've briefly talked about it before, the ideal disassembly in my mind is not just to simply list the disassembly steps and then show the parts, but the really interesting part is to keep exploring the internal structure of the phone and repeatedly verify the disassembly ideas and guesses about various special designs. At the same time, in the process of disassembly, sharing their own thinking, insights, and some key steps of caution, disassembly essentials, for readers, can be used as a reference for future disassembly, repair, replacement, but also can be discussed, analysis, and common in-depth analysis of a product, as well as the designers and engineers behind the thinking, and ultimately smooth the complete vein of a cell phone, rather than on the surface.